So, you’ve decided to throw away your Teflon pans and go for a healthier option, getting yourself a nice, shiny stainless steel pan. It’s so smooth you can’t imagine having food stuck there.
Cook your first omelet, and it’s glued to the pan. Now you’re wondering: can you make a stainless steel pan nonstick?
The good news is that you can season your stainless steel cookware to have an omelet-ready surface without potentially harmful chemicals.
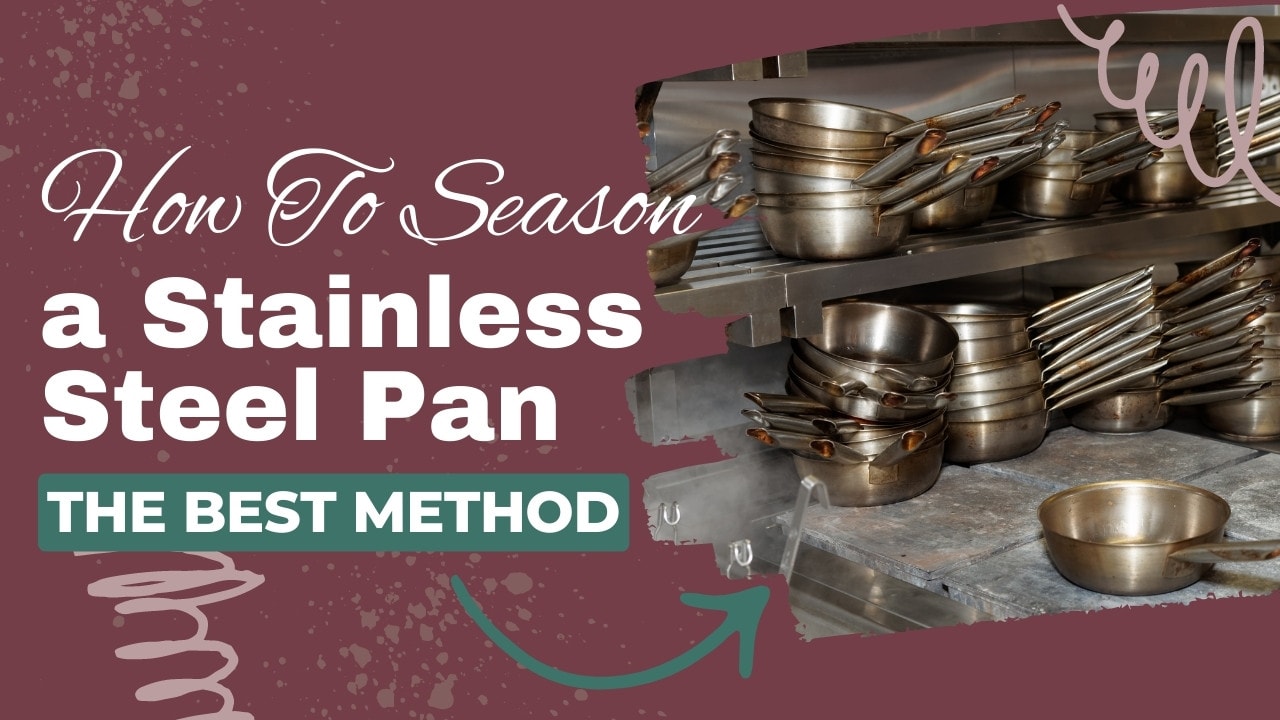
How To Season a Stainless Steel Pan
Seasoning a stainless steel pan is not complicated. All you need is oil, a heat source, and a paper towel.
- Heat up the pan to open its invisible pores and prepare them to absorb oil.
- Add the oil and wait for it to smoke.
- Remove the pan and let it sit until it cools off.
- Wipe off the excess oil.
As easy as that, you’ll get yourself a non-stick stainless steel pan. However, it has some nuances that I cover in this article.
How Does Seasoning Work?
Seasoning cookware involves applying a thin coat of oil to the metal surface to make it rust-resistant and non-stick. It’s usually applied to cast iron and carbon steel, which are bare metals.
Through seasoning, the oil heats up at relatively high temperatures. During this process, several chemical reactions occur, the most important of which is polymerization. It involves forming a network of molecules, called polymer, manifesting as a strong layer that protects the bare metal from oxidation and makes the pan non-stick.
Do You Need To Season Stainless Steel?
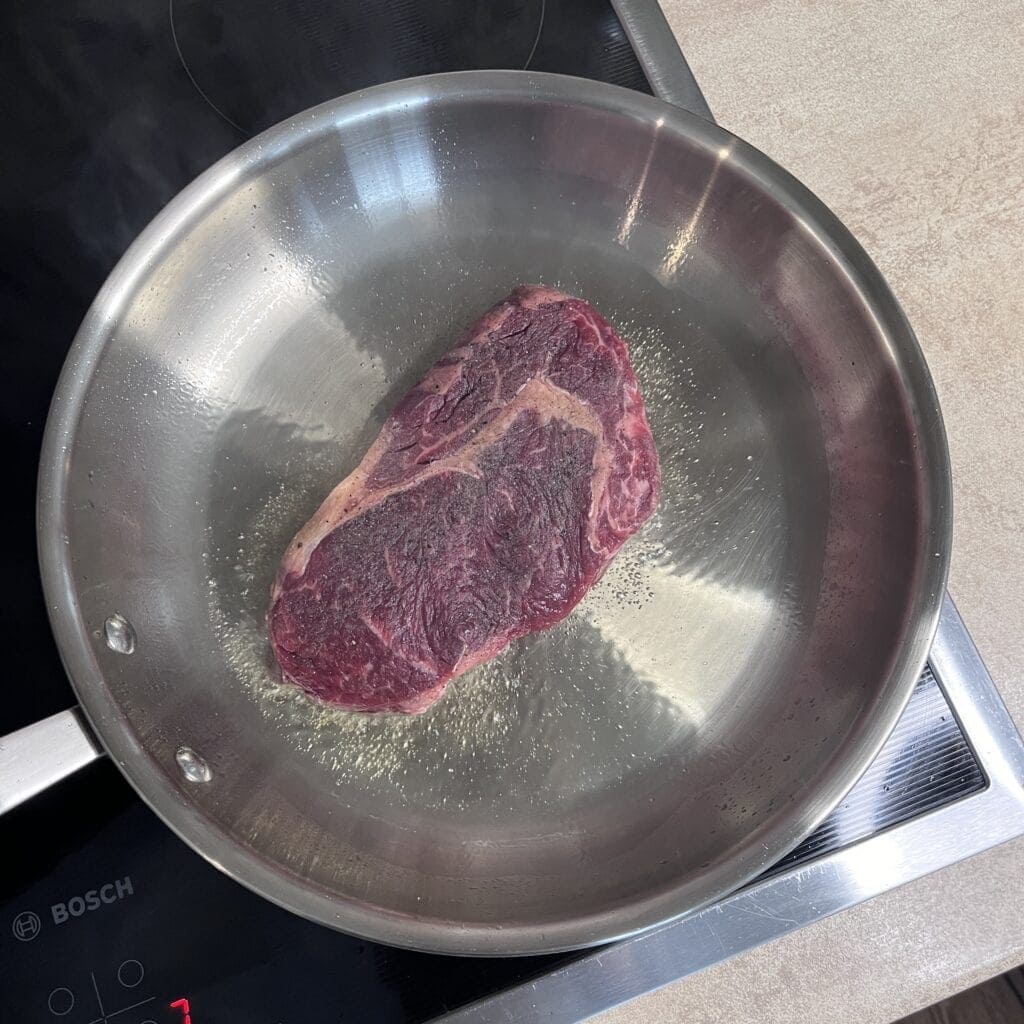
You don’t need to season stainless steel cookware like cast iron or carbon steel.
Stainless steel is not as porous as cast iron, and it isn’t nonstick despite its smooth and shiny surface. It has grooves and pores that will cause food to stick.
However, unlike cast iron, stainless steel can be made non-stick through other methods much easier than seasoning, like properly preheating the pan and using plenty of oil.
Ultimately, whether you want to season your stainless steel skillet or not is entirely up to you. After all, seasoning stainless steel has some cons:
- The layer of seasoning will go away next time you wash your skillet. Soap will dissolve the oil, so you’ll have to season it again before the next use. This will only make your job harder, adding another step to the cooking process.
- Seasoning involves creating a patina. This dark coloration on the pan doesn’t mean that your pan is dirty – it’s the very coating that makes your pan nonstick. Many professional cooks take pride in a beautiful patina, earned after long use and several seasoning attempts. But it may be a deterrent for home cooks who take pride in their stainless steel cookware’s shiny surface.
- After seasoning, you’ll still need to add some oil. That’s particularly the case if you don’t follow the proper cooking methods, most importantly heating the pan up to the right temperature BEFORE adding oil.
So, if you decide to go down this road, try it with one pan and see how it changes your cooking experience. After all, stainless steel is highly durable, so seasoning can’t damage it.
The Best Method of Seasoning Stainless Steel
Seasoning stainless steel follows the same process as cast iron. It’’s not very complicated and doesn’t take long – though you may have to season your pan a few times to get a nice thick patina. You may find different methods for seasoning with small variations. However, these are the primary stages common among all methods.
- Wash the Pan Thoroughly
The first step involves cleaning the pan carefully and completely. A clean pan will accept seasoning much more readily. If you’ve already used the pan for cooking and frying, some leftover food bits or oil may still be stuck to its surface. If it has stuck-on stains, scrub the pan with baking soda and dish soap using a scouring pad.
If you haven’t used the pan yet, there could be dust or manufacturing grease on it that you need to remove. Some manufacturers apply a non-corrosive coat to the cookware. You need to wash it before using or seasoning your pans.
- Dry it After Washing
The pan must be completely dry before seasoning since the process involves oil. You can air-dry it if you have enough time or wipe it dry with a paper towel. Alternatively, you could put the pan on medium heat to ensure it has no residual water.
- Heat the Pan
Now it’s time to prepare the pan to accept the oil. Heating will also help remove any moisture remaining from the previous step. Put it on the heating source and apply medium-high heat. You can use any cooktop that allows for even heat distribution, including stovetop or induction. You don’t need to heat it to high temperatures at this stage.
- Pour the Oil
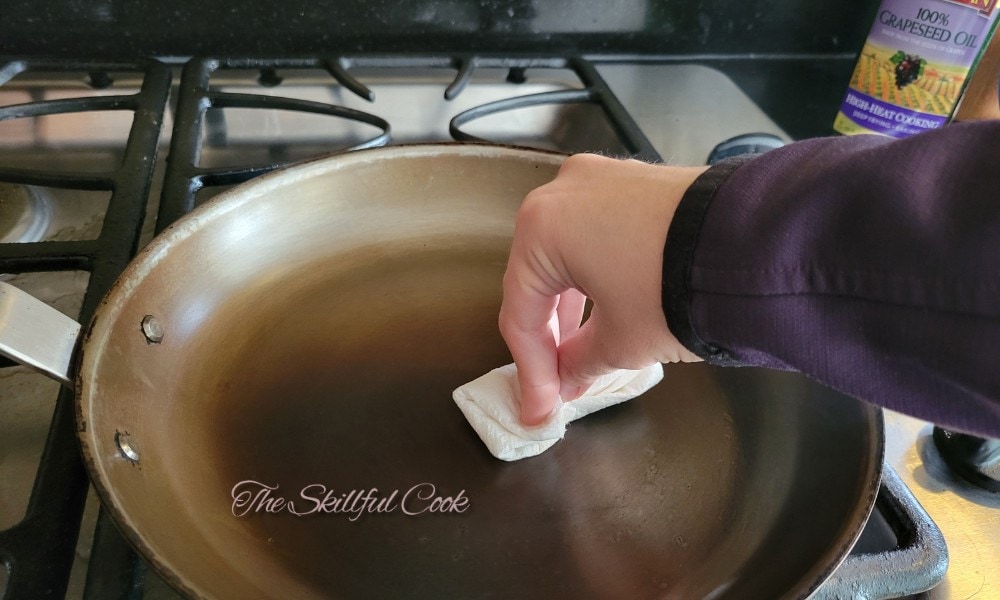
Now it’s time to put the oil in the pan. With this method, you don’t need much oil; just two or three teaspoons are enough. Take a piece of paper towel and smear it around the entire surface of the pan and the walls, rubbing in the oil.
Take your time at this stage. Lower the heat and rub the oil carefully and slowly. The more slowly you do it, the deeper the oil will penetrate and the longer the seasoning will last.
Then, leave the pan on the cooker and wait for the oil to start smoking. Remove the pan as soon as you see whiffs of smoke going up the surface.
- Let the Pan Cool off
At this stage, you should trap the oil that has seeped into the pores by cooling it down. This will create a seal that prevents the food bits from getting absorbed into the pores and sticking to the surface.
Remove the pan from the stove and wait as much as it needs to cool down. Touch the bottom of the pan with your hands and ensure it’s completely cool.
- Wipe the Excess Oil off
The final stage involves cleaning the pan and removing the excess oil. Take a clean paper towel and carefully rub it on the pan’s surface. Move it along the lines and grooves to ensure nothing remains.
Rub the paper towel until you see no traces of oil and just have a glossy surface.
- Repeat the Process If Required
The above steps are enough for a perfectly cured, glossy stainless steel pan. However, repeat the same steps to get layers of baked oil into the pores and ensure a thicker non-stick surface.
You can go through these steps five or six times until you see the beautiful shine that indicates a non-stick surface.
Plus, if still sticks to your pan even after seasoning, you can apply another layer. If you burn food on your pan or have to scrub it too much, you may need to season it again.
Alternative Ways to Season a Stainless Steel Pan
The steps outlined above are the most straightforward method of curing your stainless steel pan. However, there are some variations chef use. Consider the following methods if you prefer:
Apply a Layer of Oil to the Pan
Some chefs prefer to use more oil. Pour the oil until it forms an inch-thick layer over the surface. This is to ensure enough oil gets absorbed into the pores.
After heating the oil and seeing it smoke, remove the pan from the heat source and throw away the excess oil. Put it in a closed container and dispose of it. (You don’t want to use oil that has oxidized for cooking food.)
Then use the paper towel to rub the oil in and wipe off the remaining oil.
Use Salt When Rubbing the Oil In
For wiping the oil off, you can use table salt to absorb the oil and ensure no residue remains. Just sprinkle salt over the pan’s surface and rub it with a paper towel.
You can also use salt to clean the pan before seasoning if it has stuck-on bits of food. Mix it with baking soda and vinegar, leave the mixture for a few minutes, and scrub the surface. If you do this with a seasoned pan, it will remove the seasoning.
Here’s a useful video that shows how to wash your stainless steel cookware to avoid damaging it.
The Right Oil for Seasoning Stainless Steel
You can use pretty much any oil that you have in your kitchen for seasoning a pan. However, curing a stainless steel pan requires heating it at high temperatures. So, using an oil with a high smoke point is highly recommended to prevent burning.
So, you can use any of the following:
- Vegetable oil
- Sesame oil
- Refined coconut oil
- Ghee
- Sunflower seed oil
- Soybean oil
- Grapeseed oil
- Canola oil
- Refined olive oil
Avoid unrefined olive oil, which can go rancid over time and leave a bad smell on your pan. However, if you wash your pan after each use and season it again, olive oil can also be a good option.
Tips and Tricks
As we saw, seasoning stainless steel is a straightforward process. It’s really difficult to mess it up! However, you could consider the following tips to get better results:
- Don’t start with high temperatures. Medium temperatures heat the entire surface evenly. Plus, a scorching surface makes it harder to rub in the oil without burning yourself.
- Protect the stainless steel pan after seasoning. Place two or three layers of paper towel in the pan and put it away. This way, you’ll ensure the pan doesn’t get scratched.
- You don’t need to wash a seasoned stainless steel pan. Avoid using detergent on it, which will remove the patina. If you need a gentle cleanser, try using castile soap. If your pan has visible stuck-on bits or stains, soak it in warm water and let the bits come off. If you have to, scrub the stains with an abrasive sponge and baking soda. Then, season the pan again.
- Try heating the pan in an oven instead of on the stovetop. Set the range to 350 F and follow the same steps as the stovetop method. Leave it in the oven for 30 minutes to an hour.
Final Thoughts
Although seasoning a stainless steel pan isn’t mandatory —as it is with cast iron— you can perform it to get better cooking results.
If you prefer to not season your stainless steel pan, it can still function as a non-stick pan if you thoroughly pre-heat it before adding oil or food to it.
Did you decide to season your stainless steel pan or leave it natural? Let us know how it went in the comments!
Continue Reading: Best Material For Cookware: A Guide For Discerning Cooks

