So, you’re excited about your new, shiny stainless steel skillet and can’t wait to fry a juicy salmon filet. You drop some oil and throw it in the filet, only to find it glued to the surface.
Wait – Isn’t stainless steel supposed to be nonstick? How can you sear meat like a professional chef without worrying about sticking?
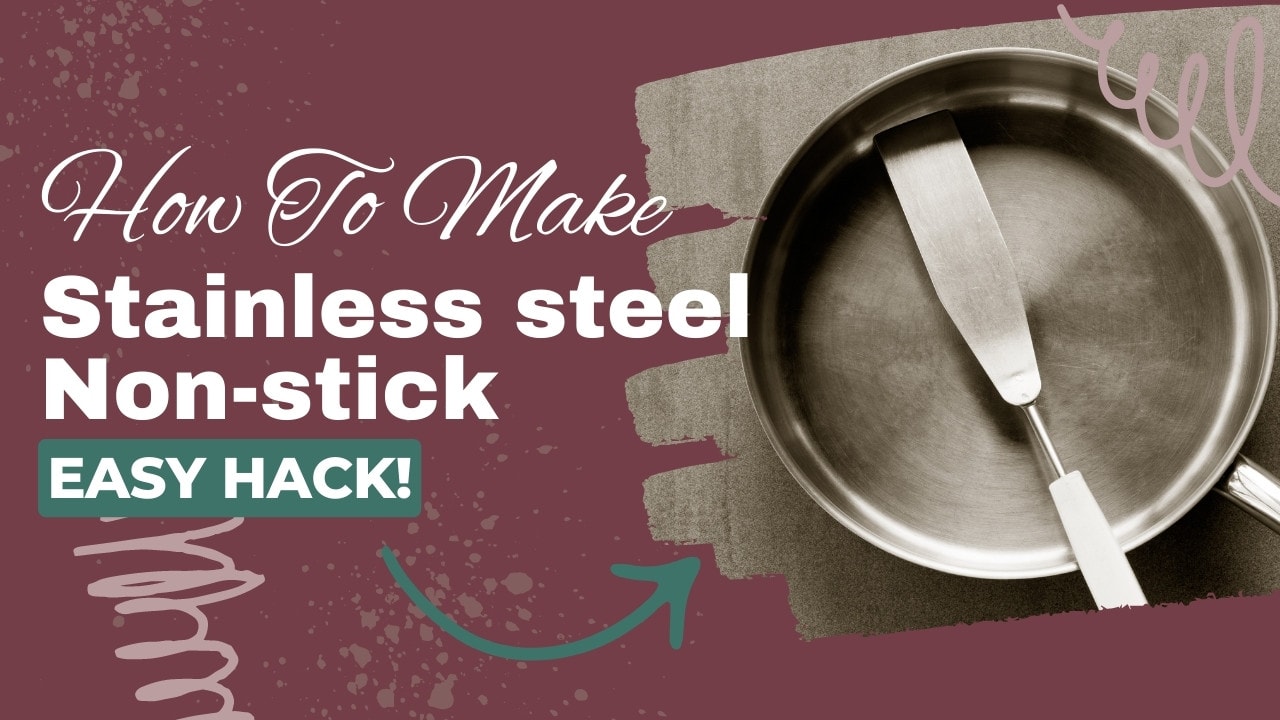
In this article, I’ll give you a step-by-step guide to making your stainless steel pans and pots nonstick.
How To Make Stainless Steel Pans Nonstick
To make a stainless steel pan nonstick, preheat the pan to a point where water droplets start forming “mercury” balls and add a good amount of oil.
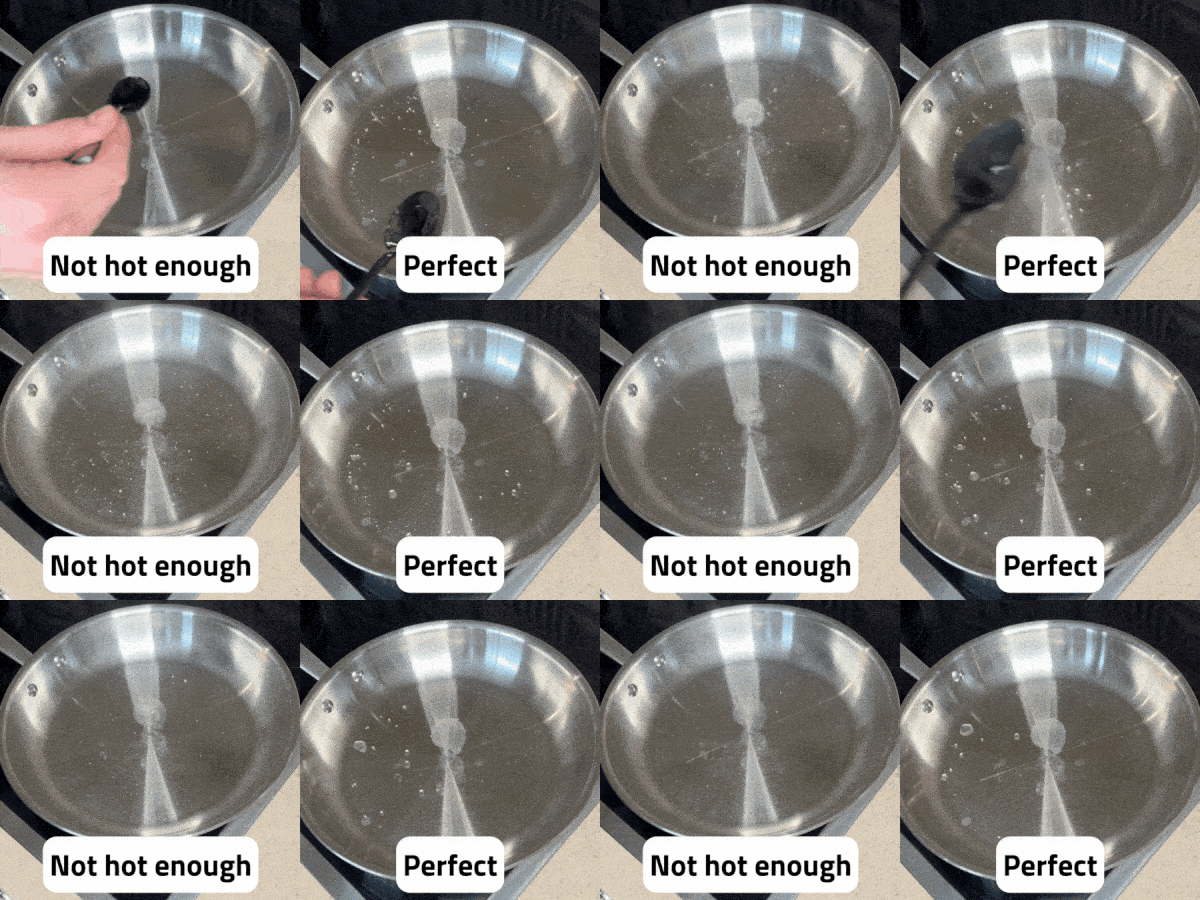
If you add a drop of water and it sizzles, the pan is not yet hot enough. Once water droplets start bouncing around the pan without evaporating, it means that the pan is hot enough to add oil and cook food with minimal sticking.
Is Stainless Steel Nonstick?
Stainless steel has a smooth and shiny surface that makes it look nonstick. However, genuinely nonstick cookware has a Teflon or ceramic coating that makes food —even the sticky types like eggs—slide off the surface. In that sense, even bare cast iron or carbon steel cookware isn’t fully nonstick.
So, stainless steel isn’t inherently nonstick. But that doesn’t mean you can’t cook without having bits of food clinging to the surface. Making the surface nonstick only takes a bit of preparation and knowledge.
In addition to the lack of a nonstick coating, stainless steel has a porous surface. Although we can’t see these pores, microscopic bits of food can latch on to them. That’s why you need to scrape off the food and thoroughly clean your cookware.
Here are a few tips to remember when cooking with stainless steel.
Cook at the Right Temperature
The key to having a nonstick stainless steel pan is preparing it at the right temperature before adding the meat or vegetables.
When the food particles get into the pores, they stick to the surface and become hard to move. That’s particularly problematic with protein-based foods because the protein forms a chemical bond with the metal surface.
When you heat stainless steel, the crevices get smaller as the metal expands. As a result, food particles have little or no place to go and stay on the surface.
On the other hand, if you don’t preheat the pan, the food will stick to the pan. You add oil to the pan and expect it to form a barrier between the metal’s surface and the food. And it does. However, when you add food to a cold stainless steel pan, the water in the food evaporates slowly and gets into the pan’s tiny cracks, making the food stick.
In addition, when the pan is hot enough, the moisture in the food quickly evaporates, creating steam that acts like a barrier between the food and oil. This not only prevents the food particles from sticking to the pan but also reduces the amount of oil getting absorbed into your food.
Clean Stainless Steel Cookware Properly
The lines and pores on the stainless steel surface can deepen if you don’t take care of your cookware properly. Washing stainless steel shouldn’t add to or deepen the pores and lines on the surface. So, you should treat your stainless steel skillet like your ceramic cookware.
Never use abrasive sponges or materials as they scratch the surface of the metal. If you don’t have food bits stuck to the pan’s surface, rinse it with hot water and clean it with a soft sponge and dish soap.
You can use the classic baking soda trick for stuck-on bits, eliminating the need to scrub your pans and skillets. Cover the pan’s surface with baking soda. Add a little white vinegar and wait a few minutes. The stubborn stains and food bits will easily come off without scrubbing them.
Finally, even if the manufacturer states that their products are dishwasher-safe, it’s better to stick to handwashing to prolong your cookware’s lifespan.
Use Oil To Season Stainless Steel Cookware
Another great way professionals recommend using oil to season your stainless steel pans and skillets. Seasoning stainless steel has pros and cons that make it a personal preference rather than a hard and fast rule because:
- Unlike cast iron, you must wash your stainless steel cookware to keep it shiny. So, the seasoning will be washed off, meaning you need to season your cookware before and after each use.
- Seasoning is just one way to make your stainless steel nonstick. Preheating it at the right temperature allows you to turn your stainless steel pan into a nonstick more easily.
- Using a stainless steel pan or skillet requires adding some oil before cooking. So, seasoning is technically not necessary.
How to Season a Stainless Steel Pan
Some experts still recommend seasoning stainless steel pans to get a much smoother surface. If you decide to do so, here’s a proven way to go about it:
- Choose an oil with a high smoke point, such as coconut or refined olive oil.
- Put the stainless steel pan —which you’ve washed and dried completely— on medium heat and wait for a couple of minutes.
- Add the oil up to the point that it covers the entire pan’s surface.
- Keep heating the oil until it starts to smoke.
- Remove the pan and let it cool down.
- Pour the oil out and wipe it off with a wad of paper towel, rubbing the oil in and ensuring it reaches all parts.
The glossy surface left after wiping is the seasoned skillet with a nonstick surface.
The Mercury Ball Test
As mentioned, the best way to seal off the stainless steel pores and make the cookware nonstick without adding toxic materials is by heating the pan at the right temperature. That’s the tricky part, though.
What’s the right temperature, and when do you know you’ve achieved it?
Enter the mercury ball test!
Based on the Leidenfrost effect (which I’ll explain below), this test tells you exactly when the pan is ready to accept the oil and food. It’s pretty simple, and you can never go wrong with it. Here’s how to perform it:
- Put the pan on the heat source and wait 2 or 3 minutes until it heats up.
- Throw in a teaspoonful of water and see its reaction. If it evaporates or starts boiling, the surface isn’t ready yet, and you should try again. The pan is ready when the water drops turn into beads that glide off the surface, just like mercury beads.
- After seeing the bead, wipe it off and add the oil.
Note. You won’t see a uniform water bead if the pan is too hot. Instead, it breaks down into several droplets running around the surface. In that case, reduce the heat and do the test again.
How Does the Leidenfrost Effect Work?
A principle called the Leidenfrost effect is behind the mercury ball test. Named after the scientist who discovered it, the Leidenfrost effect refers to the process by which a layer of steam forms when moisture hits a hot surface.
If the surface is hotter than the liquid’s evaporation temperature, that layer of steam acts as a barrier between the liquid and the surface, reducing friction. As a result, you can see the water droplets bouncing around the pan without a trace of water on the surface.
The same principle applies when you add meat or other ingredients to the pan. The water content evaporates and fills the space between the food and the metal’s surface, making it nonstick. That’s why you should hear a sizzling sound when you place the meat on the pan’s surface, showing the water content is getting vaporized and turning into steam.
This video shows what the water bead looks like.
Tips
Although the mercury ball test is straightforward, you need to consider some tips to avoid overheating your pan.
- Keep all the ingredients handy to add them immediately after seeing the water beads. If it takes longer, you risk overheating and burning your food.
- Consider your heating source’s speed and temperature while preheating. Depending on the source, you may want to wait less or more before dropping the water.
- Make sure all your ingredients are at room temperature. Adding ingredients right out of the fridge renders your preheating useless because the temperature drops instantly. Plus, it increases the chances of thermal shock, which can warp your cookware.
- Don’t add the ingredients right after adding oil. Wait a few seconds for it to reach the right temperature.
- Dry the meat and other ingredients to prevent water from lowering the pan and oil’s temperature.
- Don’t flip the meat too soon. Wait until a brown, crispy crust forms. This way, you’ll prevent the food from sticking to your pan.
Final Thoughts
If you want to cook with stainless steel cookware, you need to know the proper cooking methods. To prevent food from sticking to your stainless steel pots and pans, you’ll need to preheat the cookware over medium-high heat. Make sure it’s hot enough using a drop of water. If it glides, you’ll achieve your nonstick surface.
Please share your comments below and let us know if these methods work for your stainless steel cookware.

