Do you have a set of stainless steel pots and pans tucked into your cupboards that you never use because food sticks to them? Get ready to bring them out, because we’re going to learn how to use them!
Preheating a stainless steel pan is the magical secret to giving it a nonstick surface. But how do you know when it’s ready at the right temperature to add food?
In this article, I’ll share my technique for making stainless steel cookware nonstick and reveal how to know when a stainless steel pan is ready for cooking.
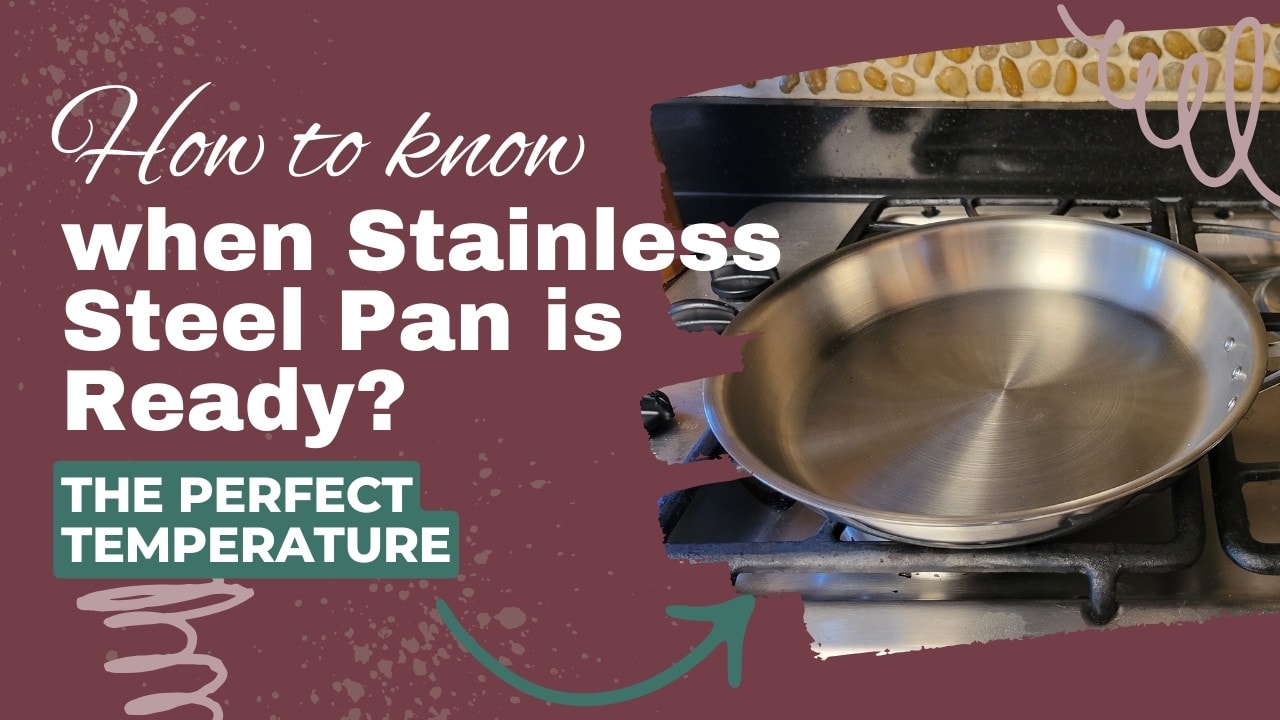
How To Know When Stainless Steel Pan Is Ready
The way to know when your stainless steel cookware is ready is to use the “water drop” test. To try it, heat the pan for 2-3 minutes and add a teaspoonful of water. The pan is hot enough when the water drops form a blob and glides around the surface.
If the water fizzes, splits into tiny droplets, or evaporates, the pan is not hot enough yet! It can take longer than you think!

For a 10” stainless steel skillet, getting it hot enough takes 2-3 minutes on medium heat. But this time varies significantly depending on the thickness of your pan and the type of heat source (gas, electric, induction, etc.).
How to Make Stainless Steel Nonstick – The Basics
Your stainless steel cookware may look sleek and shiny, but the surface isn’t 100% nonstick. The primary reason for this is the microscopic pores in the stainless steel’s surface. When food comes into contact with your pan’s surface, tiny bits clog these pores.
Adding enough oil is one way of reducing stickiness. Oil fills up these pores and doesn’t let food bits stick in them. The more oil you use, the lower the chance of food touching the surface.

But, thankfully, adding a big glug of oil isn’t the only way to make your stainless steel cookware nonstick! All you have to do is heat cookware to the right temperature (and add a little oil) to get that coveted nonstick property on a stainless steel pan.
Learn More: How To Make Stainless Steel Pans Non-Stick
How to Preheat a Stainless Steel Pan
Preheating a stainless steel pan correctly is essential for achieving a good sear on foods and preventing sticking. Here’s a step-by-step guide on how to do it:
- Select the Right Burner:
- Choose a burner that matches the size of your pan to distribute heat evenly.
- Begin Heating:
- Place your stainless steel pan on the burner and set the heat to medium-high. This setting allows the pan to heat up gradually, ensuring an even heat distribution.
- Time the Preheat:
- Allow the pan to preheat for about 2-3 minutes. It’s essential not to rush this step, as an adequately preheated pan will cook food more evenly and release food more easily.
- Test the Heat:
- To check if the pan is ready, you can perform the so-called mercury test (don’t worry, there’s no real mercury involved). Flick a few droplets of water onto the pan. If the pan is adequately preheated, the water will roll around the pan like a ball of mercury.
- Adjust the Heat:
- Depending on what you are cooking, you may need to adjust the heat setting. If you’re going to sear meat, for instance, you might need to keep it on medium-high. For gentler cooking, like sautéing vegetables, reduce the heat to medium or medium-low.
- Add Oil or Butter:
- Once the pan is preheated, add a little oil or butter, ensuring it coats the base of the pan. Wait for the fat to heat up for about 30 seconds to a minute, or until it begins to shimmer before adding your ingredients.
- Add Your Ingredients:
- Now your pan is ready for cooking. Add your ingredients, and enjoy the improved texture and flavor that comes with properly preheating your stainless steel pan.
How to Do The Stainless Steel Pan Water Test
This method is called the mercury ball test, but don’t worry – there’s no real mercury involved! This test gets its name because, when a pan is hot enough, water appears to transform into a drop of mercury and slide uncannily around the edges of the pan without evaporating.

The mercury ball test is a reliable way to test if your pan has reached the perfect temperature to become nonstick. But why does it work?
When stainless steel cookware heats up, the metal expands. This makes the microscopic pores smaller so food particles can’t get in.
Here’s how to perform the mercury ball test.
- Wash the pan to ensure there’s no food residue. And dry it thoroughly.
- Place the pan on medium-high heat and wait for it to heat up.
- Gently drop a teaspoon of water into the pan. (Don’t throw it in, or it may split from the force and confuse the results.)
- The pan is ready if the drop rolls around like a ball of mercury on the surface, without fizzing, splitting, or evaporating.
- Pour off the water drop, add oil quickly, spread the oil, and add the food right away. You don’t want the pan to overheat (more on that later).
Check out this video to see how the test is performed.
What Does it Look Like When the Pan is Not Hot Enough?
The “mercury ball” appears when the pan is preheated to the perfect temperature. If it’s not, the water droplets will act differently. Anything but the round blob shows the pan isn’t hot enough. Even if you see the blob, but there are tiny particles dancing around, it’s not the right time. A single blob floating around the pan is the ultimate sign.
Your pan isn’t ready if the water drops:
Check out this video to see what your pan should and shouldn’t look like when doing the mercury ball test:
The Science Behind the Mercury Ball Test
You may wonder how a single drop of water can show a stainless steel surface has become nonstick.
We have the Leidenfrost effect to thank! Johann Leidenfrost, a German physician, discovered that water starts to vaporize when it reaches a specific temperature. At this point, a layer of steam forms between the water and the metal’s surface. This prevents water from touching the cookware’s surface.
The same phenomenon happens with food. When you add the ingredients to the pan, their moisture content evaporates, forming this barrier between the food and the pan’s surface. This effectively makes the pan nonstick.
How Long Does it Take to Preheat a Stainless Steel Pan?
This question has no definite answer since stainless steel cookware heats up at different rates It depends on various factors, including:
Although these factors affect the speed at which your cookware heats up, the mercury ball test doesn’t take a long time. Most stainless steel cookware develops the nonstick surface after 2-3 minutes on medium heat. This is when you should dribble the water to start the test.

Even scientists can’t detect an exact consistent temperature at which the Leidenfrost effect appears. Research indicates it can be between 212 -379°F. But too many factors play a role to pin down a fixed temperature. That’s why top chefs recommend the water drop test instead of using an infrared thermometer to tell when a pan is ready.
What Happens if Stainless Steel Gets Too Hot?
You have to heat your stainless steel pans to the perfect temperature to make them nonstick. However, there is such a thing as overheating! A pan that’s too hot can be not only ineffective but dangerous. Here are some things that can happen if your pan gets too hot:
Food Sticking
Overheating may not affect the metal and remove its newly developed nonstick properties. But when you add oil to an overheated pan, it starts to burn. Burned oil creates a sticky residue on the surface of the pan. And when food comes into contact with this residue, it sticks to the surface. This is why you need to be ready to add your food as soon as you add the oil before it has a chance to burn.

Oil Smoking
Overheated oil doesn’t only make food stick to the pan. It can also be harmful. Overheating may increase the oil’s temperature beyond its smoke point. This breaks down the oil’s molecules, causing oxidation and producing potentially dangerous compounds.
Discoloration
The stainless steel alloy used in cookware includes chromium (along with iron, carbon, and nickel.) This chromium interacts with oxygen, creating a layer of chromium oxide across the surface of the cookware. This isn’t a bad thing – it’s actually what makes stainless-steel rust resistant. But, if exposed to high temperatures, the chrome oxide will turn “rainbow-colored.”

Thankfully, rainbow discoloration won’t affect the performance of your cookware and is easy to fix with home remedies.
However, if high heat turns your stainless steel cookware yellow, brown, or black, that means it’s burning oil that’s embedded into the pores of the pans. This is much harder to remove and may reduce your pan’s ability to become non-stick.
Warping
Stainless steel is more resistant to warping than aluminum, but cheaper stainless steel pans can warp if applied to intense direct heat.
Warping may not make your cookware useless, but it reduces its heat distribution. Warped cookware can’t make full contact with the cooktop’s surface, preventing even heat distribution on electric, glass, or induction cooktops.
Tips For Preventing Food From Sticking to Stainless Steel Pans
Doing the mercury ball test helps you make sure you’ve heated the pan enough to prevent sticking under ideal conditions – but there’s still a learning curve to cooking on stainless steel. Keep these points in mind for a better cooking experience.
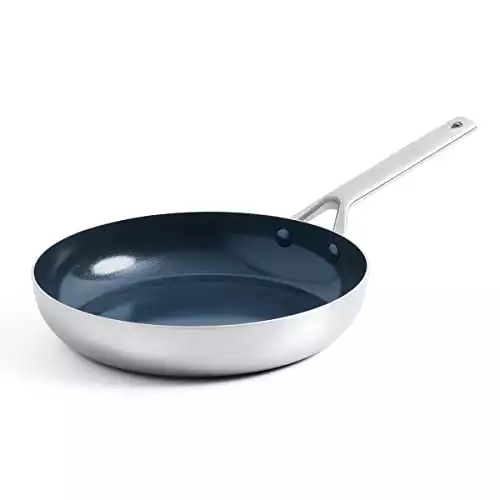
Coated Stainless Steel Cookware
The water drop test only works for uncoated stainless steel. Coated stainless steel cookware has a layer of Teflon or ceramic to make it nonstick without high heat. These pots and pans work differently from uncoated types.
Cooking with a nonstick pan requires a different strategy, so you should follow the manufacturer’s instructions. Generally, you never want to preheat an empty coated pan! Overheating Teflon coatings can produce harmful fumes. And repeatedly overheating ceramic or Teflon-coated pans can make them lose their nonstick properties quickly.
✅ Metal utensil safe
✅ Diamond-infused coating
✅ No PFAS, PFOA, lead, or cadmium
Frequently Asked Questions
Should you preheat stainless steel?
Yes, you must preheat stainless steel pans or food will stick to them! Regardless of what food you’re cooking, adding food or oil to cold stainless steel and then heating it up will make your meal stick to the pan’s surface. You can do the “water drop test” to tell when your pan is the right temperature to add food.
How hot should a stainless steel pan be to cook eggs?
Preheating a stainless steel pan at medium heat for 2-3 minutes is usually long enough for cooking eggs. Unfortunately, there’s no one consistent temperature that will make a stainless steel pan nonstick. The water droplet test is the best way to tell when the hot pan is ready for cooking eggs.
How do you know when stainless steel is ready for oil?
The mercury ball test is the best method to know when stainless steel is ready for oil. Drop half a teaspoon of water into your preheated pan. If it rolls up and slides around the pan, it’s ready. If it does nothing or sizzles, you should wait longer.
Conclusion
Cooking with stainless steel pans has a learning curve – but you can totally do it! The water test is fascinating to watch, just as a science experiment! But it’s also your secret to knowing exactly when your stainless steel pan is ready for cooking.
So, the next time you crave a juicy steak but don’t feel like firing up the grill, give your mom’s old stainless steel pan a try!
Please share your comments below if you have any questions about heating stainless steel pans.


This information and how you presented it is priceless. I just got an induction stove and new cookware. Now, I now know how not to mess up my pans(and cooking!)
Thanks a million.
– Wendy
Hey Wendy,
Glad you found this guide useful! Enjoy your new cookware and make sure to come back for more cooking tips. 🙂