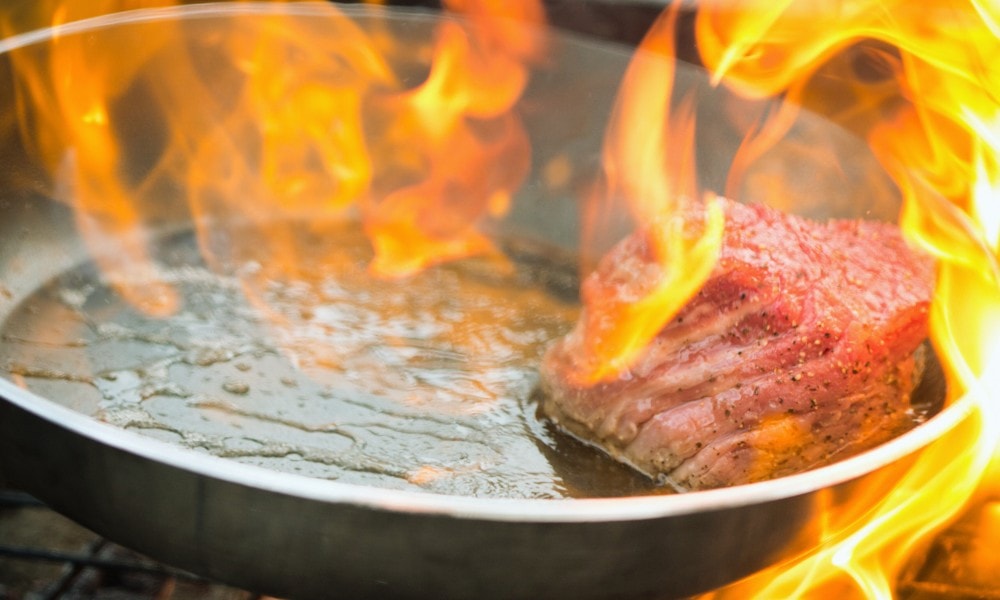
Do you have a stainless steel skillet that’s the workhorse of your kitchen? You probably use it for sauteing and frying. But do you know how to cook the perfect steak in a stainless steel pan?
I reach for my stainless steel skillet when I crave a juicy steak after a long day – but don’t feel like turning on my outdoor grill. And it has never disappointed me.
In this article, I’ll cover:
How to Cook Steak in a Stainless Steel Pan: Step By Step Guide
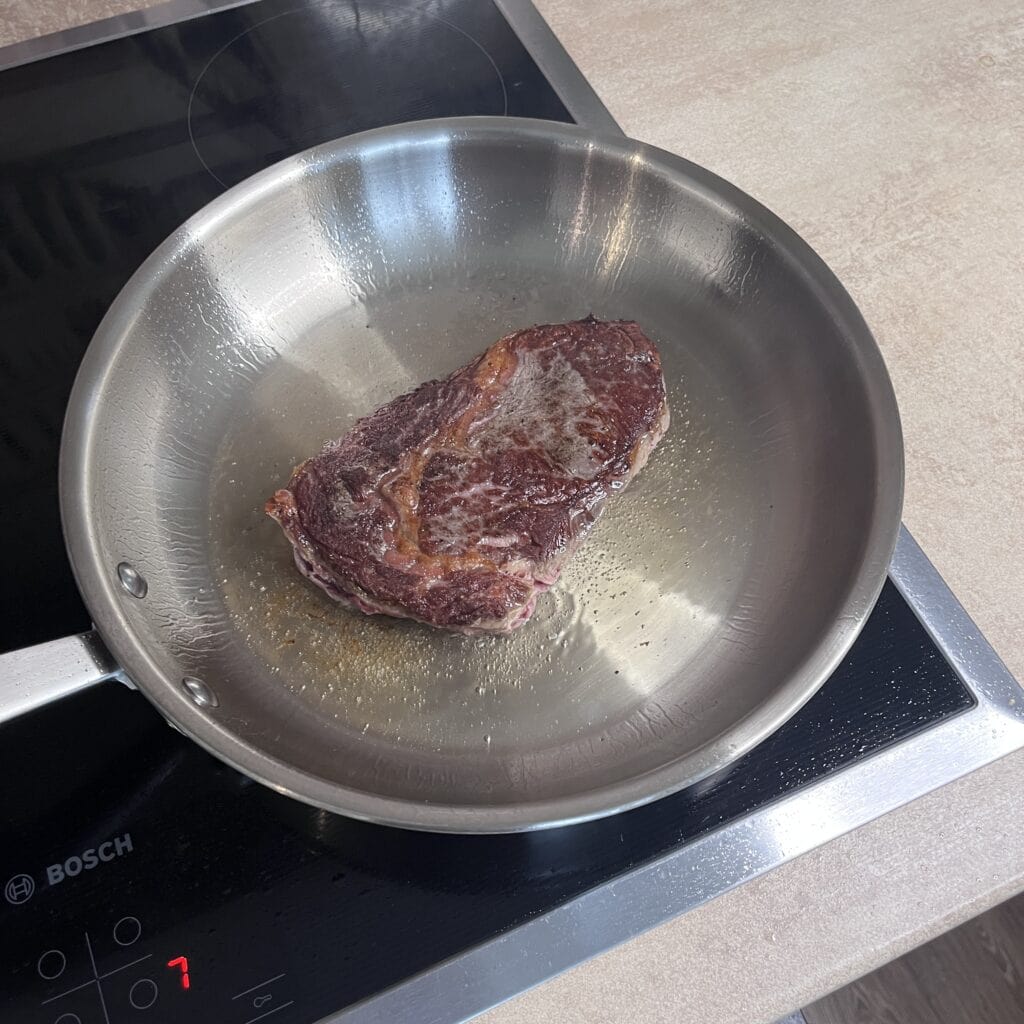
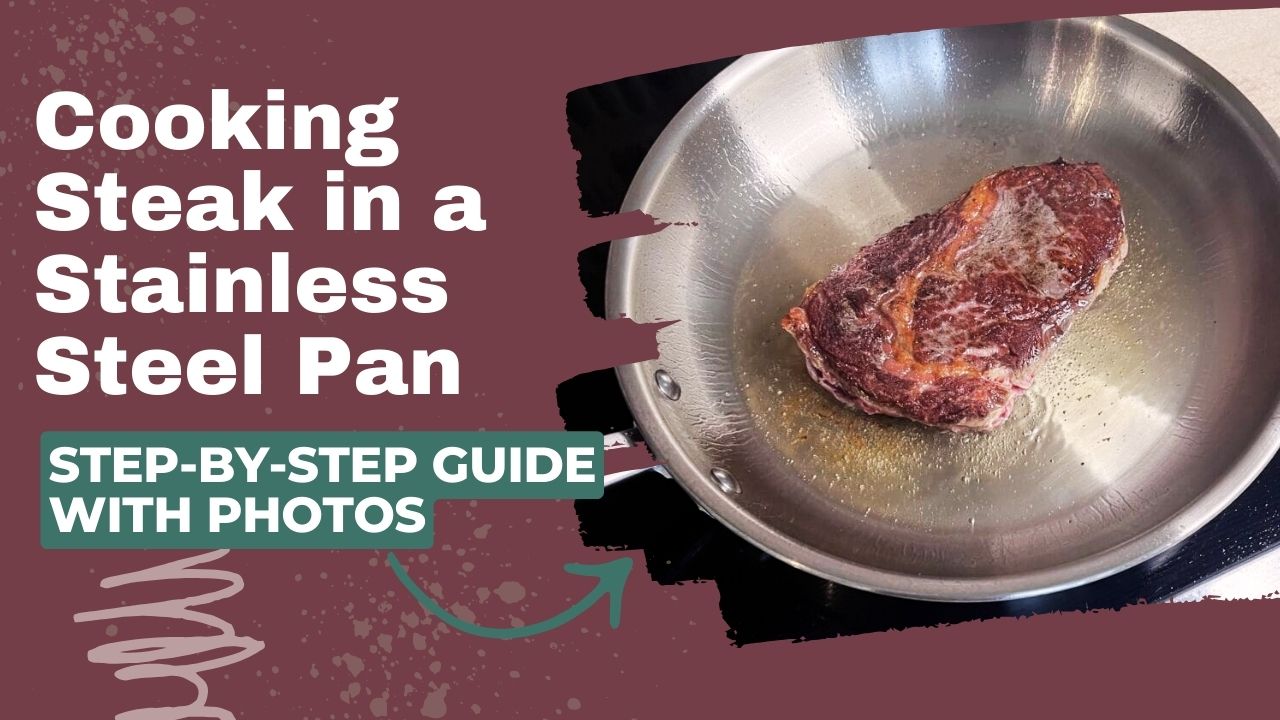
There are numerous recipes for cooking a steak on a stovetop and in a stainless steel pan. But the basic steps to get a juicy steak with a crispy crust are as follows.
Step One: Prepare The Ingredients
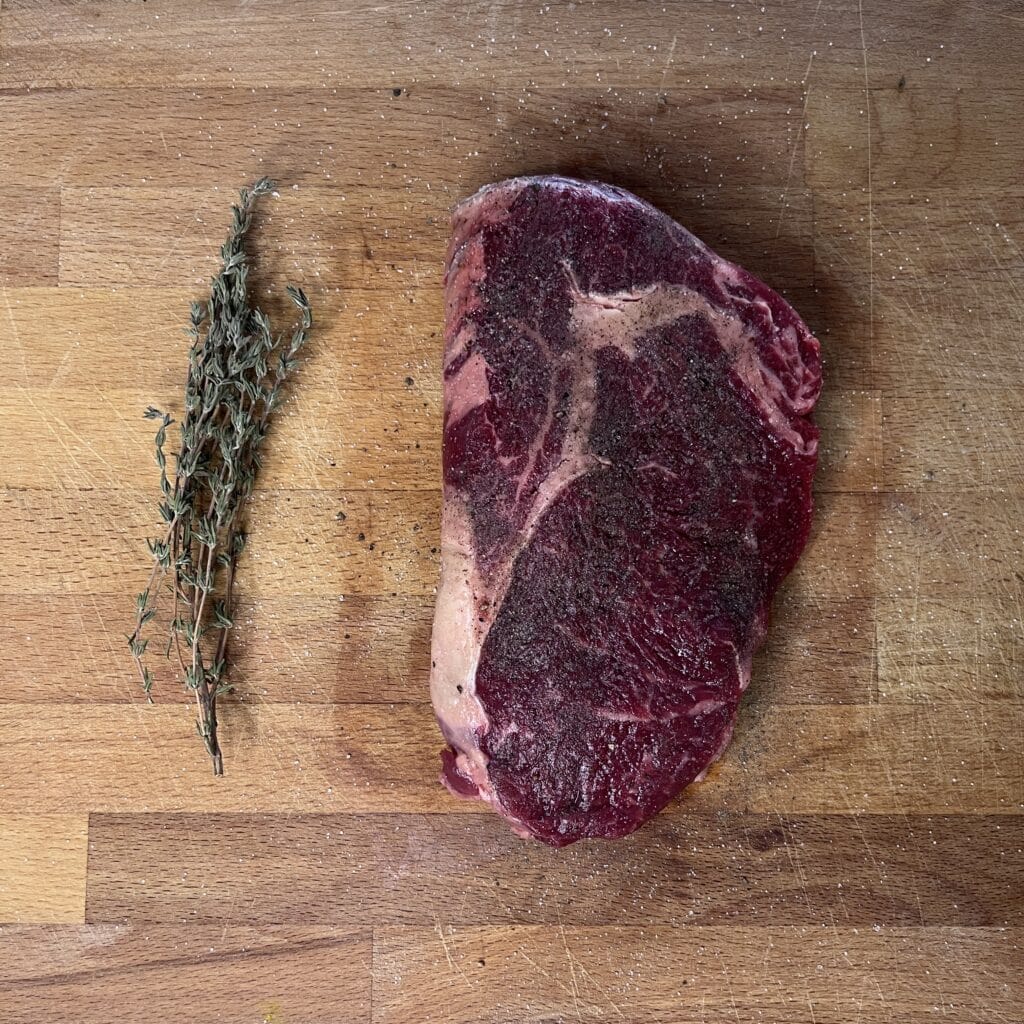
Lay the ingredients on the table, whether you want to go with a marinade or dry rub. If the meat is refrigerated, leave it at room temperature for 10-30 minutes for better results. Pat the steak with a paper towel to remove excess moisture.
Step Two: Preheat The Pan
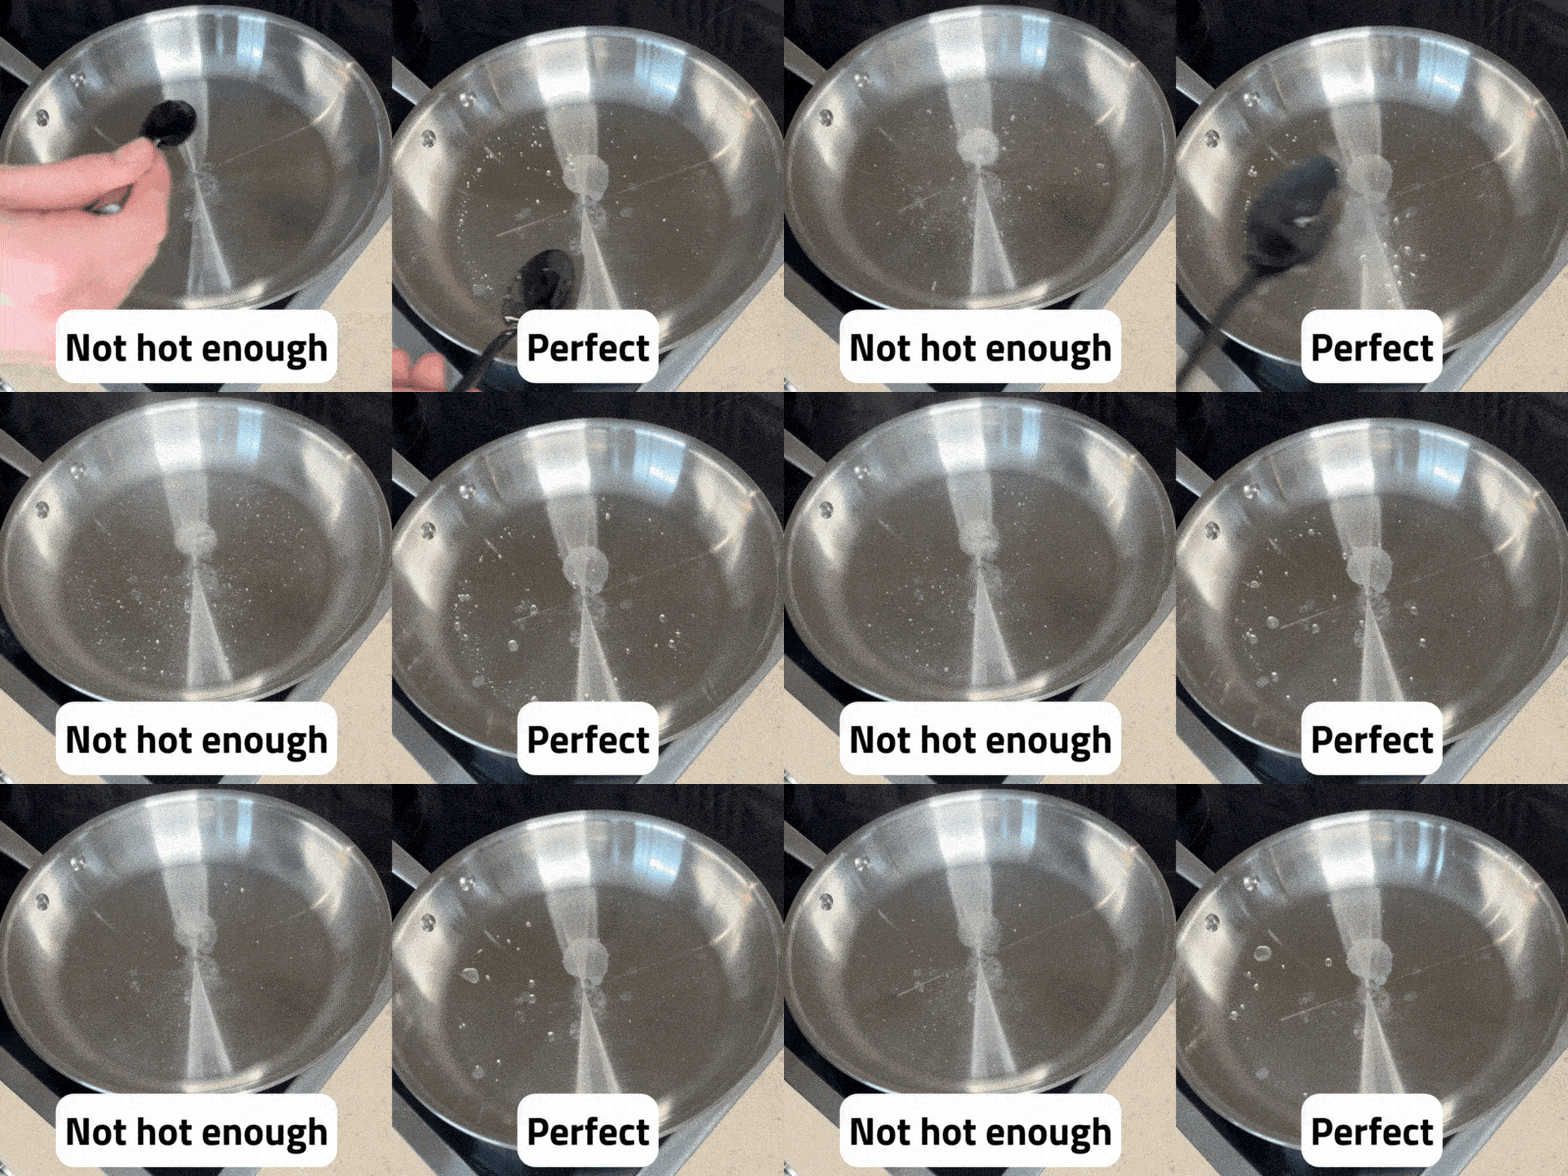
Place your pan on direct heat and preheat the pan for 3-4 minutes.
How do you know that the pan is ready? Sprinkle a few drops of water onto the pan. If the droplets start fizzling, the pan is not hot enough. When the droplets start bouncing across the pan like mercury balls, the pan is ready to fry.
Step Three: Add Oil and Meat
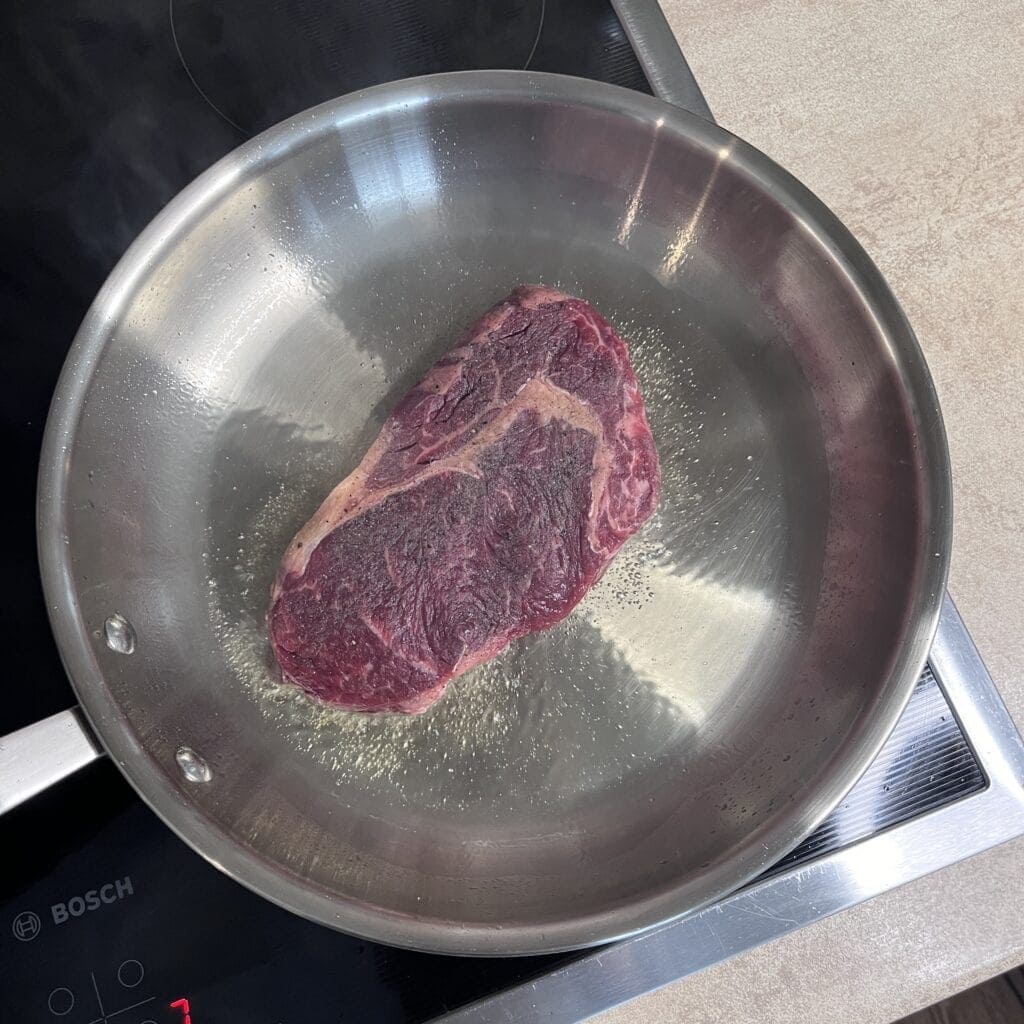
You may want to add oil to the pan and rub some on the meat. Remember to pat the meat dry with a paper towel. Excess moisture can ruin your steak. Keep the heat medium-high to prevent the pan from losing its temperature and giving you a soggy steak.
Step Four: Flip The Steak

Wait 2-3 minutes until you see a brown crust. You may need to wait more, depending on your stovetop and pan. If you can’t flip the steak because it’s stuck to the pan’s surface, it’s not ready. Flipping the steak too soon will ruin it.
Step Five: Add Herbs and Baste The Steak
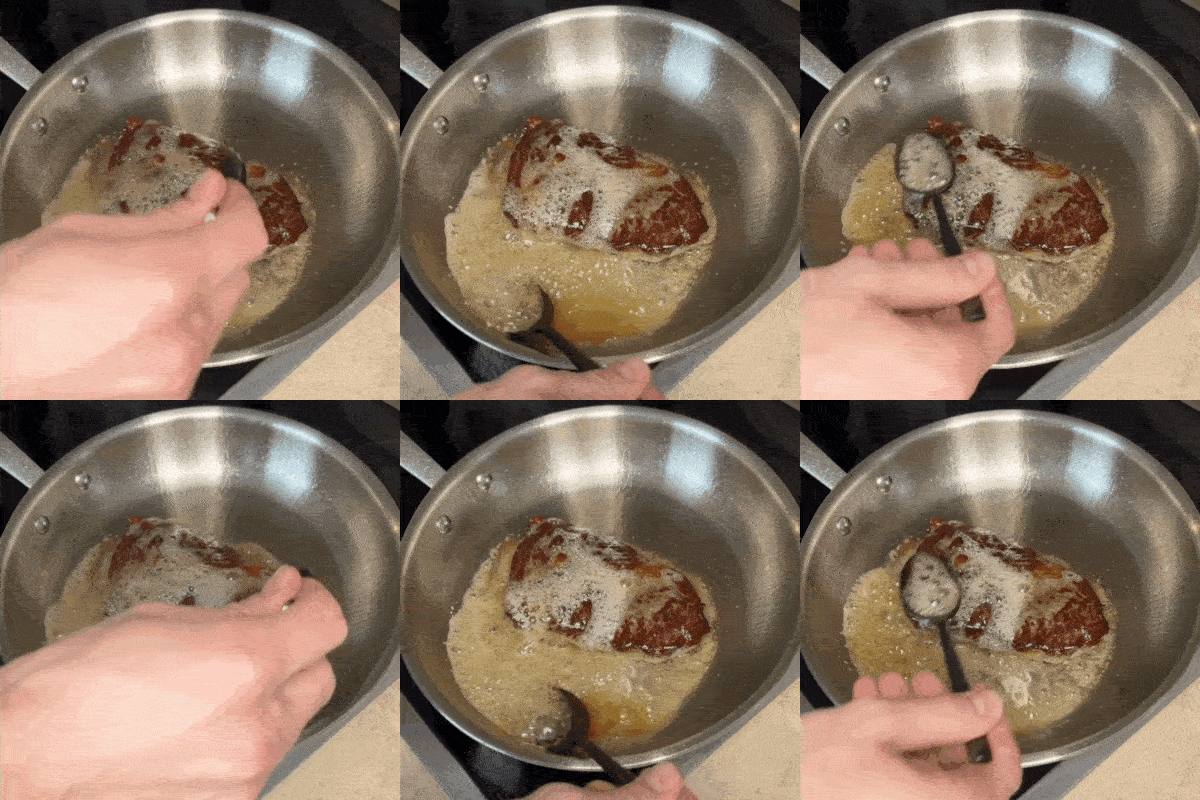
Adding butter with herbs like thyme and rosemary will boost the steak’s flavor. Infuse the butter by spooning it over the crust and continue cooking until you get the desired doneness.
Step Six: Let The Steak Rest
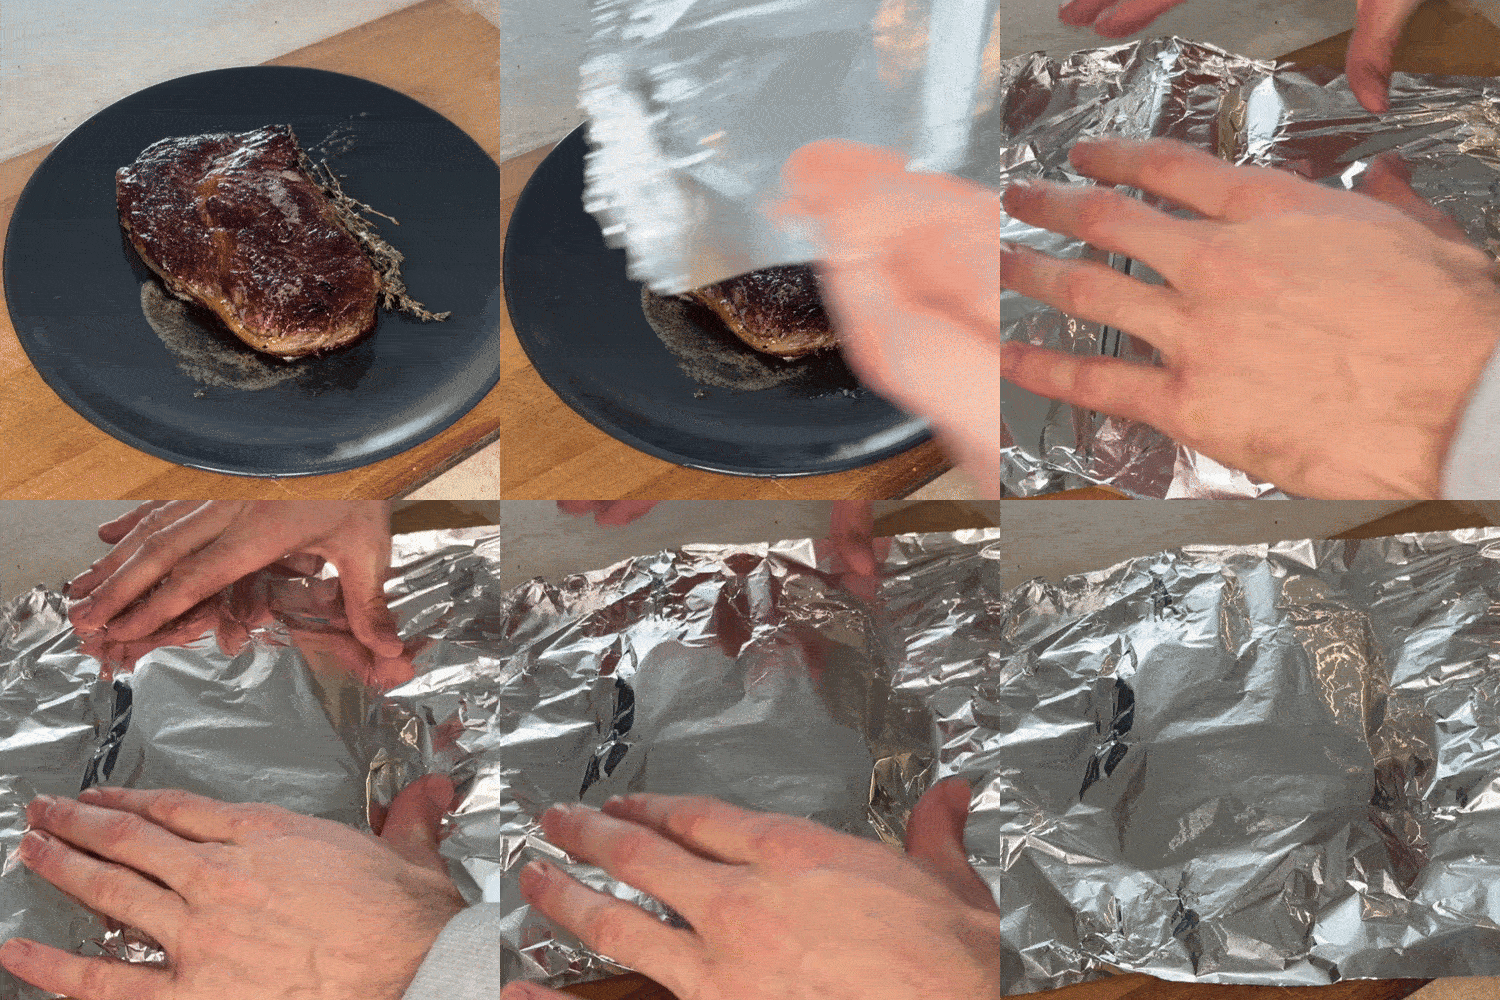
This is an essential step. Letting the steak sit for about 5 minutes and tenting it with aluminum foil will help it get cooked better and enhance flavors. Move it aside and let it rest.
Optional: Deglaze The Pan
If you didn’t baste the steak, you can deglaze the pan to ensure every flavorful bit is saved. After removing the steak, add your liquid of choice, like wine, broth, or water. Stir the pan to dissolve all the fond and create a thick and pleasant sauce to add to your steak.
Step Seven: Clean The Pan
Pour some warm water into the pan, add dish soap, and scrub it with a soft sponge. Don’t add cold water to a hot pan since it can cause thermal shock and warp your pan.
Choosing The Right Stainless Steel Pan for Steak
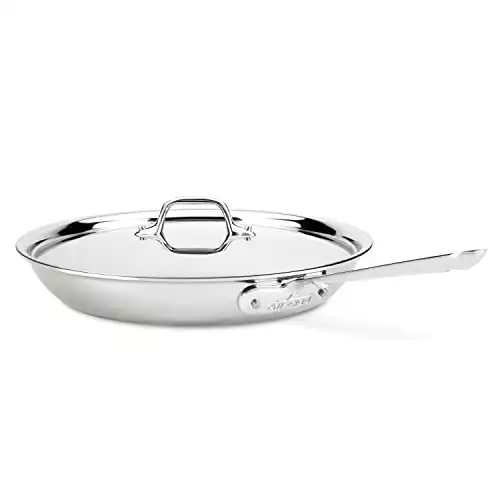
Stainless steel is among the best materials for searing steak. Assuming you’re using high-quality stainless steel, it’s durable and warp resistant under high heat. It may take a while to heat up, but it has excellent heat retention that will give your steak that coveted crust.
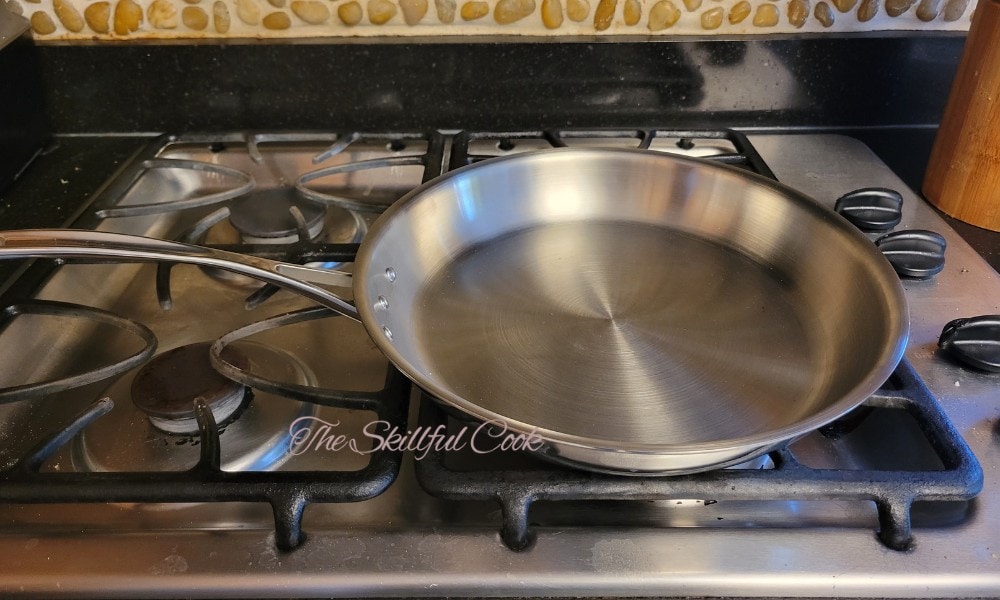
Stainless steel pans come in uncoated (aka regular or “clad” steel) and – though less common– ceramic or Teflon-coated options. However, only uncoated (sold as fully-clad or 5-ply or 3-ply) stainless steel pans are good for cooking steak. The coated pans can’t handle the high heat necessary to achieve a good sear.
Here’s what goes into picking the right stainless steel pan for searing steak.
Size
When choosing your pan size, consider the number of people and the amount of meat.
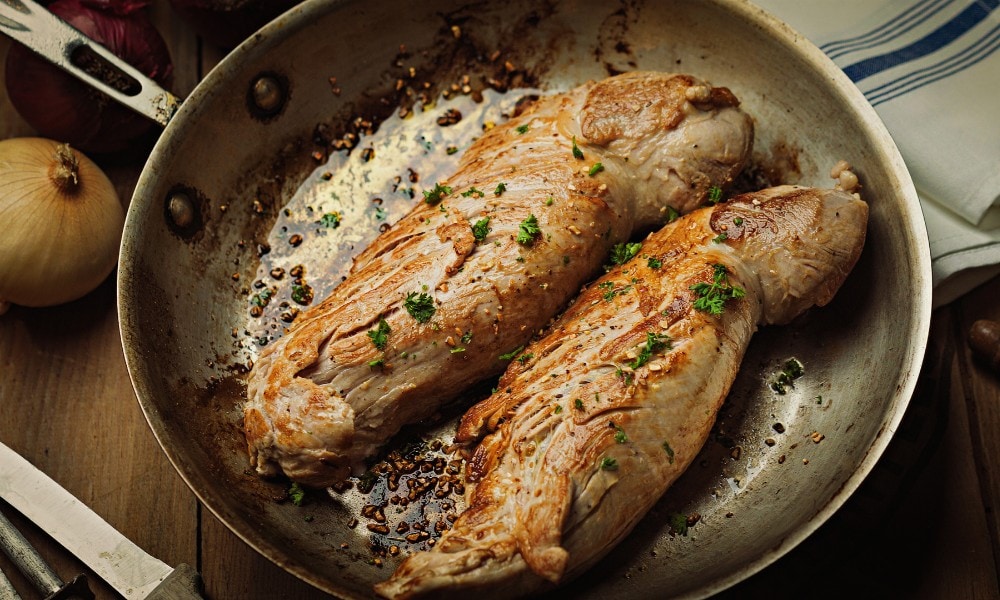
The most common stainless steel pan sizes are 6”, 8”, 10”, and 12”. The first two are small and best for a one-person steak. The 8” option is best for medium-sized meals for 2-3 people. And 12” pans are ideal for larger beef cuts that feed around five people.
You should also consider the pan’s walls. To sear steaks, you need a ripping hot pan, and adding oil and meat can cause splatters and flare-ups. So, choose a high-sided pan to avoid these issues.
Quality
Stainless steel doesn’t shine when it comes to heat transferability. That’s why you see 3-ply or 5-ply all-clad stainless steel cookware on the market. These products have a sheet of conductive metal (usually aluminum) placed between two stainless steel layers to boost heat conductivity.
All clad stainless steel pans have excellent heat distribution across the entire vessel, including the sides. But you can also find impact-bonded pans with a disc of aluminum attached to the bottom of the pan. This disc is the only conductive part of the pan.
Although searing steak won’t require heated sides, impact-bonded stainless steel pans usually have lower quality since the disc may come loose after a while. So, while impact bonded pans do work for searing steak, they aren’t as good a purchase in the long run.
Want to learn more? Check out my guide on picking the perfect pan for searing steak. I’ve also included a few of my favorite pans in the guide.
Durability
A good food-grade stainless steel pan should withstand high temperatures (around 500°F) without warping. The best grade steel for high heat cooking will be marked 18/10.
✅ Oven & broiler safe
✅ Easy to clean
✅ All cooktops compatible
Secrets for Perfect Steak on Stainless Steel Pans
Searing steak in a stainless steel pan is different working with a cast iron skillet. Both can result in mouth-watering steaks with impressive crusts, but stainless steel tends to be trickier as it requires more preheating.
Here’s how I make sure I get a perfect steak in my stainless steel pan every time:
Preheating the Pan
Why is it that some people swear by their stainless steel pans, while others think it’s rubbish? It’s because stainless steel isn’t naturally nonstick. You need to preheat it to just the right temperature for it to become nonstick and give steak a great crust. Otherwise, you’ll end up with a meaty mass stuck to the bottom of your pan, ruining both your dinner and your opinion of stainless steel.
So, what’s the perfect temperature? It’s around 400 – 500°F, depending on your cookware.
That’s a pretty big range, isn’t it? Don’t worry – the mercury ball test can help you find the perfect temp for your pan and stove.
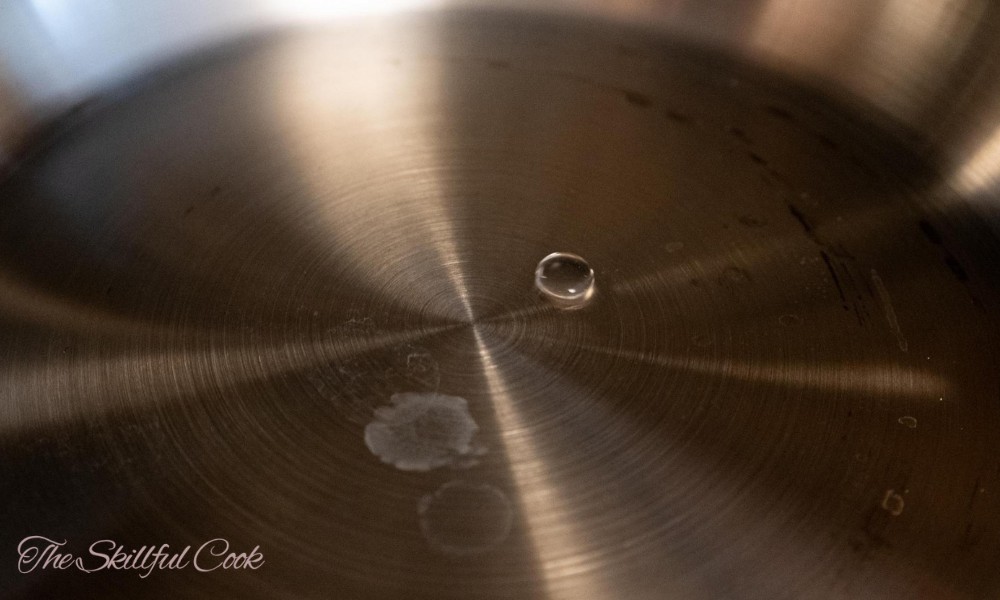
Heat the empty stainless steel pan for 2-3 minutes and pour in half a teaspoon of water. Your pan is ready for oil and steak if the water rolls up into a blob and moves around the pan. If it doesn’t, you should continue heating the pan.
If the water evaporates immediately, fizzes or dances, and doesn’t form a ball, the pan isn’t hot enough yet.
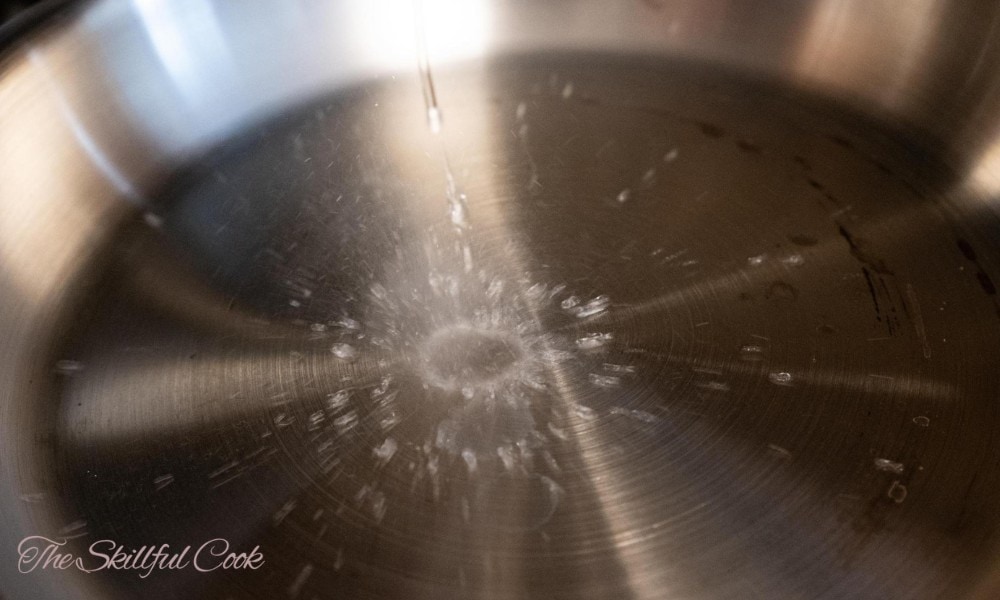
This test is based on a scientific phenomenon called the Leidenfrost effect. When the pan is hot enough, it forms a layer of steam between the water drop and the pan. The same barrier is created when we add the steak to the pan. Some of the meat’s moisture rapidly evaporates, creating a space between the meat and the pan. This means the steak won’t stick to the surface.
Using Oil
Although preheating a stainless steel pan makes it virtually nonstick, it might not be enough. Many steak lovers add oil to create an even crust and give their steak more flavor.
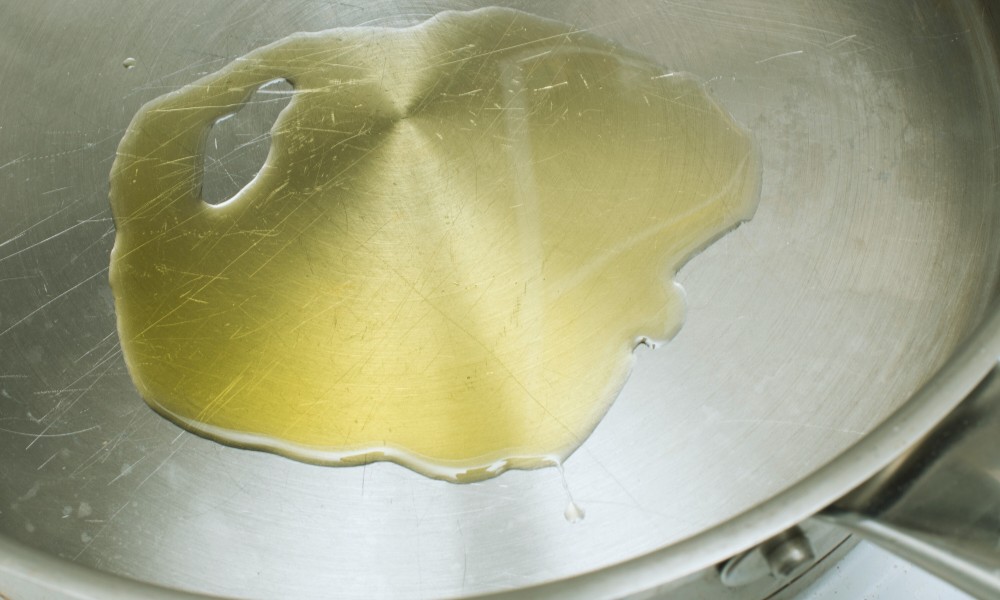
But be careful! Adding too much oil can backfire and give you an oily steak. Plus, it might prevent the Maillard reaction, the chemical reaction that gives you a brown and crunchy crust on your steak. I recommend rubbing a teaspoonful of oil onto the steak, not the pan.
You also need an oil with a high smoke point to prevent oxidation, which ruins the steak’s taste. Refined avocado oil, ghee, and refined olive oil are the best.
Seasoning
You can use different methods to season your steak. Dry rubs involve spices and herbs sprinkled and rubbed onto the meat. You can leave dry dubs overnight for more flavor. Although dry rubs are best for gorgeous and crispy crusts, they don’t give you as much flavor as other methods, since they can’t penetrate the meat.
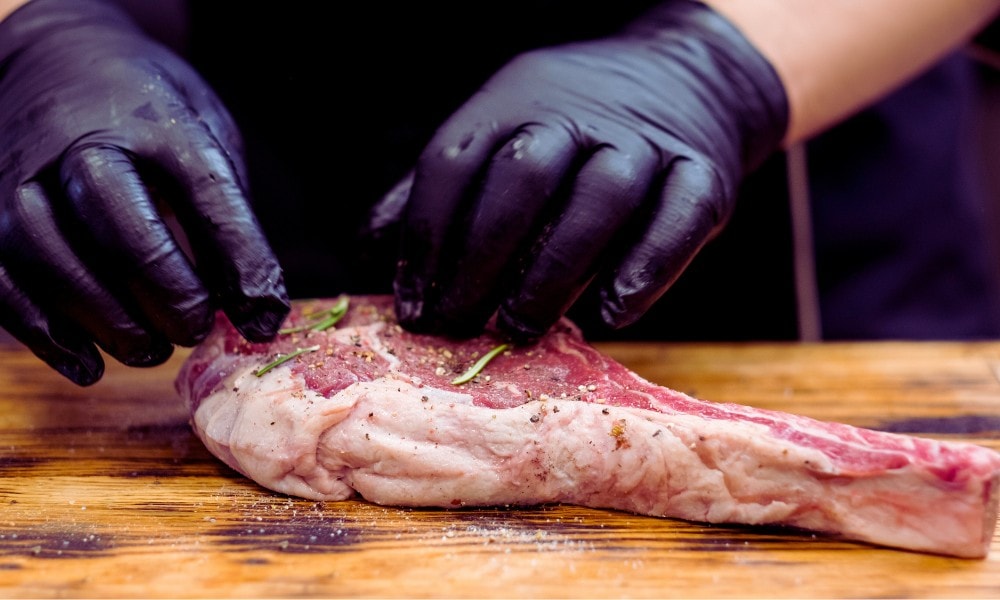
On the other hand, marinating can infuse flavors deep into the meat. For a marinade, add spices and herbs with oil and liquids like lemon juice to a plastic bag, add your steak, and seal it. Storing marinated steak in the fridge overnight is a great way to make it flavorful and tender, but the added moisture means you might not get as beautiful a crust when you sear it. Always pat a steak dry before searing.
Tempering the Meat
Tempering means letting steak come to (or closer to) room temperature before searing. There’s debate on whether or not this actually makes the steak cook more quickly or evenly, which “evidence-based cook” Chris Young pretty much lays to rest in the fascinating video below. He concludes that tempering does yield much more even cooking.
Be careful, though. Food safety guidelines all agree that you shouldn’t leave a steak out at room temperature for long. Tempering it in a plastic bag immersed in a bowl of warm water for 10-15 minutes can be enough to see benefit when cooking without risking food poisoning.
Beef Cuts and Thickness
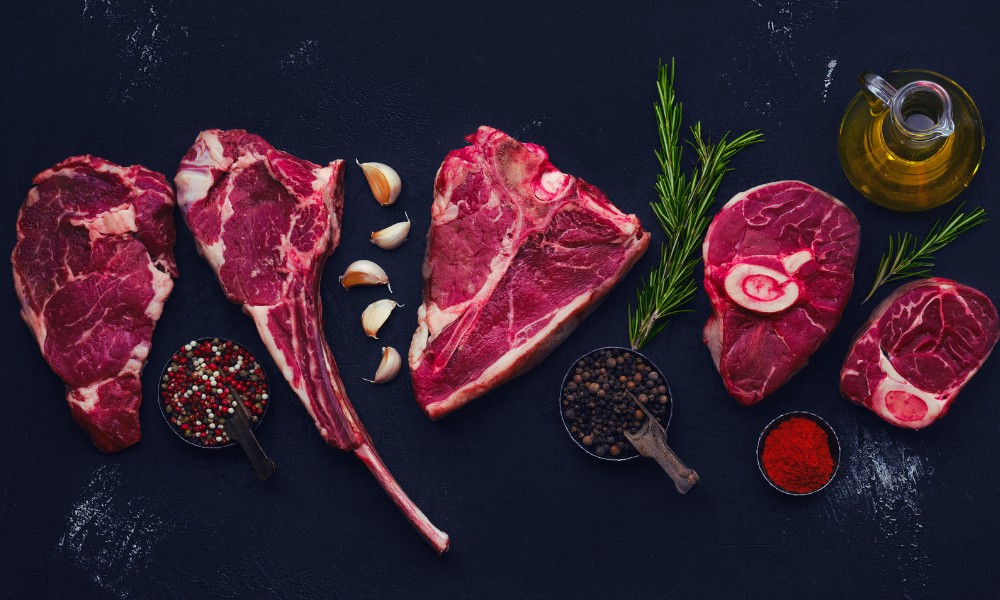
Not every beef cut lends itself to pan-searing in stainless steel cookware. The best cuts for this purpose should be 1-1.5 inches thick and have lots of marbling. This way, you can get more flavor and a juicier steak.
The best beef cuts for stainless steel are:
Reverse Searing
You may think reverse searing is only possible with cast iron. But it works perfectly well with stainless steel, too. These pans get properly heated and offer adequate heat retention for a perfect sear.
There’s one hitch, though: if you try to sear the steak in the stainless steel pan you oven-cooked it in, it might stick to the pan.
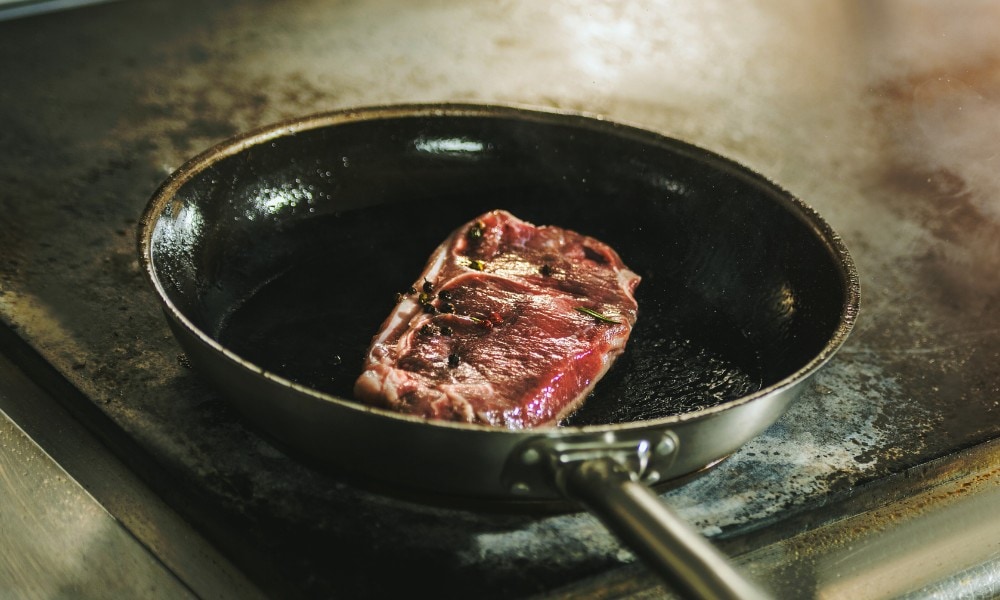
Most stainless steel pans are oven safe to 500°F or more. So you can definitely cook your steak in the oven right in the stainless skillet, as long as the handle is oven-safe as well. But that pan will have juices and bits in it that may burn and stick when you put it on the heat of the oven. You also won’t be able to perform the water drop test in a dirty pan. So it’s better to do the oven cooking part of reverse searing on a baking sheet with a rack, then sear your steak in stainless steel afterwards.
All you need to do is heat the pan using the water drop test, add oil, and place the steak in the middle of the pan. Sear each side for one minute, then add the butter and herbs to flavor it.
Here’s a useful video that compares reverse-searing a steak on a cast iron skillet vs. a stainless steel pan.
Frequently Asked Questions
Is stainless steel good for cooking steak?
Stainless steel is perfect for cooking steak. It’s durable, has excellent heat retention, and conducts heat well. The only catch is to heat it at the proper temperature to make it nonstick.
Can you pan-sear a steak in a stainless steel skillet?
You can easily pan-sear a steak in a stainless steel skillet and get perfect results. Use the mercury ball test to heat it to the right temperature, add some oil, and sear the pre-seasoned steak in your pan. Flip it when the brown crust appears and baste it if you want.
How long does it take to preheat a stainless steel pan for steak?
Preheating a stainless steel pan for steak may take 2-3 minutes, but the time varies considerably with the type of burner you use (gas, electric, or induction) and the thickness of your pan. Use the water drop test for more accurate results than timing it.
Conclusion
If you’re craving perfect steak at home, but don’t have cast iron, you can totally get a great sear on your stainless steel pan. Or if you want to avoid cooking in cast iron because it transfers iron to your food, but are looking for a solid pan for your famous ribeye recipe, I’d definitely recommend getting a high quality stainless steel skillet.
Can you taste a difference between iron-seared steak and one made on stainless-steel? Let us know in the comments!





Fantastic explanations and the perfect images. I’ve watched a lot of stuff about cooking with stainless steel and this is the best!
One question: with the high heat of the preheated pan, there is a lot of sizzle from the meat and it makes a giant mess on the cooktop/countertop. Is there a way to manage this mess?
thanks!
Hey Monique,
Thanks for stopping by! I’m glad you found this guide useful.
For cooking steak in a hot stainless steel pan, I have these tips:
1. Pat the steak completely dry before searing. Moisture is the main culprit in oil splatterings.
2. Sprinkle some salt onto the pan to absorb excess moisture.
3. Use a splatter screen like this.
Hope this helps!