‘How on earth…’ was my immediate thought when I first clapped eyes on this Vertical Layer Red Velvet Cake. ‘How the heck does that work?
I thought I was clever in deducing that the answer lay in stacking layers of cake horizontally and then turning them on their end. But no…
Do you know?
The answer, folks, is… you have to roll the cake into a spiral and then turn it on its side. Confused? I don’t blame you!
In fact, all the way through making this cake, I was not at all convinced it was going to work. Which was a pretty scary state of affairs, given I was making it for my brother’s birthday celebration. ‘Can’t you just make something you’ve made before?’ my mother asked me. ‘Heavens no’, said I. ‘Where’s the fun in that?’
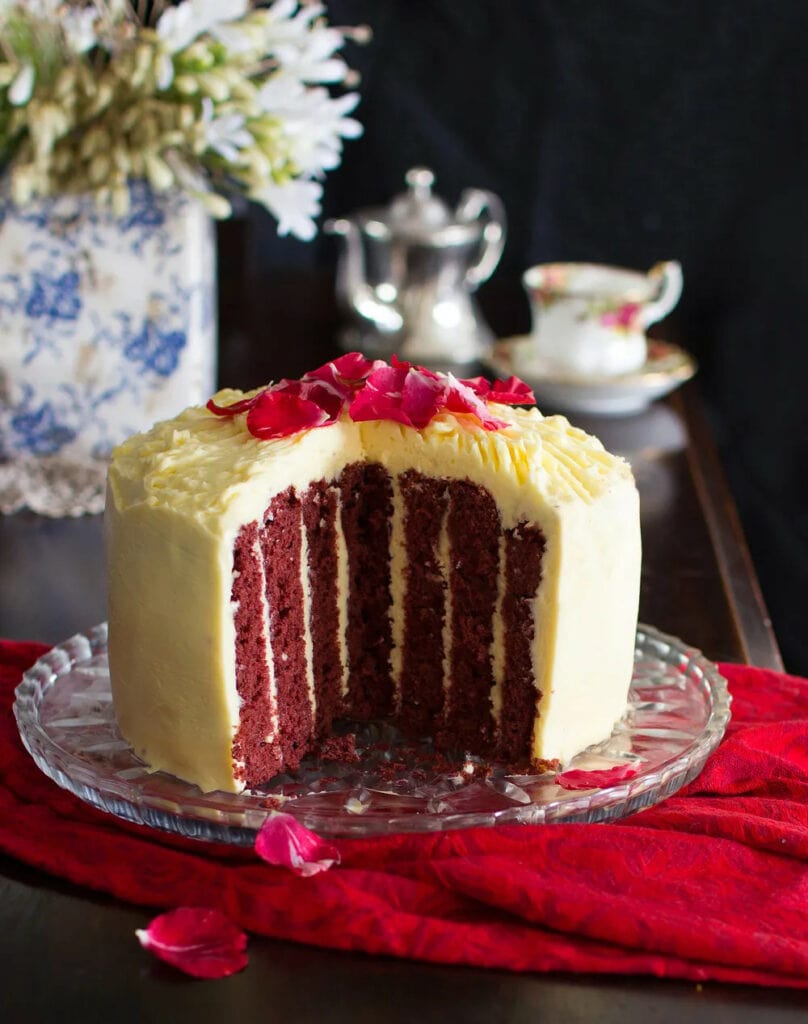
Actually, I’d had my eye on this intriguing recipe by Bernadette Hogg in NZ House & Garden (September 2015) magazine for a while. It looked impressive, but scary, though it was suggested that it was easier to make than it looked. And, that’s true, for the most part…. that is, up until the rolling process itself – then it got a wee bit tricky. Trying to roll an ever-expanding wheel of sponge cake was not exactly a walk in the park. The sponge cracked in a few places; got stuck on the wax paper in a few other places, and threatened to tip over along the way! When it was all rolled up I seriously questioned how this ugly, mis-shapen sponge spiral (see my process photos below if you don’t believe me!) was ever going to work out.
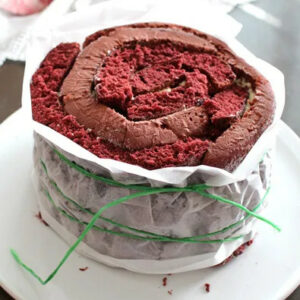
Not only was it butt ugly, but the roll threatened to unravel at any minute, so I had to think fast. Calling on my inner MacGyver, I wrapped the sides of the cake in some wax paper, then wound some string around it to pull the sides in. Then I put the cake in the fridge and prayed.
Once the cream cheese had firmed up a couple of hours later, I cut the string off (it suddenly occurred to me that it might leave dents in the cake) and wrapped several pieces of plastic wrap firmly around the sides and on top. I then let the cake chill in the fridge like that overnight. It did the trick pretty darn well; the shape held perfectly well the next day and while there were still a few lumps and bumps, they got covered once I iced it anyway.
That aside, I was still almost certain the cake would be a flop. Either it was going to crumble into a red velvet mess, or the layers would be as straight as a dog’s hind leg. When it came time for the big reveal, I prepared myself for some major disappointment (and embarrassment!). But, lo and behold… it worked like a dream. How? I barely know myself.
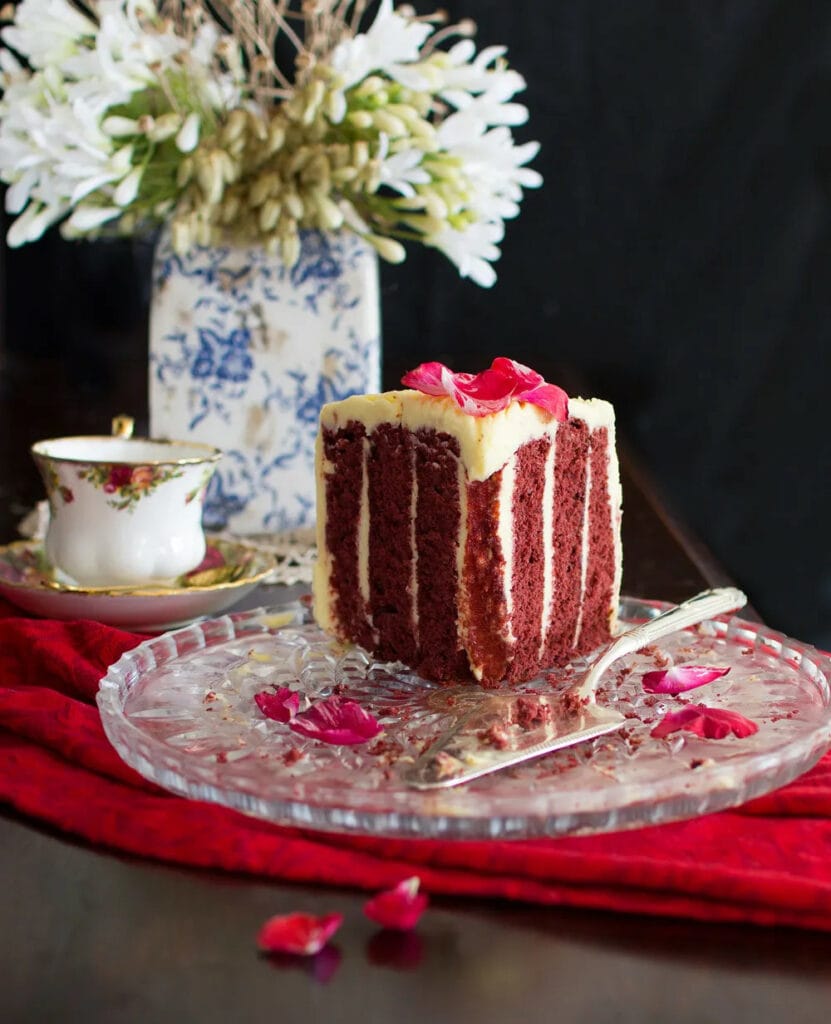
Flavour-wise, the cake itself didn’t disappoint either. With its tender, chocolate flavoured sponge and multiple layers of tangy cream cheese icing, it was a delicious alternative to a standard layer cake. It was, as it turned out, a cake definitely worthy of a celebration! Take that, mum!
I followed the recipe pretty much verbatim, though I did substitute gluten-free flour for the standard flour which worked really well. Oh, and I made an extra half portion of the cream cheese icing. My cake (which was 8 inches wide by 4 inches tall) ended up being a bit bigger than the one in the magazine and the icing only just covered it. And, as far as I’m concerned, you do NOT want to be stingy with cream cheese icing!
Now… just a note about the colour. I have to admit that I baulked at using a whole tablespoon of red colouring as suggested and in the end I think I used about 2 teaspoons worth before I called it quits. The result, of course, was that it wasn’t a full-on red colour, so if you’re really wanting a more intense red, take a deep breath and go to the full tablespoon.
Anyway, to cut a VERY long story short, if you’ve never tried this technique and keen for a little adventure, I say ‘give it a go’. You’ll impress yourself as well as your guests… Oh, and BTW, it’s kind of fun to play a few rounds of ‘How did I make that…’ In my family, at least, it made for some pretty good entertainment!
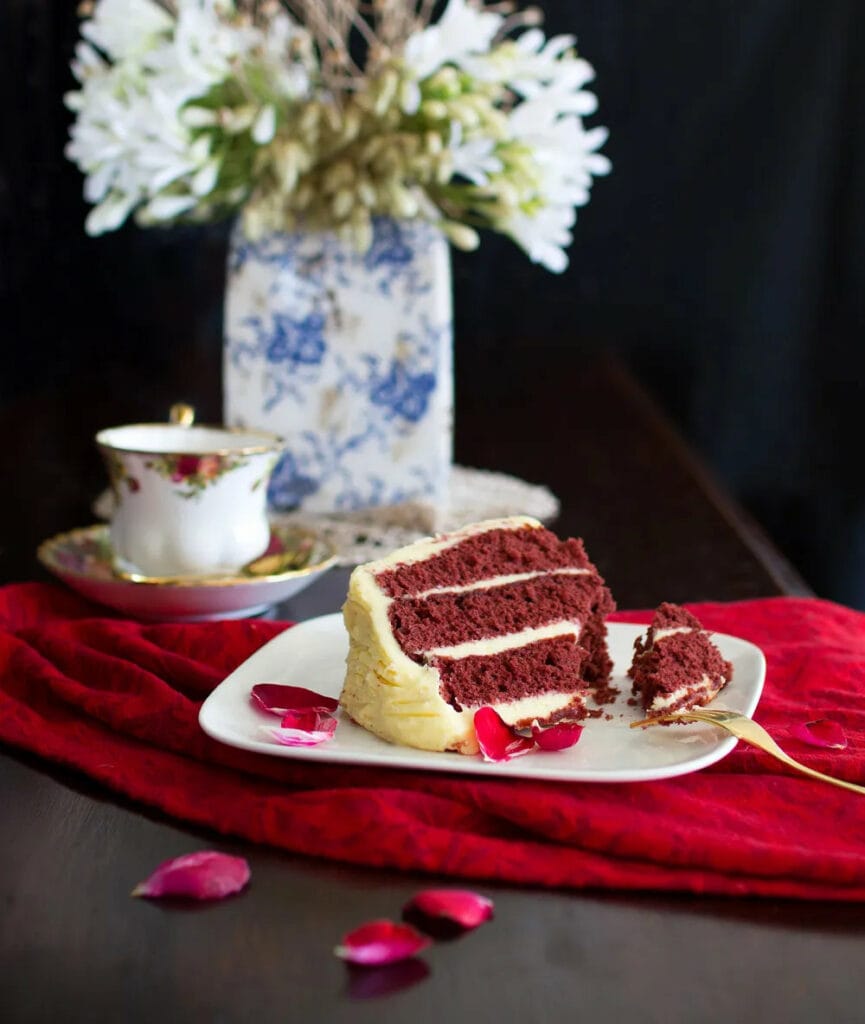
Red Velvet Cake (Vertical Layer)
Equipment
Ingredients
For the red velvet cake:
- 1/4 cup cocoa powder
- 2/3 cup hot water
- 6 eggs
- 1-1/2 cups caster sugar plus extra for sprinkling
- 2 cups self-raising flour (I used gluten-free flour blend plus 2 teaspoons baking powder)
- 1 tbsp red food colour gel
- 1 tsp vanilla extract
For the cream cheese icing:
- 6.3 oz butter , softened
- 7 oz icing sugar , sifted
- 17.6 oz cream cheese , room temperature
- 1 tsp vanilla extract
Instructions
For the red velvet cake:
- Heat oven to 180C (360F). Grease and line two 30cm x 24cm (approx. 12 x 9 inch) sponge roll tins*.
- Place cocoa in a small bowl with hot water, mix to dissolve then leave to cool.
- Beat eggs until thick and creamy. Slowly add caster sugar, beating until mixture is very thick and sugar has dissolved.
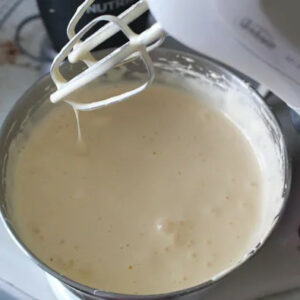
- Sift flour over and gently fold in.
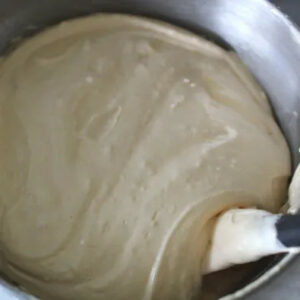
- Stir red gel and vanilla into cocoa mixture until well combined, then gently fold into sponge mixture until colour is evenly mixed.
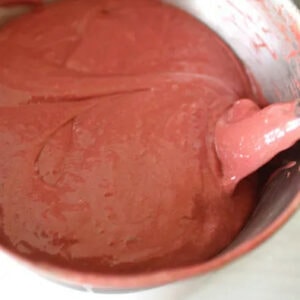
- Divide mixture between tins and bake for 12-15 minutes, or until springy when pressed gently in the middle (you can also test by inserting a skewer, which should come out clean).
- Turn sponges out onto 2 sheets of baking paper that have been sprinkled generously with caster sugar (this will help stop the cake sticking to the paper) and, while still hot, carefully remove lining paper.
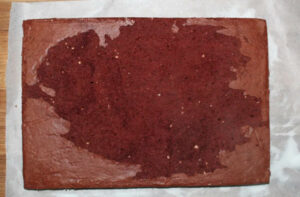
- While still warm, gently roll up sponges from the short ends, rolling the baking paper inside the roll (it helps to score the sponge along its width about an inch in – this will start the rolling process).
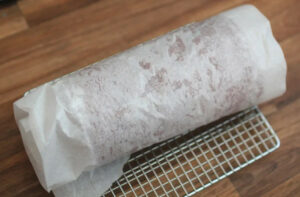
- Place rolls on a wire rack to cool for 15 minutes, then carefully unroll and allow to cool completely.
For the icing:
- Pulse butter and icing sugar together in a food processor. Add cream cheese and vanilla and blend until smooth. If not using immediately, store in the fridge.
To assemble cake:
- Cut the 2 sponges in half lengthwise to make 4 strips.
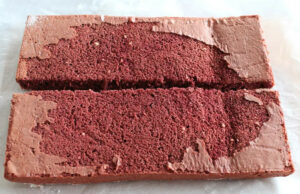
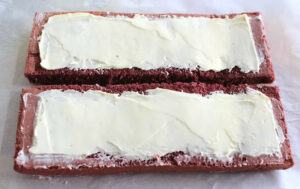
- Spread about a third of the icing evenly over the sponges, leaving a 1cm (quarter inch) border all around (ensure you get a generous even coverage with the cream cheese, as this is what will show up as vertical lines in your cake).
- Line up sponges in a long line, overlapping slightly where each one meets (I suggest overlapping a good inch to avoid gaps between the sponges while rolling).
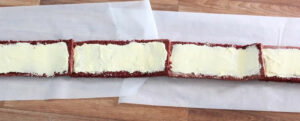
- Starting at one short end, carefully roll them up into a log.
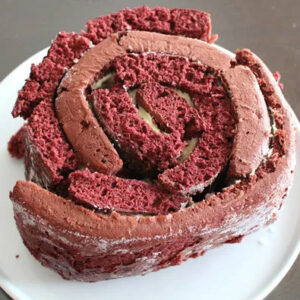
- Note: If you’re concerned that your cake might not hold its shape, I suggest you wrap the sides in wax paper, along with a few layers of plastic wrap, then store in the fridge** for a few hours (or overnight) to firm up. If the cake is seriously threatening to unravel, try wrapping it in string or ribbon (which will avoid dents), at least for a couple of hours – this will draw the cake in tightly.
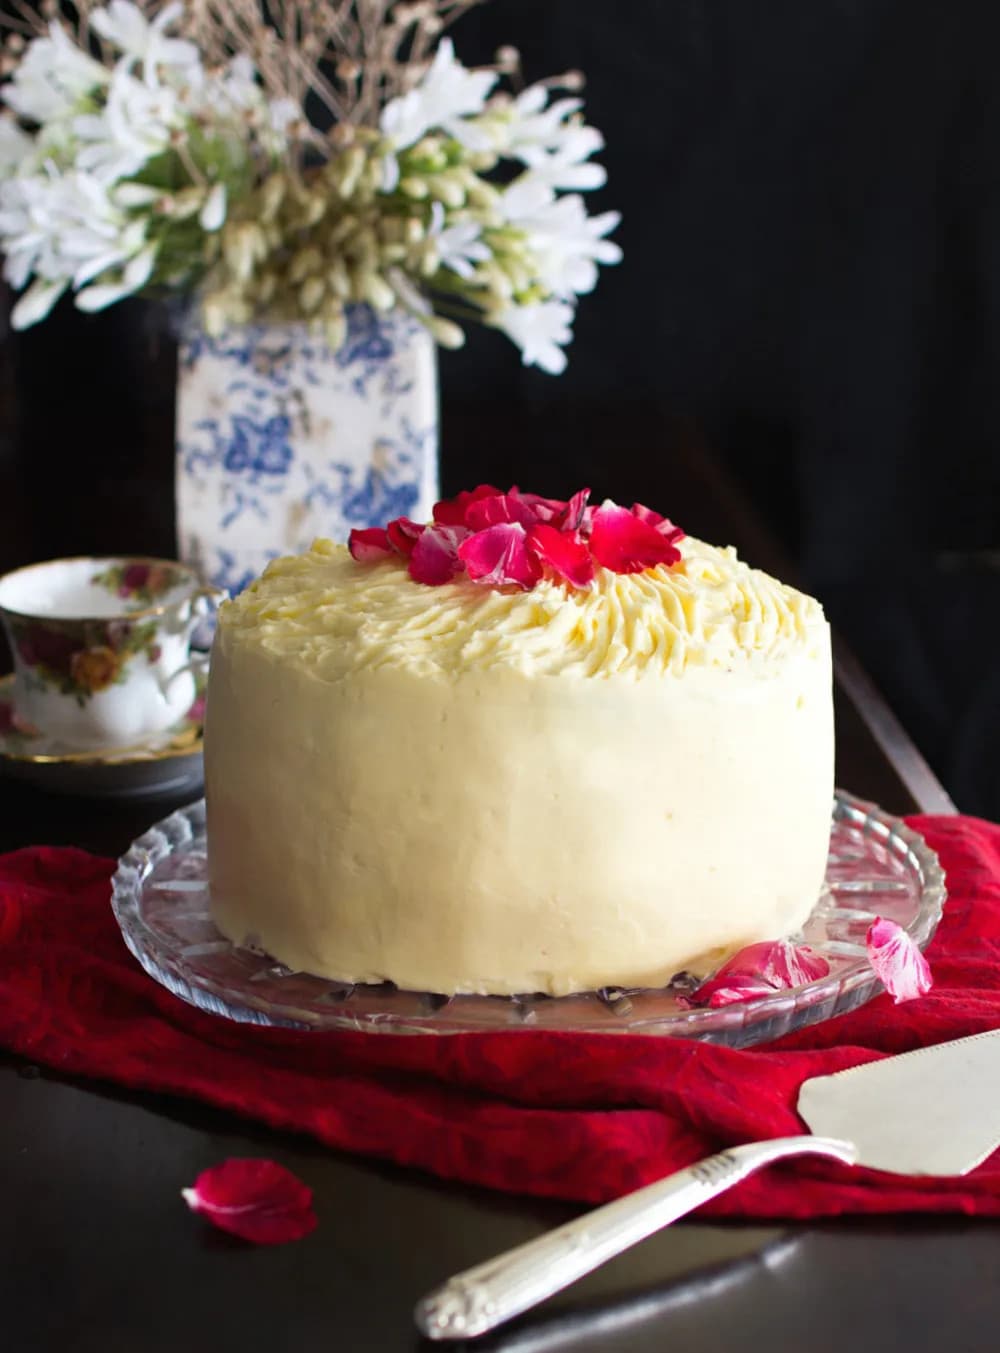
- Place cake on a serving plate, flat side down, and cover top and sides with remaining icing. If desired, decorate with shaved white chocolate. If refrigerating, take the cake out of the fridge about an hour before serving.
- The cake will keep 3-4 days in an airtight container in the fridge.





Ive made a 6 layer red velvet cake and it was hard enough work, this looks amazing cut but your before images are classic 🙂 I prefer the more red/brown colour myself – I use the Wilton gel colours which are super intense.
Haha… yes, you’ve got to applaud my bravery in showing my process photos!! Must keep an eye out for the Wilton gel range. Your 6 layer cake sounds very impressive!
I cant reply to your response so trying here – LOL I appreciate you showing the WIP images, its helpful for the rest of us. Try Trademe for Wilton stuff, I used to get a lot from there at reasonable prices before it began to be stocked locally.
The 6 layer cake was quite impressive – needed LOTS of icing – it was a 3 sponge cake that I cut the layers in half to make the more narrow ones that seem to be the preferred style in the US
Thanks Stacey. You’re welcome re process images! Will look out for Wilton, thanks for the recommendation. Yes, I bet the 6 layer cake was impressive – interesting re preferred styles around cakes. I don’t think layered cakes were all that common in NZ up until recently.
OMGosh that looks amazing and totally delicious. Not sure I would attempt that one myself as you would need a lot of patience to put it together, mine would probably fall apart. However, the fact you have made it gluten free wants me to give it a go after Christmas maybe a nice cake for Boxing Day.
Thanks Lee – well, as you can see from my process photos, mine pretty much was on the brink of falling apart, but despite that, it turned out to be a great outcome!
Hi I’d love to make this but what’s a 12 x 9 inch sponge roll tins, how high can the cake pan be in the sides? Thanks!
Hi there. Sorry.. a sponge roll tin is what we call them over here. They are called jelly roll or swiss roll or even lamington roll tins/pans in other countries. The sides of my pan was nearly 2 inches, though it only needs to be about an inch or so. Hope that clarifies.