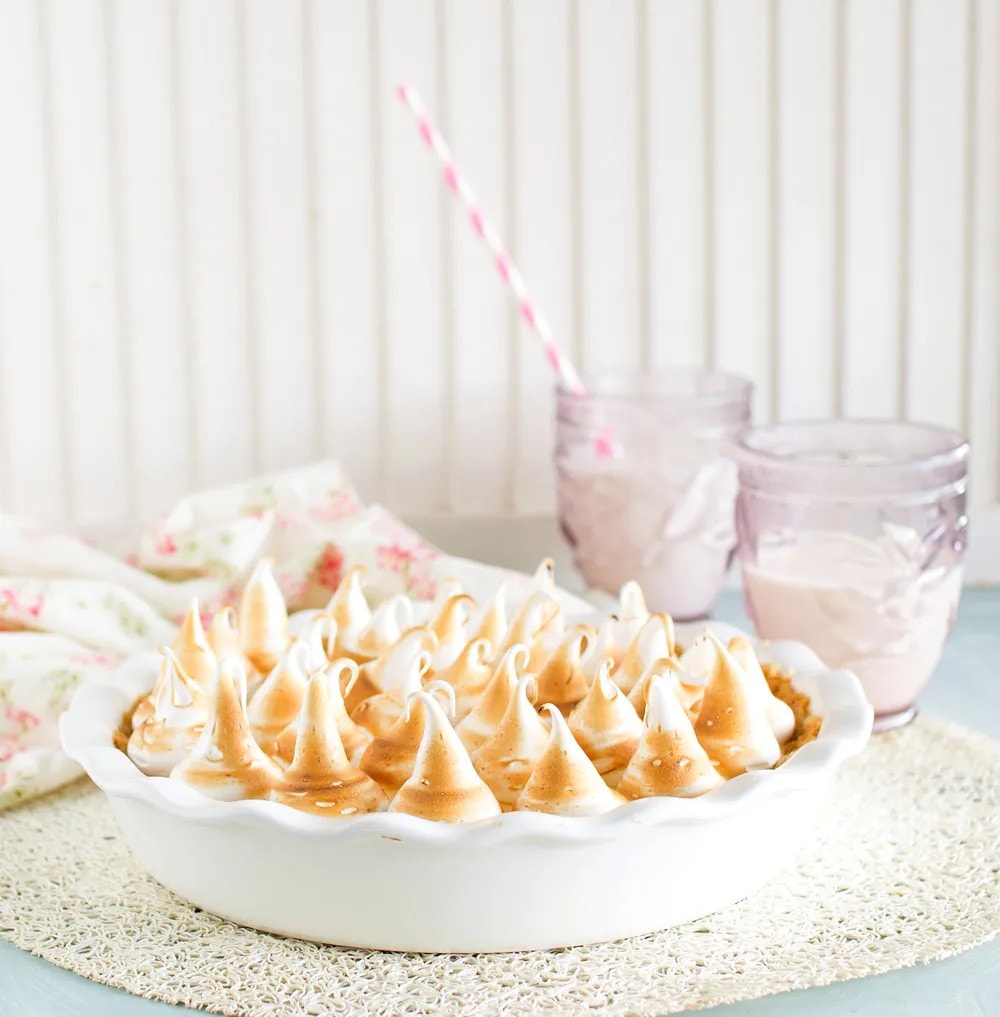
Oh, I’m such a sucker for lemon meringue pie! Yes, it would be right up there with my all-time favourite desserts – Chocolate Mousse, Tiramisu and Baked Alaska. There’s something just so undeniably delectable about the combination of mouth-puckering lemon and sweet meringue.
Why add another lemon meringue pie to the blog, when I’ve already made what I consider to be best Lemon Meringue Pie ever? Because this version is the ‘cheat’s version. It’s the one you make when friends arrive on your doorstep unexpectedly and you’ve only got a handful of hours to make something half-way decent. Imagine their surprise when you put this on the dinner table!
So, what makes this a cheat? Well, the real thing has a baked pastry crust, a baked filling and, commonly, a baked meringue. This version has an uncooked biscuit (cookie) base, uncooked filling and unbaked meringue. It may not be for those of you who don’t trust eating raw eggs (though the whites in this Swiss meringue are cooked), but the eggs here in New Zealand are exceptional and I always use organic eggs.
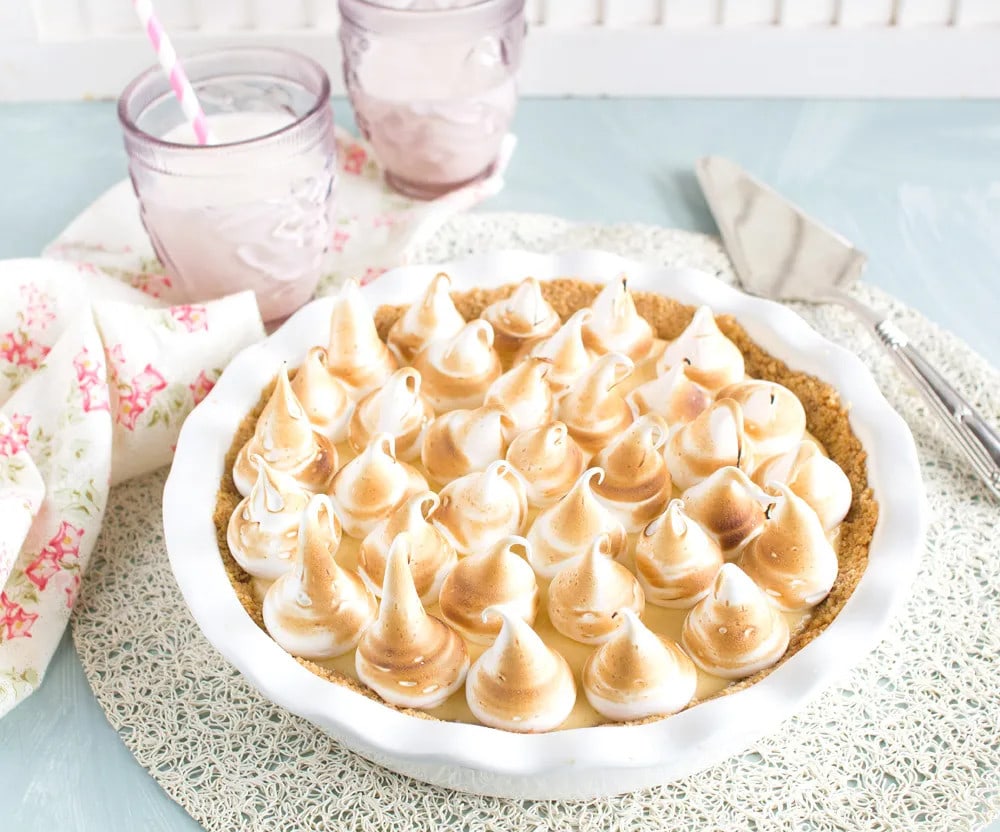
That being said, you can absolutely bake each layer if you want to, and have the time. You can bake the crust at 190°C (375°F) for 8-12 minutes; and bake the meringue at 160°C (320°F) for 10-15 minutes.
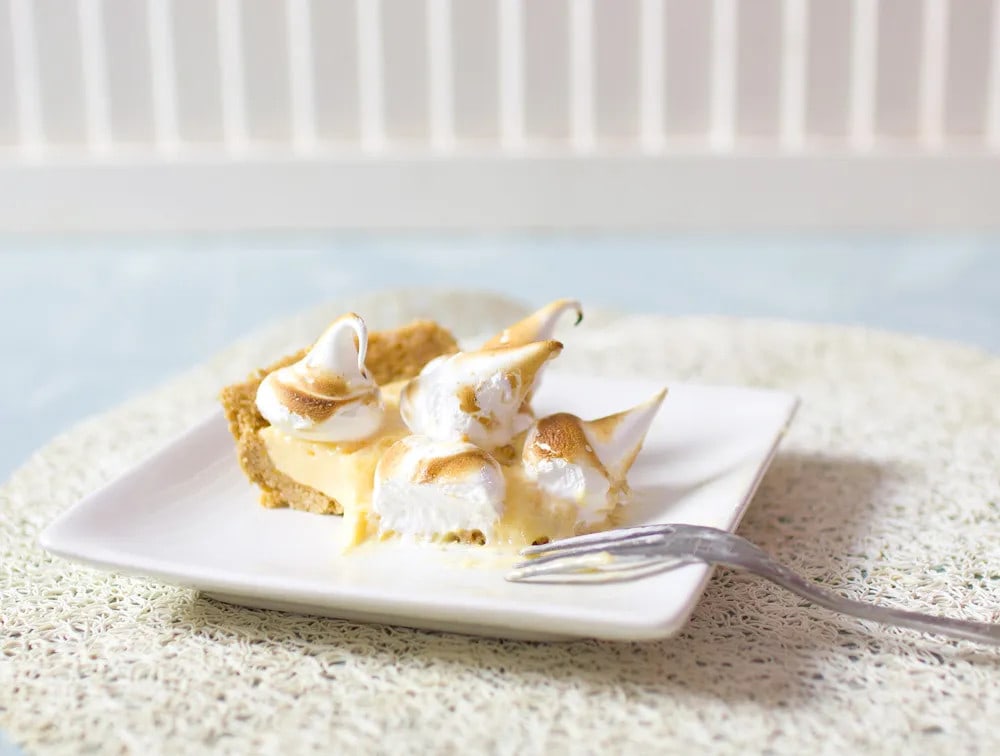
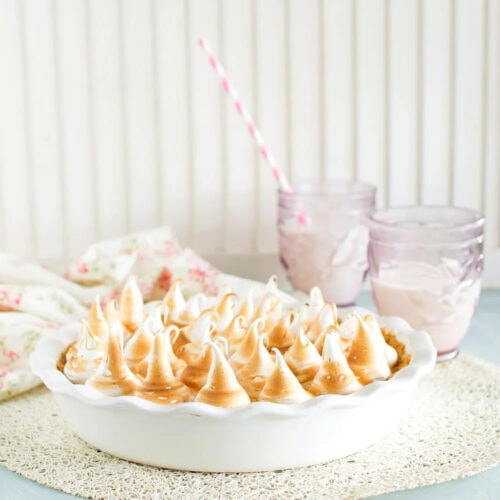
I used Mary Berry’s recipe though switched her French meringue for Swiss meringue simply because I love its dense, marshmallow-like texture. And, as Swiss meringue doesn’t require baking, I simply gave it a light toasting with a kitchen torch rather than baking it as she does.
You’d think this quick and easy pie is a pale imitation of the ‘real thing’ but, trust me, it’s still spectacular. The family gave it an enthusiastic ‘thumbs up’ and I’m pretty confident that I’ll be making it again very shortly. Enjoy!
QUICK & EASY LEMON MERINGUE PIE
Equipment
Ingredients
For the base:
- 2.6 oz butter
- 0.88 oz demerara sugar
- 6.1 oz digestive or graham cracker biscuits
For the filling:
- 13.8 oz tin of full-fat sweetened condensed milk
- 3 egg yolks
- Finely grated rind and juice of 2 large lemons (I used 3 small ones)
For the Swiss meringue:
- 3 egg whites
- 6 oz caster (superfine) sugar
Instructions
- Lightly spray with oil a 23cm (9in) round, straight-sided or fluted ceramic tart dish, about 4cm (1½ in) deep.
For the base:
- Melt the butter in a medium saucepan and take off heat.
- Put the biscuits into a food processor and pulse till you get a fine crumb. Add the melted butter to the biscuits, pulsing until the mixture starts clumping together.
- Dump the crumbs into the dish and press evenly into the base and sides. Put into the fridge to chill for at least 20 minutes.
For the filling:
- Pour the condensed milk into a bowl of an electric mixer (or simply use a hand-held beater).
- Beat in the egg yolks, lemon rind and strained juice and pour the mixture over the chilled biscuit base.
For the Swiss meringue:
- Add the egg whites into a medium mixing bowl. Add the sugar and whisk them together.
- Bring a small amount of water to a gentle simmer in a saucepan that is large enough to accommodate your mixing bowl.
- Place the bowl on top of the pan and make sure it doesn’t touch the water. Whisk the mixture constantly for 2-3 minutes until the mixture starts to get hot (it should be hot enough that you can only comfortably poke your finger into the mixture for a moment).
- Remove the bowl and beat the meringue in an electric mixer using a balloon whisk (or use a hand-beater) until the meringue is glossy and holds firm peaks.
- Either spoon the meringue over the surface of the filling and spread it in swirls, or pipe it over in separate blobs (I used a medium sized round tip to create the ‘kisses’).
- At this point you can either bake the meringue for 15-20 minutes until golden, or you can blow torch the meringue lightly as I did (the Swiss meringue method has already cooked the egg whites so cooking it is not necessary).
To serve:
- If baking, set the dessert aside for about 30 minutes to allow the filling to firm up. If not baking, you can serve straight away or store in the fridge until ready. It’s best eaten on the same day.

