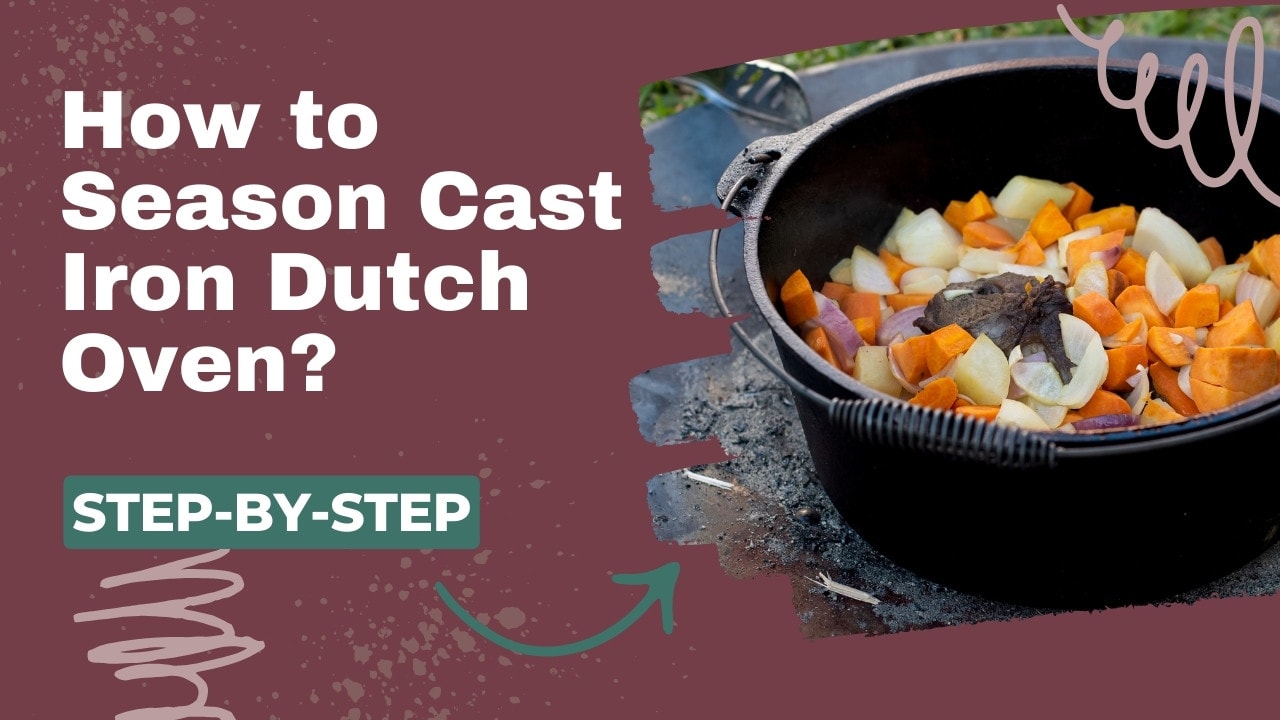
What’s the secret to a long life and a happy relationship with your cast iron cookware? Seasoning of course! There are historic cast iron Dutch ovens that have been going strong since the 1700s thanks to the magic of seasoning. I don’t have any really old pieces, but I do have a set of cast iron cookware that’s 80 years old!
Learning how to season your cast iron Dutch oven can keep it cooking beautifully for years to come.
Wait – Do You Need to Season All Cast Iron Dutch Ovens?
Hmm, yes and no. Regular seasoning is crucial for a natural cast iron Dutch oven. When you season cast iron, layers of oil polymerize and bond with the metal. This prevents it from rusting and creates a natural easy-release coating, so your cookware can last not just years but generations.
However – cast iron Dutch ovens with an enamel coating should not be seasoned. The porcelain enamel functions kinda like a permanent seasoning; it prevents rust and provides a semi-non-stick surface.
Attempting to season enameled cast iron will create a sticky mess. Oil can’t bond with the enamel like it does with iron; it will just turn brown and be really hard to scrub off.
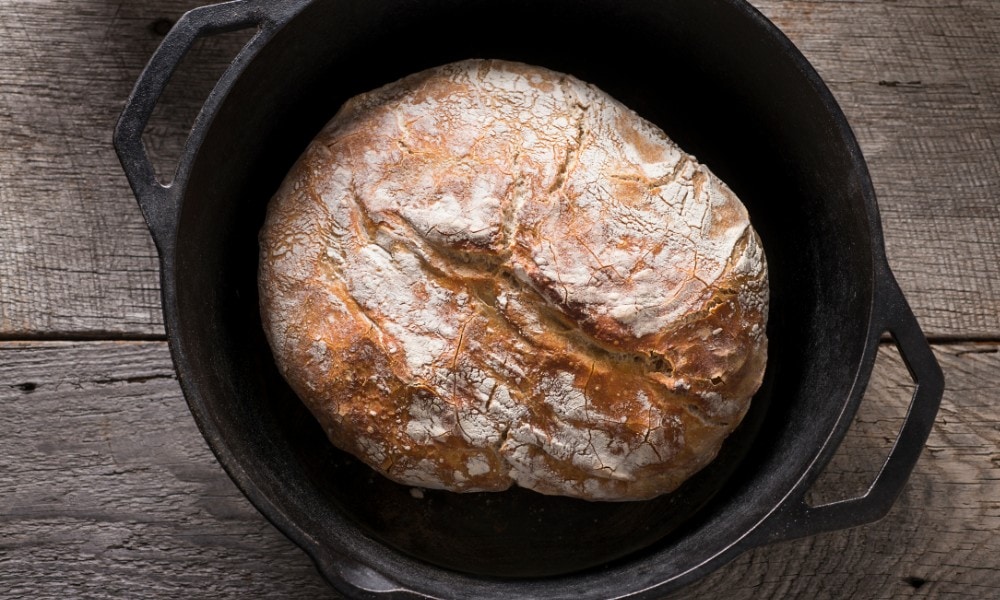
Not sure if your cast iron is enameled or not? Enameled cast iron comes in bright colors and is popularly referred to by the brand, such as “Le Creuset.”
What if Your Dutch Oven Comes Pre-Seasoned?
Many fabulous cast iron Dutch ovens, like the Lodge Camp Oven, come pre-seasoned. This means you can use them straight out of the box. That said – I’ve had more success with them when I either season them myself at home first or start by cooking greasy foods in them (cue the bacon). The thicker the layers of (good quality) seasoning on your cast iron, the better it will perform!
How to Season a Cast Iron Dutch Oven Step-by-Step
Seasoning cast iron isn’t hard to do! You can have a beautifully seasoned cast iron Dutch oven in less than 1.5 hours with just a few household items.
What You Need
Step-By-Step Instructions
Step 1: Clean the Dutch Oven
Wash your Dutch oven and lid using warm water and mild dish soap. You may use a nylon brush or sponge to clean it. Lodge makes a highly-rated cast iron brush for this. Never use a metal brush or harsh cleaning agents on cast iron, as they may damage it.
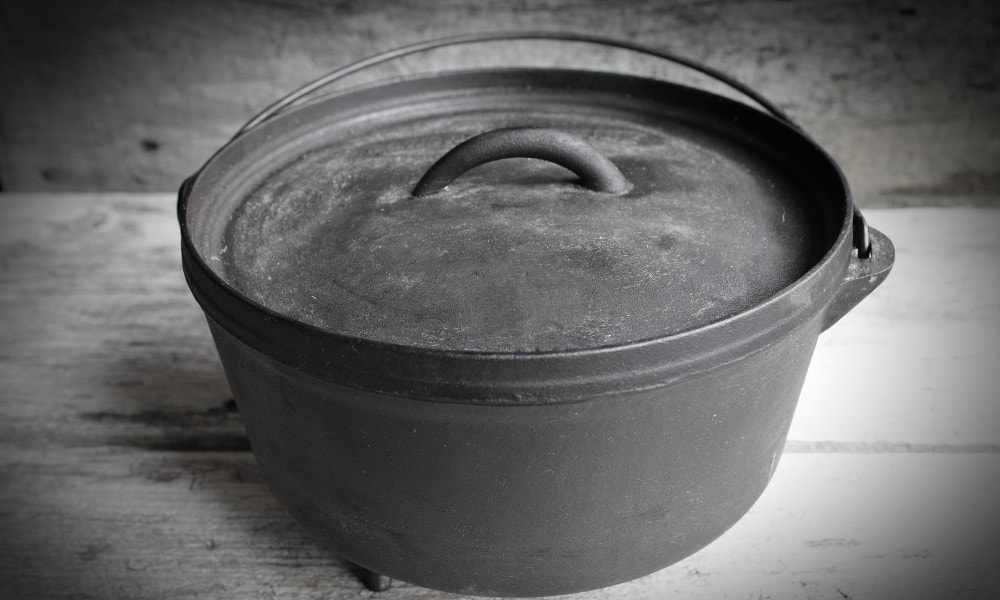
Step 2: Dry Completely
Using paper towels (or a cotton towel), dry your cast iron Dutch oven completely. There should be no moisture left on it when you’re done. You can also heat it on low on the stove to remove moisture; just don’t wipe it with oil until it’s mostly cool!
Step 3: Prepare Oven
Place the top oven rack in the middle of your oven. Line the bottom rack with aluminum foil. This will catch dripping oil. Preheat the oven to 400-450°F. The hotter the temperature, the faster the oil will polymerize. But some people think that a longer, slower bake produces a stronger coating.
Step 4: Rub the Pan With Oil
Using a paper towel, rub your cast iron Dutch oven with your choice of oil. You should coat the bottom and handles in addition to the cooking surface. Don’t forget to also coat the lid! Your goal is to spread a thin layer of oil evenly across the entire Dutch oven.
Step 5: Wipe Excess Oil
Make sure there is no excess oil pooling in the cast iron. Too much oil creates an uneven or sticky finish. If you see glossy oil, wipe it out with a paper towel. Even when you don’t see any oil left on the surface – wipe it again. Warming the pan can increase the amount of oil you can wipe out, leaving the thinnest possible layer on the surface for a super-even seasoning.
Step 6: Stick It in the Oven
Place your Dutch oven inside your preheated oven – upside down. This allows any oil that was trapped in the pores of the iron to drip out. The aluminum foil you placed in the oven will catch drips and save you extra clean-up.
Step 7: Bake It
Bake the Dutch oven at 400-450°F for an hour. During baking, the oil goes through a process called polymerization which creates a hard protective layer that is molecularly bonded to the iron.
Step 8: Let It Cool
Turn your oven off after an hour. Let your cast iron cool inside of the oven completely before you remove it. This curing helps the seasoning to further bond to the iron.
Step 9: Repeat If Needed
Your Dutch oven will now have a good base seasoning layer, but you can continue to build more layers on top of it. Repeat these steps or simply start cooking seasoning-friendly meals in it.
Avoid acidic foods like tomatoes until you have a nice thick layer of seasoning.
How do you know if your Dutch oven is seasoned correctly? Well-seasoned cast iron should not be sticky or greasy to the touch. There should be no dull patches. If you are unsure if your pan is well seasoned, try frying an egg!
Heat 1 tablespoon of vegetable oil in the bottom over medium heat. After 3 minutes, add an egg. If the Dutch oven is seasoned well, there will not be any major sticking. If there is a lot of sticking, clean the egg out and reseason!
The more you season it and use it, the better your Dutch oven will perform.
Frequently Asked Questions
Should I Season Enameled Cast Iron?
Nope, you shouldn’t season enameled cast iron Dutch ovens. The enamel coating provides a non-stick surface and rust protection. The enamel may absorb some oil over time with normal use, but trying to season it will make it very difficult to clean.
What Oil is Best for Seasoning Cast Iron?
The best oil for seasoning cast iron is neutral-flavored oil with a high smoke point. Vegetable oil and refined seed oils like canola and grapeseed are good options. You can even use shortening. Some people like to use flaxseed oil because it polymerizes at lower temperatures, but it has a strong smell.
How do I know if I need to reseason my cast iron?
If your cast iron looks dull, you see rust, or it isn’t as non-stick as it used to be, it’s time to reseason! Start with a good cleaning, making sure to scrub away any rust or stuck food with a chainmail scrubber or a salt-and-oil mixture. Then make sure your Dutch oven is totally dry and re-season.
How Do You Keep Food From Sticking to a Cast Iron Dutch Oven?
There are several ways to keep food from sticking to your cast iron Dutch oven! The first is by seasoning it, of course. Letting your cast iron preheat also helps reduce sticking. Be sure to use enough oil or fat when cooking. Cook fatty foods like bacon in your cast iron Dutch oven on occasion to help maintain and improve the seasoning.
Can You Wash a Seasoned Dutch Oven with Soap?
You can use soap to wash a cast iron Dutch oven; you just have to use it right! Use a mild soap and wash gently with a sponge or soft brush. Cast iron soap helps remove carbonized food from the pan, leading to smoother seasoning.
Conclusion
Cast iron is a joy to cook with when it’s well-seasoned! Seasoning and reseasoning your cast iron Dutch oven requires only a few household items and a little over an hour. Seasoning your cast iron properly will ensure your Dutch oven is around for years to come, working even better than the day you brought it home.
What’s your favorite part of using cast iron Dutch ovens? Got any other tips or tricks? Let us know in the comments!

