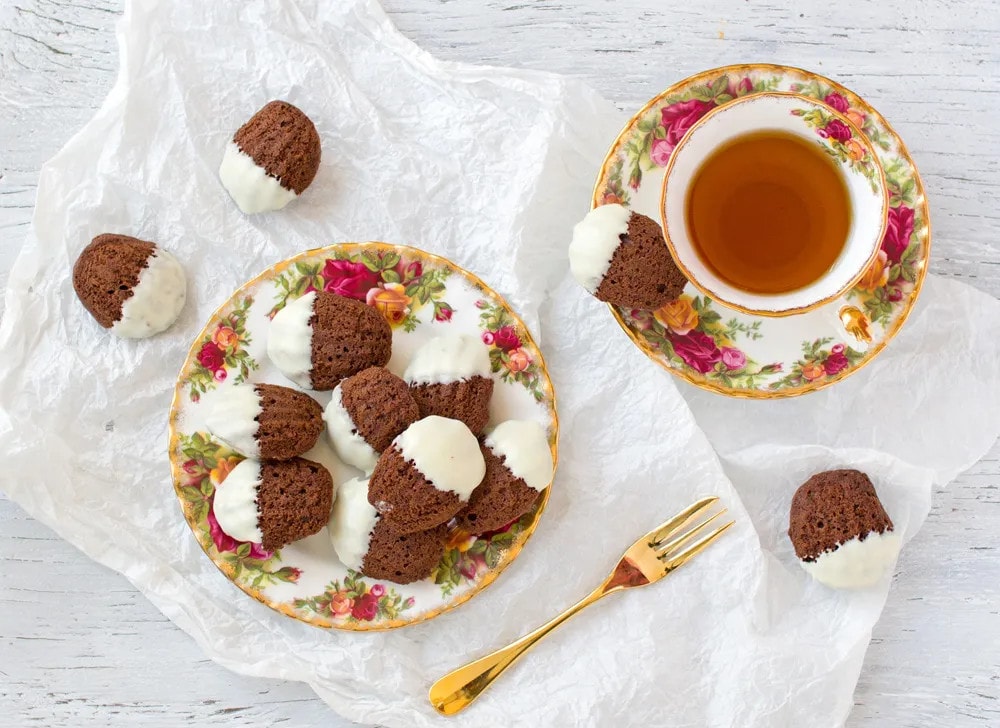
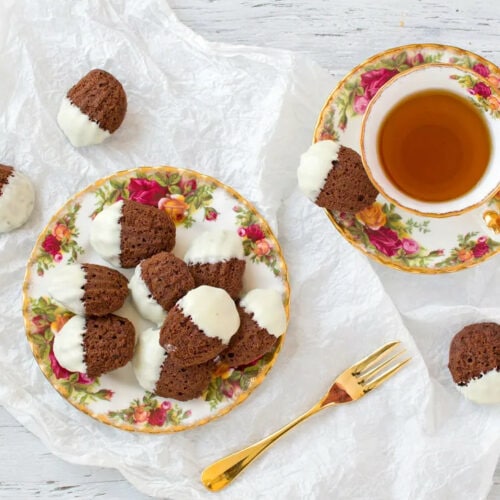
From the first moment I chanced upon the ever-so-cute cake tin with 12 tiny sea-shell molds, I just knew I had to make some Madeleines. Hailing from north-eastern France, Madeleines are pint-sized genoise sponges famously shaped like scallops. Soft and moist on the inside; ever so slightly crisp on the outside, these miniature cakes are a perfect tea-time treat served with, or dunked in, your favourite beverage.
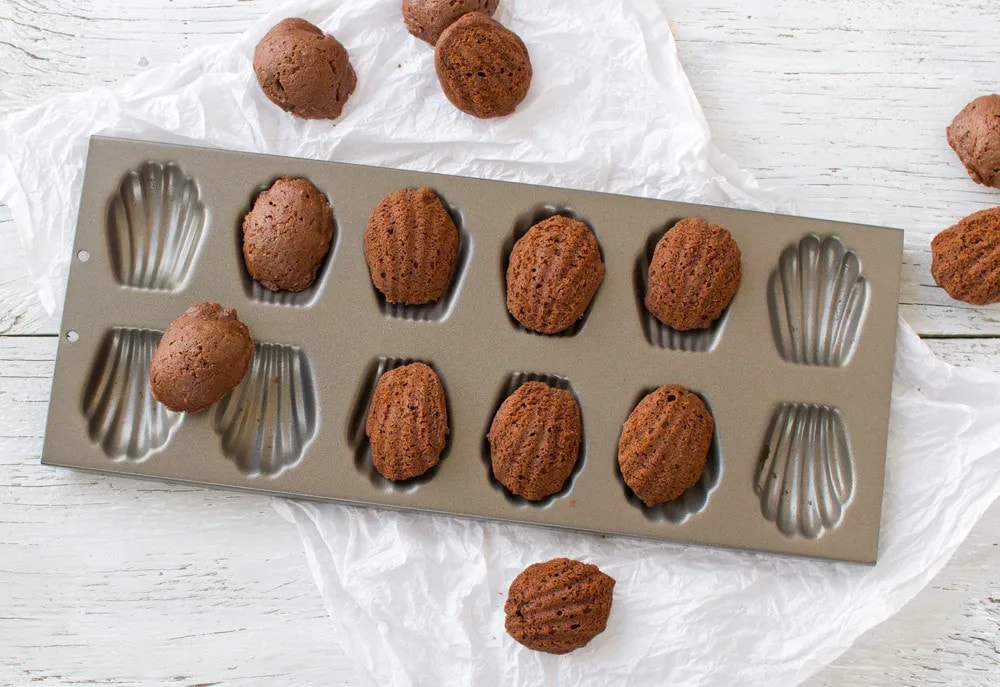
Like the other French delicacy, macarons, these babies are a tad finicky. You’re meant to keep the batter and the tin chilled before cooking. You’re meant to mound the batter in the mold ‘just so’ in order to acquire the signature bump on the top. And, you’re also meant to underfill each mold so that the batter doesn’t over-expand and lose its iconic shape. Of course, in my usual ‘do now; think later’ fashion, I didn’t do any of this, yet the results were pretty darn good (bump included). However, just in case it was beginner’s luck, I’ve incorporated some tips I found on Joy of Baking.com and will be adhering to them in the future!
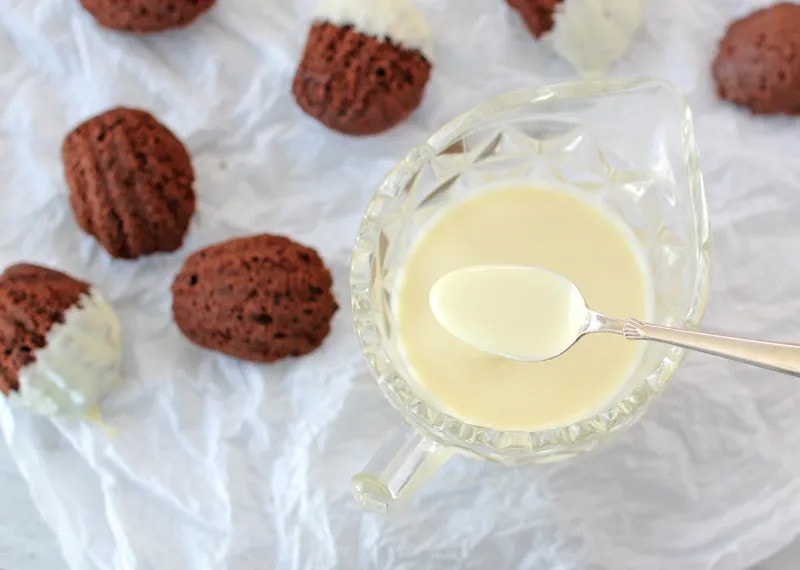
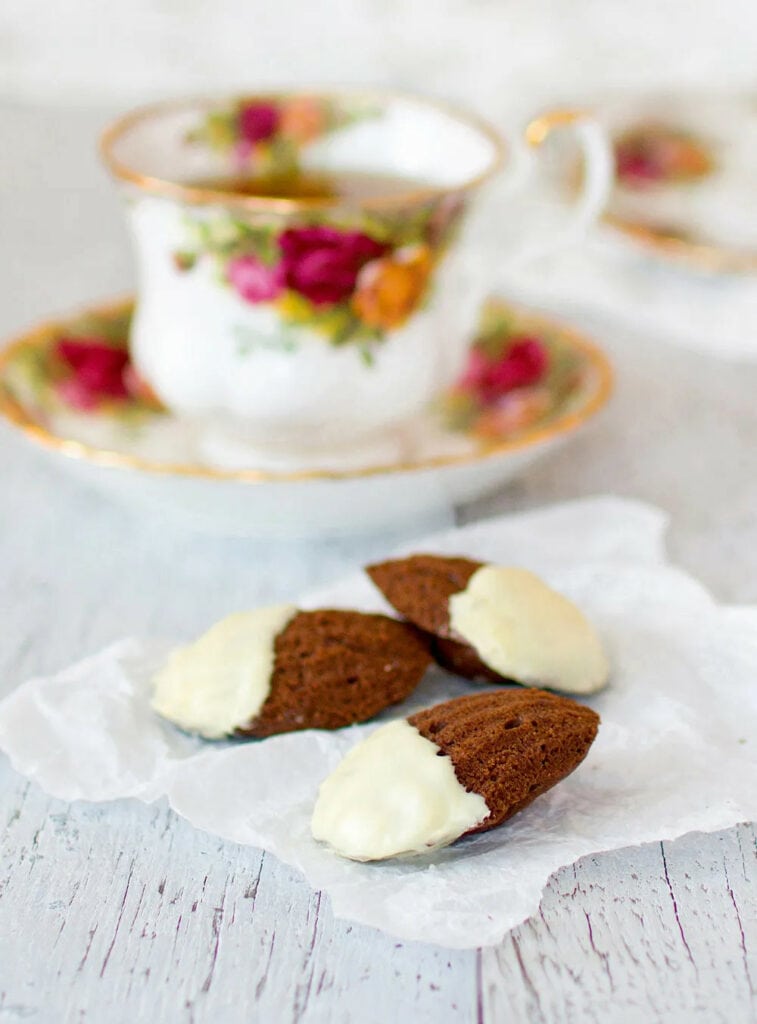
Thanks to Rachel Allen (on UKTV.co.uk) for this recipe for Double Chocolate Madeleines – the dark chocolate sponges dipped in white chocolate not only looked great, they were delicious too (don’t ask me how many I ate in one sitting!). I even managed to make them gluten-free – simply substituting gluten-free flour for regular flour. Next time, I want to give the classic vanilla version a go, burnt butter and all! Madeleine making might just become my new fixation!
DOUBLE CHOCOLATE MADELEINES
Equipment
Ingredients
- 1 egg
- 50 g caster sugar
- 50 g plain flour plus extra for dusting (I used gluten-free flour)
- 1 Tbsp cocoa powder
- 1/4 tsp baking powder
- 50 g butter, melted and warm, plus extra for greasing
- 1/2 teaspoon vanilla extract
For the chocolate coating
- 100 g dark or white chocolate in drops or broken into pieces
Instructions
- Place the egg and sugar in a large bowl or in an electric food mixer. Using a handheld electric beater or the food mixer with its whisk attachment, whisk on a high speed for about 5 minutes or until the mixture is pale, thick and has grown almost three times in volume.
- Sift the flour, cocoa powder and baking powder into the whisked egg and sugar and carefully fold in.
- Add the warm melted butter and vanilla extract, pouring it down the side of the bowl so as not to deflate the batter, then gently fold in (it will take a wee while for the mixture to combine and it will look quite stringy, but don’t worry – this is normal). Try not to overmix.
- Put some plastic wrap over the bowl and refrigerate for at least one hour, or overnight (it can in fact be left for up to 3 days).
- Preheat the oven to 180°C (360°F). Brush a little melted butter over the madeleine molds, making sure to coat every ridge. Dust a little flour into each one, tapping out any excess. With my non-stick tin, I found that the melted butter was all that was needed. Besides which, white flour on these dark chocolate cakes is not a good look! Pop the tin itself into the fridge or freezer to chill.
- Using a tablespoon or small ice-cream scoop, divide the batter between the madeleine moulds* – it’s best to mound the batter into the middle of the mold rather than spread it out – this encourages the madeleines’ signature bump. Don’t overfill the molds, as the batter expands and fills the molds as it cooks.
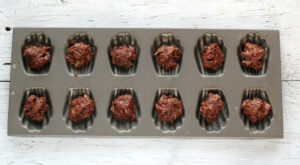
- Bake for 12-15 minutes, or until firm and lightly springy to the touch. Try not to overcook them or they will be dry. Remove from the oven and carefully remove each madeleine from its mold using a palette knife, then place on a wire rack to cool.
- For the chocolate coating: Melt the chocolate either in a bowl over a pan of boiling water, or in short bursts on full power in the microwave. Dip each madeleine into the melted chocolate (or ladle the chocolate over top) and allow to set on a sheet of greaseproof paper. After they’ve started to set, dip again for a thicker coating. Serve straight away. Madeleines are best eaten the same day.

