There may be an enormous number of fancy desserts out there, but the French classic – Creme Caramel – remains one of my (not to mention, my family’s) all-time favourites. It’s simple, classy, and never fails to satisfy.
While I tend to stick with the classic Creme Caramel, from time to time do I hanker after a flavour variation. And, this time, the combination of coffee and Kahlua called my name.
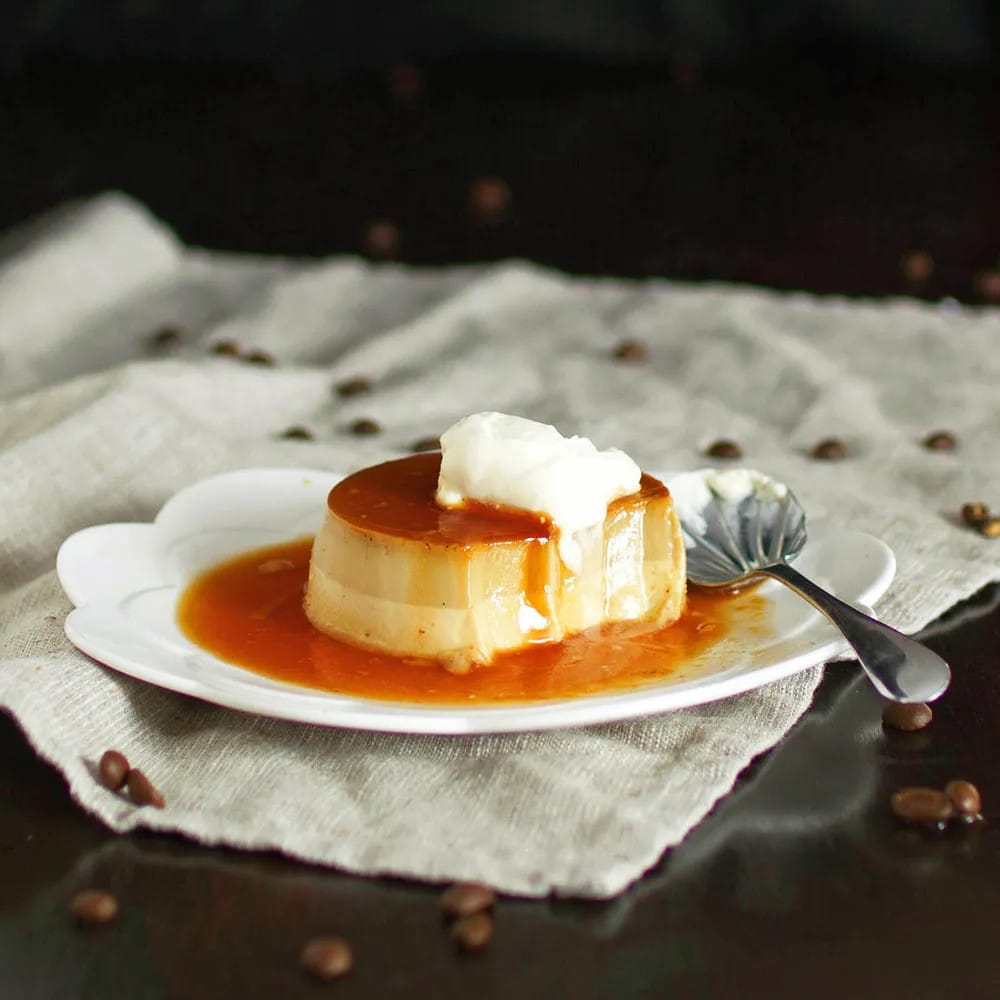
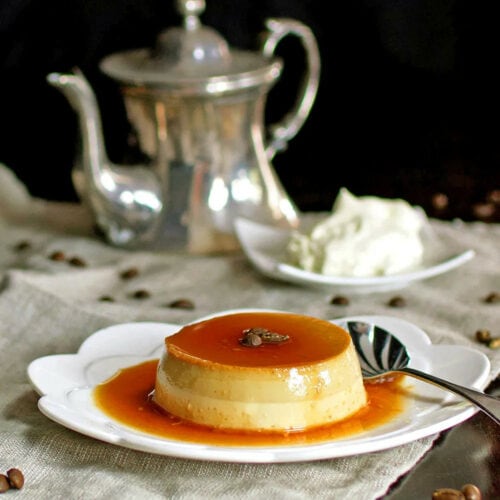
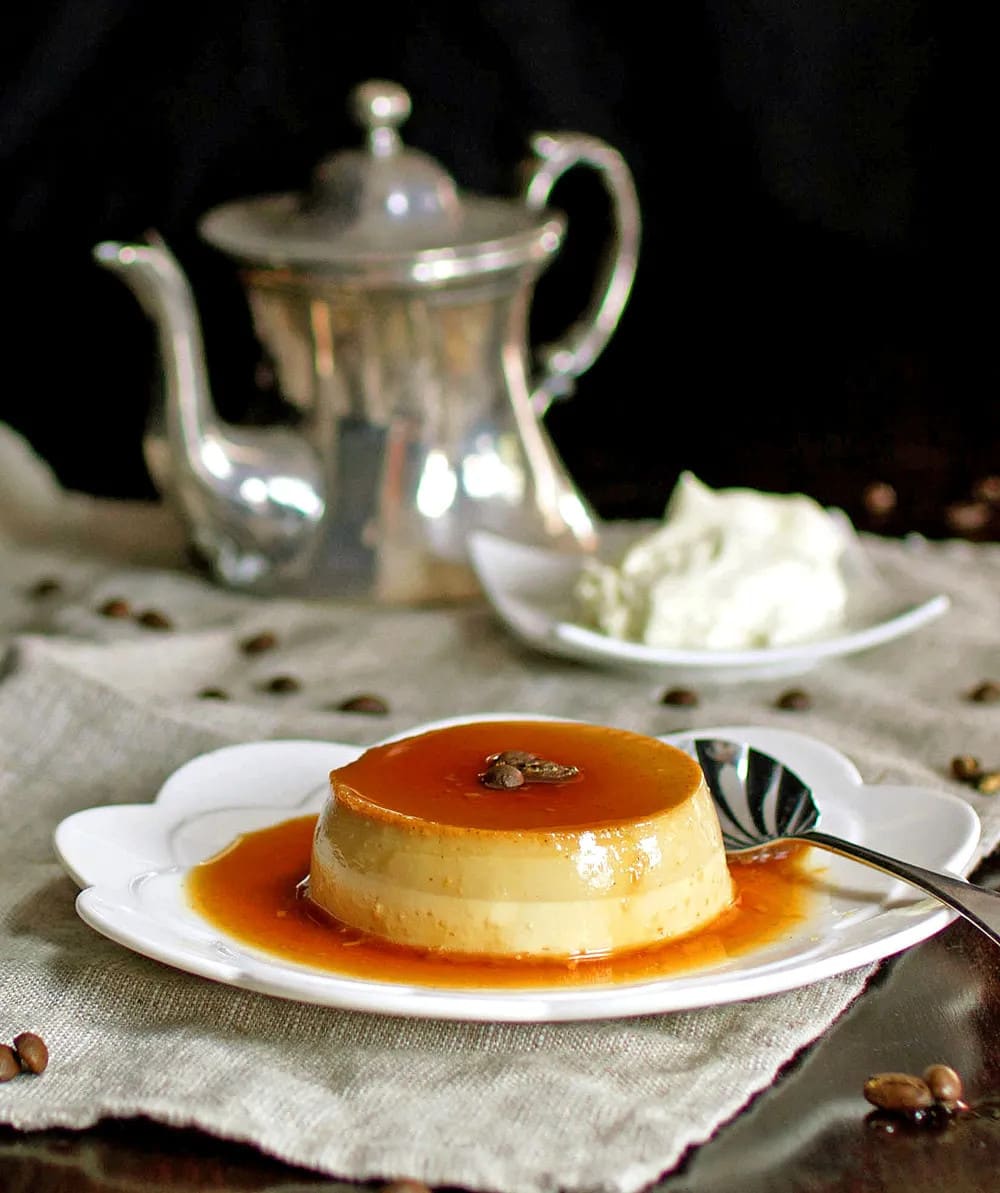
And, wow, did it work a treat! A silky, creamy custard subtly flavoured with vanilla, coffee beans and Kahlua liqueur, doused generously in copper coloured caramel. Honestly, what’s not to love?!
I used the classic Creme Caramel recipe I’d used before as a starting point. This time, however, instead of the straight milk custard, I went half milk, half cream – the extra richness balancing out the bitter coffee beans beautifully. I also used a light muscovado sugar in the custard – the caramelized sugar providing a nice match for the coffee flavours.
Curiously, I ended up with a two-toned custard, with the darker half being firmer set – I can only guess that adding the Kahlua into the mix is the reason why. But, hey, who cares? Tastes the same… Actually, I reckon they look pretty sophisticated, so let’s just pretend the effect was deliberate! Enjoy.
Coffee & Kahlua Creme Caramel
Ingredients
For the caramel:
- 6 oz granulated sugar + 6 Tbsp water (for wet caramel method) or just the sugar on its own (for dry caramel method)
For the custard:
- 4 free-range eggs
- 1 oz caster sugar
- 10.1 fl oz full-fat milk
- 10.1 fl oz cream
- 1/3 cup coffee beans, crushed (I blitzed the beans in a food processor for a few seconds)
- 1 oz light muscovado sugar (or raw, or brown sugar)
- 2 tablespoons Kahlua liqueur
- 1 teaspoon vanilla extract
To serve:
- Lightly whipped cream
Instructions
- Pre-heat oven 150°C/300°F. Put a jug of water onto boil to be used to fill the roasting pan later on.
If making the wet caramel:
- Pour the sugar and water into a small saucepan. Dissolve the sugar slowly, stirring with a wooden spoon over a low heat.When there are no sugar granules left, stop stirring (and don’t use the spoon anymore) and boil until the sugar turns a deep amber colour (swirl the pan to distribute the caramel evenly).
- Remove immediately from the heat to ensure the caramel does not burn (you can always plunge the bottom of the saucepan into icy cold water to stop the cooking process) and quickly pour the caramel into the ramekins.
- Set aside to cool and become hard (which won’t take long). Don’t put the caramels in the fridge because the sugar will absorb moisture and go soft and tacky.
If making the dry caramel:
- Pour the sugar into a fry pan (a wider surface helps the sugar burn evenly). Let is sit on a low heat until you start seeing signs of it melting underneath – at that point, start dragging the sugar from the outside towards the centre with a metal spoon. Once the sugar has more or less melted, put the spoon away and swirl the pan to distribute the caramel evenly. (I find this method cooks the caramel much faster than the wet method and I usually end up taking the pan off the stove top while I’m swirling it, to slow the process down a little).
- Remove immediately from the heat to ensure the caramel does not burn (you can always plunge the bottom of the saucepan into icy cold water to stop the cooking process) and quickly pour the caramel into the ramekins.
- Set aside to cool and become hard (which won’t take long). Don’t put the caramels in the fridge because the sugar will absorb moisture and go soft and tacky.
For the custard:
- Whisk the eggs and caster sugar together in a bowl until well mixed.
- Pour the milk and cream into a saucepan along with the crushed coffee beans and muscovado sugar. Gently heat over a low heat until scalding (where you can still just dip your finger in for a moment). Take off the heat and allow to stand for 15-20 minutes to allow the flavours to develop.
- Strain the milk/cream mixture and discard the coffee beans, then add the Kahlua and vanilla extract and stir to combine.
- While whisking, add a little of the still warm milk/cream mixture into the egg mixture in the bowl – then add the rest in a gentle stream, continuing to whisk until well combined (try not to aerate it too much though or you’ll create a lot of foam).
- Strain the mixture a second time (to get rid of any stray bits of cooked egg) into a pourable jug, then pour the mixture into the prepared ramekins.
- Stand the ramekins in a roasting tin (you can place a tea-towel on the bottom of the roasting tin to ensure the ramekins don’t slide around) and pour enough boiling water into it to come half way up the sides of the ramekins.
- Cook in the oven for about 35-45 minutes or until the custard is just setting (it should still wobble in the centre a bit like jello).
- Take the custards out of the oven, remove the ramekins from the tray and set on a cooling rack. When cool, cover each ramekin with plastic wrap and transfer to the fridge overnight so that the caramel is absorbed into the custard.
- To serve, take the ramekins out of the fridge and let them sit at room temperature for 15-30 minutes or so (I find the custards unmold easier when not straight out of the fridge). Tip the ramekins slightly and loosen the custards by running a small palette knife around the edges. Place a serving dish on top of the ramekin and turn upside down, giving it a shake until the custard plops out. Serve with lightly whipped cream.






This recipe sounds absolutely fabulous! Thank you for sharing!
Thanks Becky! It is rather scrummy!
Oh, I looooove creme caramel and you managed to make it even better! I love everything about this dessert, all the wonderful flavors, the texture and the two-tone thing looks very sophisticated indeed! Thank you for a brilliant recipe, Susan!
Hey thanks Nicole! Yep, you can never go wrong with coffee and caramel eh!