This delicious seed and nut bread should be classified as a super-food, seriously! Okay, it might be a stretch to call it bread given it contains no flour, but if you’re gluten-intolerant this seed and nut ‘bread’ might just be the answer to all your prayers. Want to know what it contains? Try… flax seeds (linseeds), oats, chia seeds, sunflower seeds, almonds and psyllium seed husks. Yep, that’s a whole lotta goodness and fibre right there.
Being increasingly gluten-sensitive, I’ve pretty much kissed my (wheat-based) bread-eating days goodbye and to tell you the truth, have never particularly liked gluten-free substitutes. But now, thanks to this fabulous recipe from Sarah Britton, lunch options have gotten a whole lot more interesting!
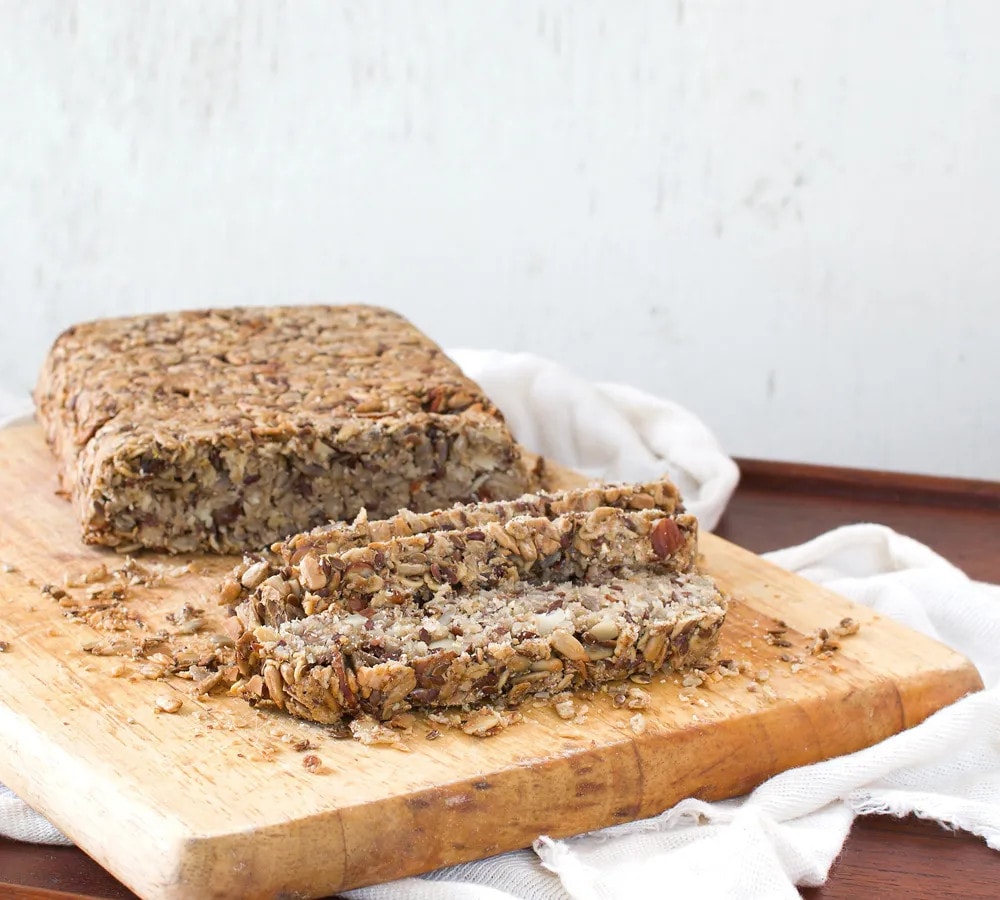
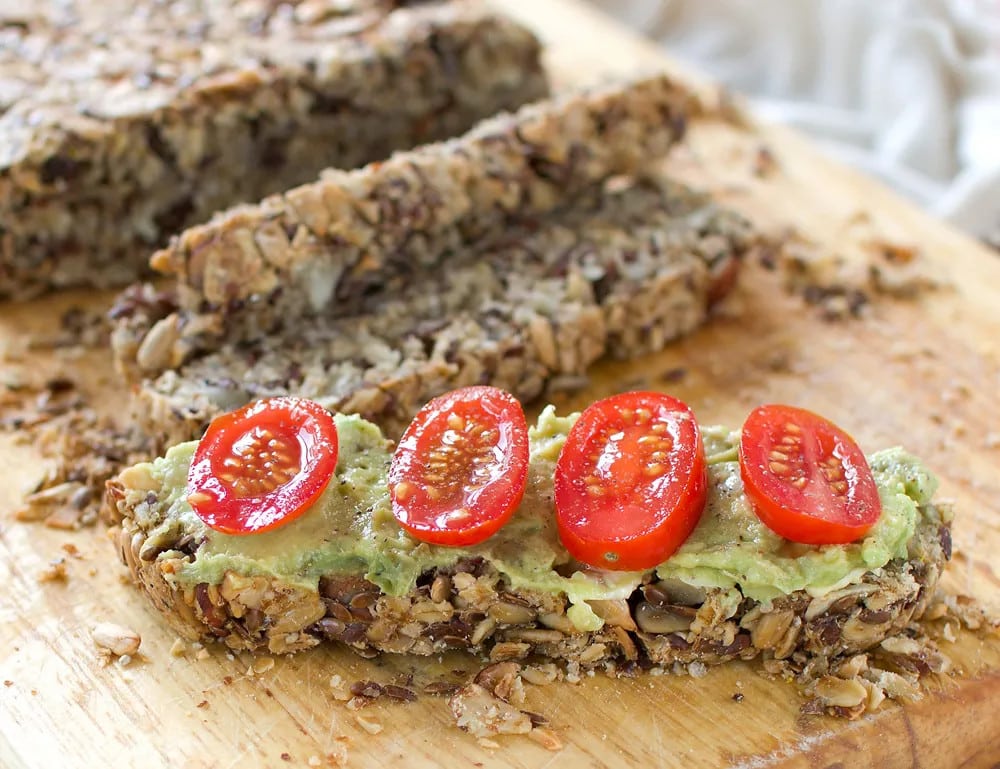
It might look like something you’d throw out for the birds, but this loaf is like a gorgeously dense and nutty whole-wheat bread – with lots of taste and texture. I slathered it with mashed avocado and sliced cherry tomatoes on this occasion, but have also previously used home-made nut butter and sliced banana, pesto and smoked chicken, smoked salmon and cream cheese – yum!
I’ve been making this health-enhancing ‘bread’ for months now and happily extol its virtues to anyone who listens! I was stoked to be able to share the recipe with members of The Daring Kitchen this month (click here for full version of recipe including process photos on The Daring Kitchen), encouraging them to use it as a starting point for their own creations. The response was great and I was thrilled to read that several members were committed to making this whole and healthy bread for their families on an ongoing basis. As far as I’m concerned, that’s real cause for celebration!
Seed & Nut Gluten-Free Bread
Ingredients
- 1 cup sunflower seeds
- ½ cup flax seeds linseeds
- ½ cup hazelnuts or almonds or any nut you prefer, finely chopped
- 1 ½ cups gluten-free rolled oats or try buckwheat flakes, or rolled spelt
- 2 Tbsp. chia seeds
- 4 Tbsp. psyllium seed husks 3 Tbsp. if using psyllium husk powder
- 1 tsp. fine grain sea salt use less if you prefer
- 1 Tbsp. maple syrup or honey, or for sugar-free diets, use a pinch of stevia
- 3 Tbsp. coconut oil or ghee melted
- 1 ½ cups water
Instructions
- Lightly grease a regular sized silicone or non-stick loaf pan (or lightly grease and line your pan with baking paper).
- Combine all the dry ingredients in a large bowl.
- Whisk maple syrup, oil and water together in a separate bowl.
- Add the liquid mixture to the dry ingredients and combine thoroughly until everything is completely soaked (though there should be no excess liquid lying in the bowl).
- Smooth top with a spatula, cover lightly with plastic wrap and let sit at room temperature for at least 2 hours, or overnight (during this time it will firm up).
- Preheat oven to 180°C (350°F).
- Bake bread for 20 minutes, then remove the bread from the oven and carefully remove it from the loaf pan, (remove baking paper if using), place it upside down directly on a rack, and bake for another 30-40 minutes (it should sound hollow when tapped). The loaf should just be browning on the outside – this gives a lovely nutty crunch to the finished loaf.
- Let the loaf cool completely before slicing – I found using a fine serrated knife for slicing worked better than a typical bread knife with its more exaggerated serrated edge, which made for a very crumbly slice (as evidenced by my photos!).
- Store in an airtight container for up to 5 days. It also freezes well.
Notes
- The psyllium hulls is the ingredient that binds the loaf together in the absence of flour. Psyllium hulls is plant fibre and therefore totally natural. While it commonly used as a natural laxative, it also promotes digestive health, lowers cholesterol, curbs your appetite, and controls blood sugar.
- If you have a nut allergy, you could make the loaf exclusively with seeds.
- If you use ground flax seeds instead of whole, you will need to add more water to the mix.
- Oats are inherently gluten-free, however they can be cross-contaminated with wheat products. If you are gluten-sensitive, ensure your oats are certified ‘gluten-free’. Buckwheat or spelt flakes make a good alternative.
- While you can use any nut you prefer, it’s best to chop them fairly finely; if the nuts are too big, it’s harder for the loaf to hold together around them and you might end up with a very crumbly loaf. I find sliced almonds work really well.
- A silicon loaf pan is ideal for this recipe, as it makes it easier to remove the loaf during the baking process. While I have used a non-stick pan successfully, once or twice some of the mixture has stuck in the pan when I’ve inverted the loaf – as such, if you don’t own a silicon pan, I recommend you line the pan with baking paper, then peel the paper off once you extract the loaf from the pan prior to baking it further.
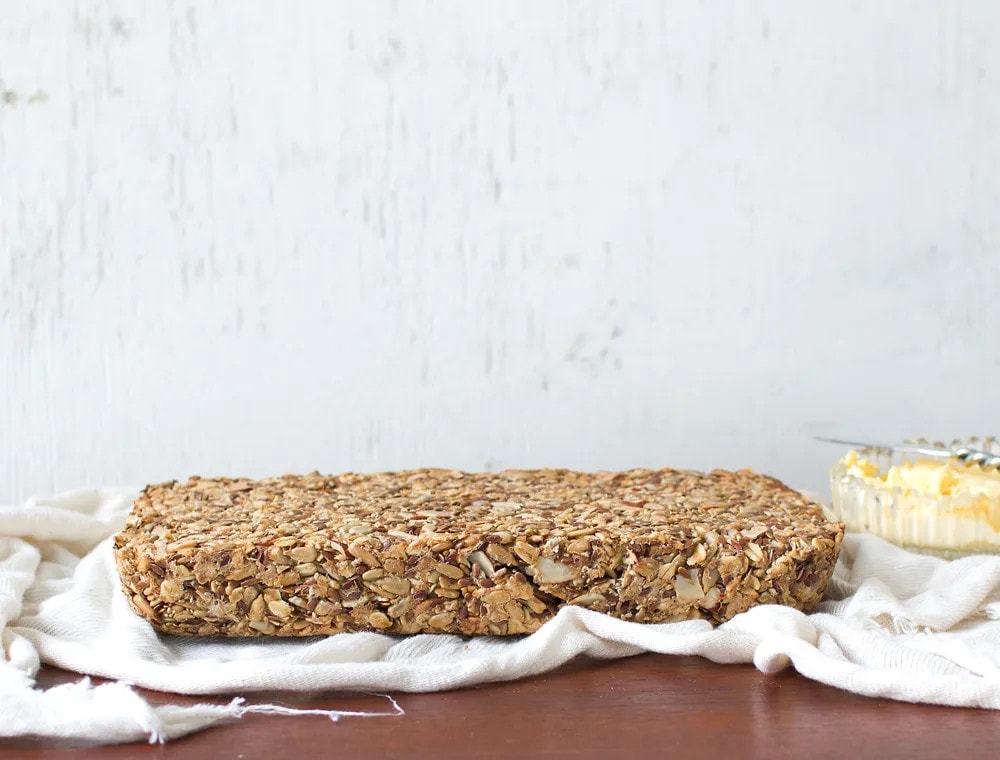
- The pan size is not indicated in the original recipe. However, I’ve cooked the loaf in both a 23 x 12 cm (8-1/2 x 4-1/2 inch) and a 20 x 9.5cm (7-1/2 x 3-1/2 inch) sized pan and it cooked perfectly in the time stated. A wider pan will simply give you more of a ‘bar’ type slice (which you can see from the photos in this post) which I find perfect, as even a small slice is incredibly filling.
- While the original recipe suggests you mix all the ingredients in the loaf pan itself, I found it easier (and less messy) to combine the wet and dry ingredients in a large bowl, before transferring it to the loaf pan.
- While you can ‘rest’ the mixture for a minimum of 2 hours, I recommend resting it overnight as it sets up much more firmly and is easier to extract from the pan during baking. All that soaking also ensures optimal nutrition and digestion.
- This ‘bread’ makes fabulous toast.





gorgeous pictures, this looks so delicious!
Thanks so much! And yes, totally delicious!
Lovely bread, worthy challenge, thanks a lot for hosting this month DB challenge:)
Thanks so much Jelena – and thanks for participating – your bread looked awesome!
Your bread looks great! Beautiful pictures by the way.
Thanks! Enjoyed looking at your post too!
Thanks for hosting, Susan! Without your challenge I would never have discovered this loaf! As you know, I have made two versions and we are really enjoying them for breakfast. I think this is a recipe I will make regularly! Thank you!
You’re most welcome Marcellina! Loved what you made and especially appreciated your enthuiasm!
Thank you Susan for this super recipe. It has changed the way I look at gluten free treats. Truly tasty, nutritious and easy to make. Love Khush 🙂
You’re most welcome Khush! So glad you’ve got a new perspective on gluten-free! All the best..
And I say again…great challenge! The ingredients were the challenge part and that was the fun part! Thanks again, and your photos are divine!
Music to my ears! Thanks Susan!