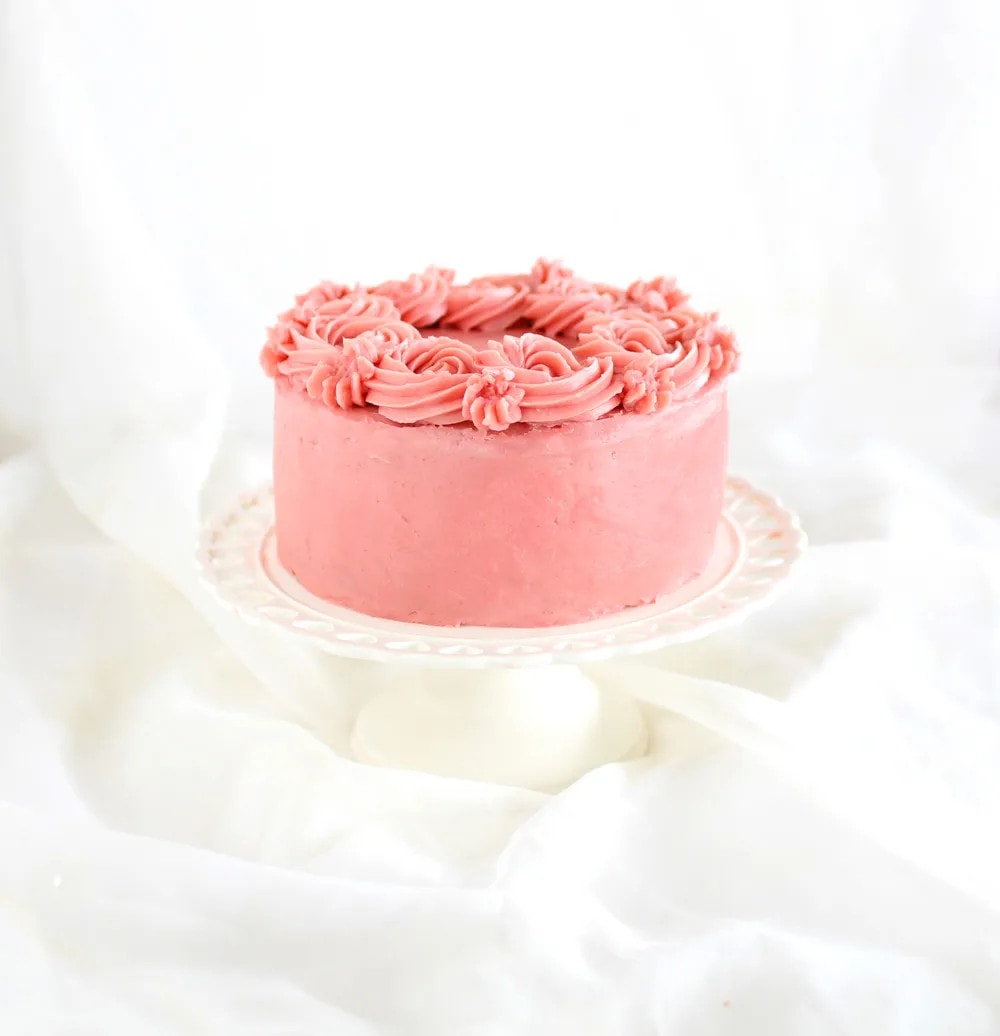
It’s not often that you make a birthday cake for someone who’s not there to eat it! But that’s exactly what happened this last weekend when I baked a cake for my sister who just happens to be celebrating her birthday over in Rome!
Well, we couldn’t NOT celebrate her cake even if she wasn’t there, could we? And I couldn’t pass up the opportunity to practice my cake-baking could I? Of course not. So we made a happy wish before blowing out the candles and devouring the cake on her behalf.
I decided to go with the lovely vanilla cake I’d made previously but this time, as is my want, veered off-road and tried organic stone-ground white flour instead of cake flour (I also froze the cake layers ahead of time, which was a first). And, along with all the other ‘firsts’, went with a previously untried Swiss meringue buttercream (thanks to Dessert.Design.Life for the basic recipe which I slightly adapted) and flavoured it with rose water and freeze dried raspberry powder. Lastly, I borrowed the delicious rose flavoured raspberry jam I made for the Swiss roll on Mother’s Day.
The result was great, though truth be told, pretty much the whole process was a bit of a learning curve. What did I learn?
- Don’t use stone-ground flour when you want the cake to rise well;
- Make sure when defrosting cake layers to give them enough time to defrost before serving (serving cold cake is not a good look);
- Make sure you give your chilled buttercream enough time to come to room temperature before you need to use it (trying to bring the mixture back to silky smooth when it’s still chilled doesn’t work, nor does trying to pipe with it). I swear I spent more time on the flaming buttercream than I did on everything else.
- And, lastly, but most importantly… no-one else cares a jot about your stressful day in the kitchen, so spare them the endless diatribe!
At the end of the day, trying to get everything done ahead of time was my undoing, as I had to contend with freezing and defrosting, and chilling and unchilling components without any real knowledge of how long that would take. On top of that, the cake didn’t rise as well as it should have, thanks to my little wayward experiment with stone-ground flour. But hey, it still tasted damn good and I learned some valuable lessons – always a bonus.
And, as they say… Rome wasn’t built in a day (that pun’s for you sis). Happy Birthday!
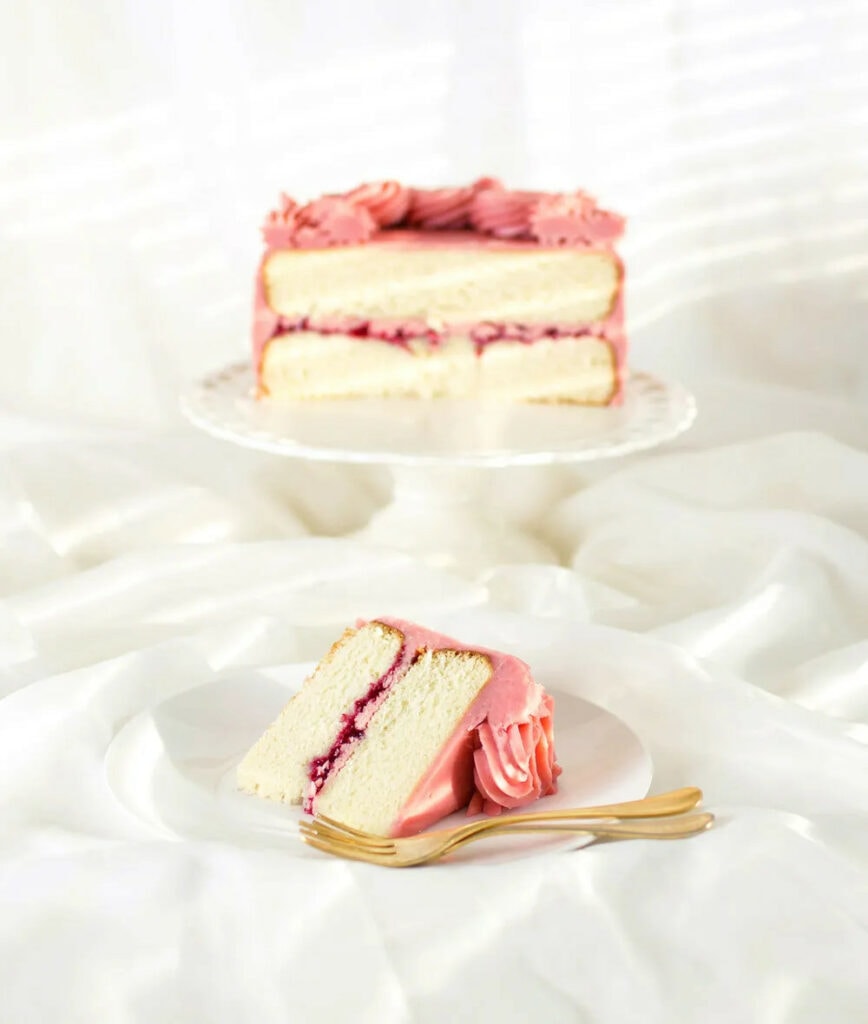
ROSE, RASPBERRY & VANILLA LAYER CAKE
Ingredients
For the Cake:
- 5 large egg whites (at room temperature)
- 3/4 cup whole milk (at room temperature, divided)
- 2-1/4 teaspoons pure vanilla extract
- 2-1/2 cups cake flour sifted
- 1-3/4 cups granulated white sugar
- 1 tbsp + 1 tsp baking powder
- 3/4 tsp salt
- 5.9 oz unsalted butter , cut into cubes, at room temperature
For the Swiss meringue buttercream:
- 6 egg whites
- 1-1/2 cup superfine sugar (caster sugar)
- 14 oz unsalted butter (at room temperature and diced)
- 1/4 tsp salt
- Optional: 1 tbsp freeze-dried raspberry powder and 1 tbsp rose water (or to taste)
For the rose & raspberry jam:
- 3.5 oz raspberries
- 1.8 oz caster sugar (super fine)
- 1 tsp rose water (or to taste)
Instructions
For the Cake:
- Preheat oven to 180°C (350°F). Grease, line with parchment, and flour two round 20cm (8-inch) pans.
- In a medium bowl or measuring cup, combine and stir the egg whites, 1/4 cup of milk, and the vanilla. Set aside.
- In the bowl of an electric mixer fitted with the paddle attachment, combine the dry ingredients together on low speed for 30 seconds. Add the butter and remaining 1/2 cup of milk, and mix on low speed until just combined. Increase to medium speed and mix for 1 1/2 minutes.
- Scrape the sides of the bowl and begin to add the egg mixture in 3 separate batches; beat on medium speed for 20 seconds after each addition.
- Divide the batter in two into the prepared cake tins, spreading it evenly with a small offset palette knife. If you have a kitchen scale, weigh to ensure 2 even layers.
- Bake 25-35 minutes. Check cakes at 20 minutes, but not before, and once you feel it’s almost ready, set the timer for 2 minute intervals. They’re cooked when they turn light golden yellow, pull away from the sides, spring back when lightly pressed, and when an inserted toothpick comes out clean.
- Let cakes cool on racks for 10 minutes before loosening the sides with a small metal spatula, and invert onto wire racks. Gently turn cakes back up, so the tops are up and cool completely.
For the Swiss meringue buttercream: (Can be made ahead of time)
- Place a bowl over a saucepan of simmering water, ensuring that the water doesn’t touch the bowl.
- Add the egg whites and sugar and whisk constantly until the temperature reaches 140°F on a thermometer (if you don’t have a thermometer, just ensure the egg whites are hot and the sugar has dissolved – you can check by rubbing some mixture between your fingers – if it’s no longer gritty, you’re good to go).
- Tip the contents into your electric mixing bowl with whisk attachment and beat until the mixture is thick and glossy and the bowl is cool to the touch (this step is important) – this can take a good 10 minutes.
- Switch to a paddle attachment if you have one (otherwise continue to use the whisk attachment) and at a moderately low speed, add the butter, a piece at a time, every 3-5 seconds or so. It’s normal for the mixture to look soupy and then like cottage cheese – just keep beating and it will eventually incorporate and become smooth.
- Add the salt and flavourings (if using) and beat again at low speed until combined.
- If not using straight away, store in the refrigerator. It will become hard once chilled, so ensure you give it enough time to unchill before using. When ready to use, mix it once again in an electric mixer to bring it back to smooth and workable.
For the rose & raspberry jam: (Can be made ahead of time)
- Into a small saucepan, add the raspberries with the caster sugar. Over a moderate heat, cook the raspberries down (mash them with a fork or potato masher to break them down more quickly) until the sauce starts to become syrupy – this will take several minutes. Take off the heat and strain through a sieve to remove the seeds. Stir in the rose water, then pour into a small jug and put aside. If you have made it ahead of time, store in the fridge until needed. Once chilled, it will set quite firmly, so just mix it up again with a fork to make it workable.
Assembly:
- Trim the tops of the cakes if needed.
- Place one cake on a serving platter (bottom side down) and spread the rose and raspberry jam over the surface.
- Roughly pipe over a layer of the buttercream and spread it out using an offset spatula.
- Lay the second cake over top (bottom side up) and gently press it down, ensuring it is centred.
- You now need to make a crumb-coat over the whole cake. Take a good dollop of the buttercream and spread it thinly over the top of the cake with an offset spatula. Take more buttercream and spread thinly over the sides (you will need to use the buttercream like putty to fill in the gap between the two cakes). Once you have a created a straight ‘wall’ of icing down the sides, take a large spatula (or, ideally, a large flat metal scraper) and smooth out the sides (it’s easiest if you hold the spatula still while turning the cake at the same time). Now take your offset spatula and smooth out the top of the cake. Put the cake in the fridge for the icing to set .
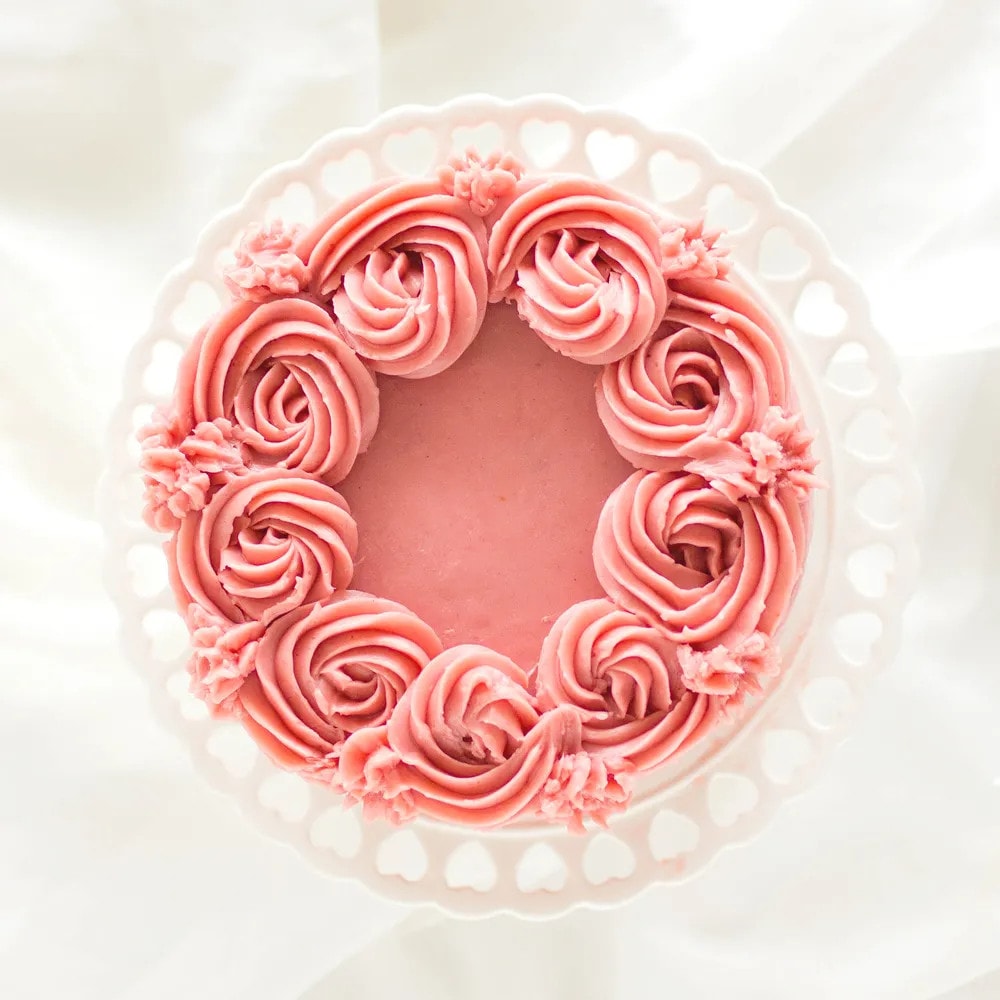
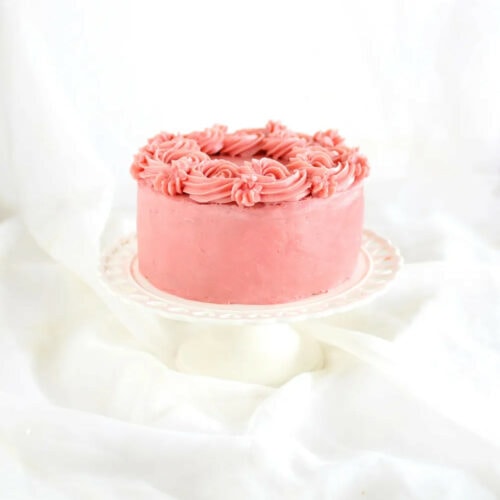
- Once set, you can move on to icing the cake. Repeat the same process as for crumb coating the cake, but make the layers thicker. Smooth out the sides and top as described above, then decorate in whichever way you choose. I managed to make a circle of large swirls on top with the amount of buttercream I had (as per the above recipe). Refrigerate the cake to set the icing. Bring to room temperature for serving.

