I needed to come up with a nice edible Christmas gift to give my niece who was visiting for the holidays and wracked my brain to come up with something ‘Christmassy’. Marshmallows came to mind, with their ‘white as snow’ fluffy appearance.
I’d never made marshmallows before and was in a rush (never a good thing when making confectionery!). So I cut to the chase and watched a helpful video from Joy of Baking while I followed along in the kitchen. While the recipe was for vanilla flavoured marshmallow, I decided to add some rose water for flavour and freeze-dried raspberries for texture and colour – a lovely combination for Christmas I thought.
Okay, this is the point where I suggest that it’s always a good idea to watch instructional videos through to the end. You see, at the point at which I scraped the marshmallow into the pan, I figured I’d completely stuffed it up – it looked and felt like a sticky nougat – nothing like the fluffy marshmallow I envisaged.
At this stage, it was time for dinner and with no more time to watch the rest of the video, I left the mixture in the pan, figuring I’d bin it after dinner. Thank heavens I didn’t, as I decided instead to rewatch the complete video to see where I went wrong. And guess what… I discovered that marshmallow always starts out dense and ridiculously sticky, only to miraculously transform into light and fluffy marshmallow once it’s set several hours later. And who said miracles were in short supply!
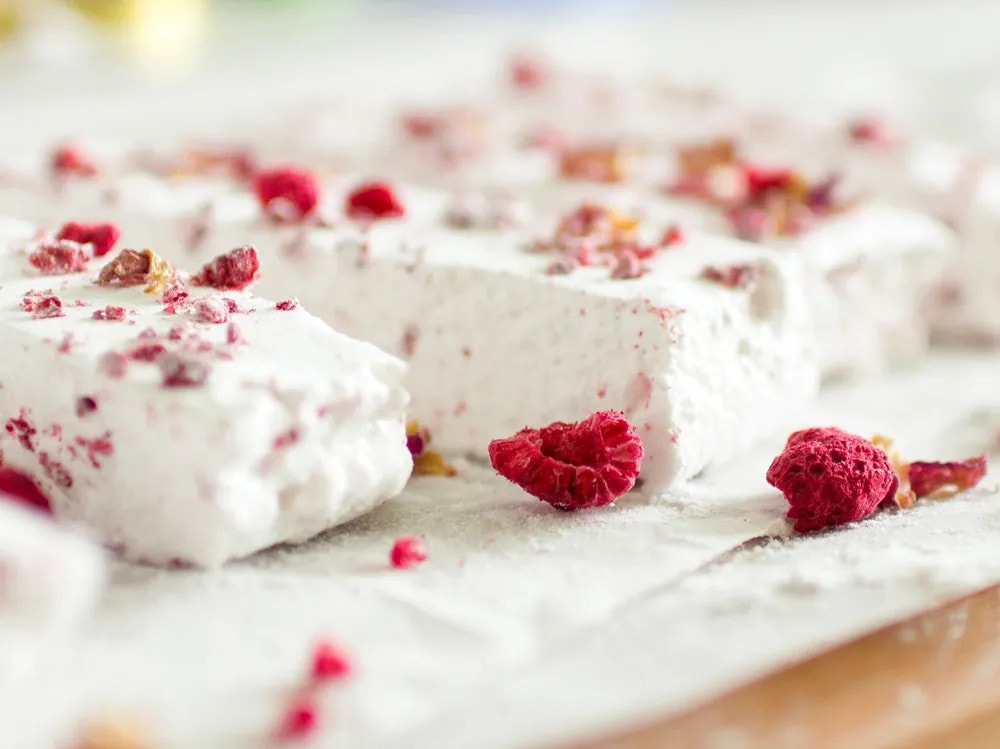
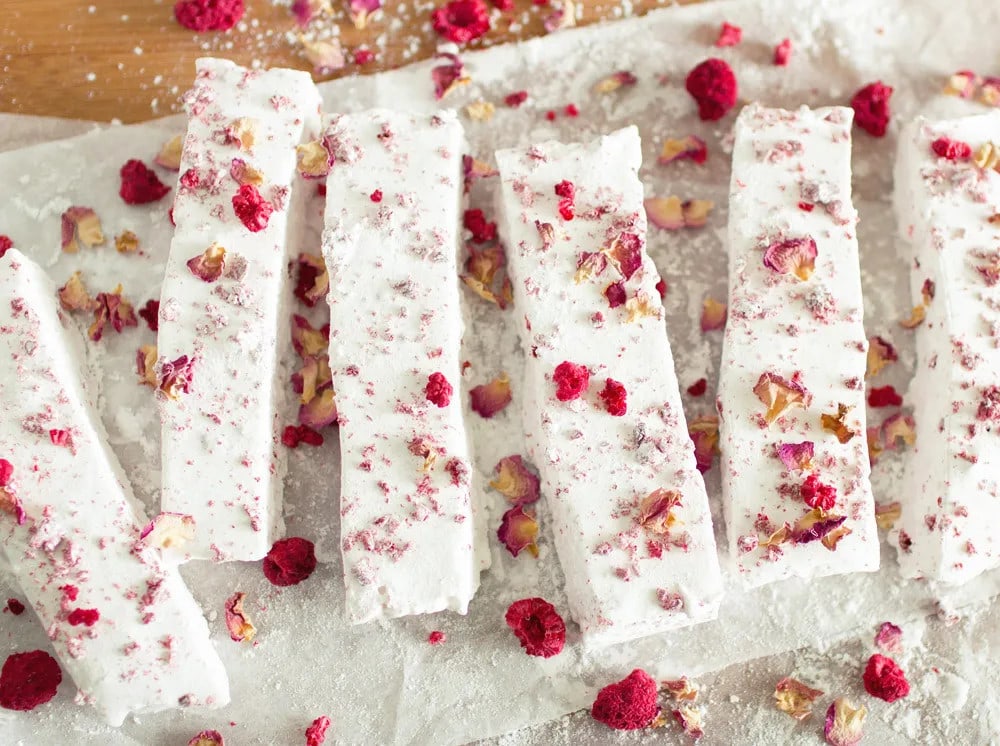
So, I left the pan of marshmallow to set overnight. The next morning (Christmas day) I excitedly got out of bed to see if it worked and it had! Halleluia! I sprinkled extra freeze-dried raspberries over top, along with some edible rose petals and wrapped it all up in clear cellophane with a pretty red bow – picture perfect, if I do say so myself!
I only managed to sneak one piece to sample, so I’m keen as mustard to make some more soon! Enjoy!
ROSE & RASPBERRY MARSHMALLOWS
Equipment
Ingredients
- 1 cup cold water , divided
- 3-1/4 oz unflavoured gelatin
- 2 cups granulated white sugar
- 1 cup light corn syrup (or glucose syrup)
- 1/4 tsp salt
- 1 tsp rose water
- Handful of freeze-dried raspberries
- Confectioners, powdered or icing sugar, sifted
Instructions
- Lightly butter, or spray with a non stick vegetable spray, the bottom of a 13 x 9 inch (33 x 23cm) baking pan. Line the bottom of the pan with baking paper, so that the sides are completely covered and there is enough overhang to lift out the marshmallow later. Then sift about 3 tablespoons of confectioners sugar onto the bottom of the pan (this will ensure the marshmallow doesn’t stick to the paper).
- Place 1/2 cup (120 ml) cold water into the bowl of your electric mixer that is fitted with a whisk attachment. Sprinkle the gelatin over the water and let stand until gelatin softens, about 15 minutes.
- Meanwhile, in a heavy base two litre (quart) saucepan, place the sugar, corn syrup, salt, and remaining 1/2 cup (120 ml) cold water. Stir over medium heat until sugar dissolves and the mixture comes to a boil (you may need to brush down the sugar crystals from the sides of the pan as the sugar dissolves to avoid it crystallizing).
- Once the sugar has dissolved, increase heat to moderately high and boil, without stirring, until the syrup reaches 240 degrees F (115 degrees C) – about 10 minutes. Remove from heat.
- Now that the gelatin has softed, turn the mixer on at low speed and slowly pour the hot syrup into the gelatin mixture in a thin stream down the side of the bowl (be careful, it’s very hot!). Gradually increase the speed to high and beat until mixture has tripled in volume and is very thick and stiff, about 10 minutes (when holding up the whisk, the dropped mixture should hold its shape briefly before smoothing out). At this point feel the base of the mixer bowl – it should have cooled down to barely luke warm.
- Add rose water and beat for another half minute to combine.
- Take the bowl from the mixer and now add a good handful of freeze-dried raspberries, crushing them gently so they are neither whole, nor powdery. Fold in as quickly as possible, as the marshmallow will start setting the more you work with it.
- Using a large metal spoon scrape the marshmallow mixture into the prepared pan (it’s extremely sticky and may be hard to scrape out – you won’t be able to get it all out, but do your best) and spread with a damp offset spatula or rubber spatula.
- Dust the top of the marshmallow with another 3 tablespoons of confectioners sugar and let stand, uncovered, at room temperature until set, about 12 hours (it’s handy to leave it overnight).
- Invert the pan onto a large cutting board that has been dusted generously with confectioners sugar. Peel off the parchment paper (you may need to use a sharp knife to scrape off any sticky bits) and dust the top of the marshmallow with confectioners sugar.
- Cut the marshmallow into squares using clean kitchen scissors, a pizza roller or a sharp knife (you’ll need to wipe off the sticky marshmallow as you go). Dip the cut sides of the marshmallows in additional confectioners sugar. Shake off excess sugar (you can do this by placing the marshmallows in a sieve and shaking it a couple of times) and store the marshmallows in an airtight container, in a cool dry place, for up to two weeks.




Nice Xmas recipe! love the miracle part of the story too. Happy holidays Susan! Ness
Thanks Ness! Much appreciated. And I hope you have a super Christmas holiday too! xx