Pavlova is as much a national icon in New Zealand as jandals and Split Enz and it’s practically synonymous with a Kiwi Christmas.
When I first started this blog, I’d never made a pavlova and made it my mission to ‘get it right’ as soon as possible. It took a few gos before I was happy with the results but one thing I learned along the way is that no-one else cared what it looked like – it was delicious no matter what.
What’s the difference between Pavlova and a Meringue?
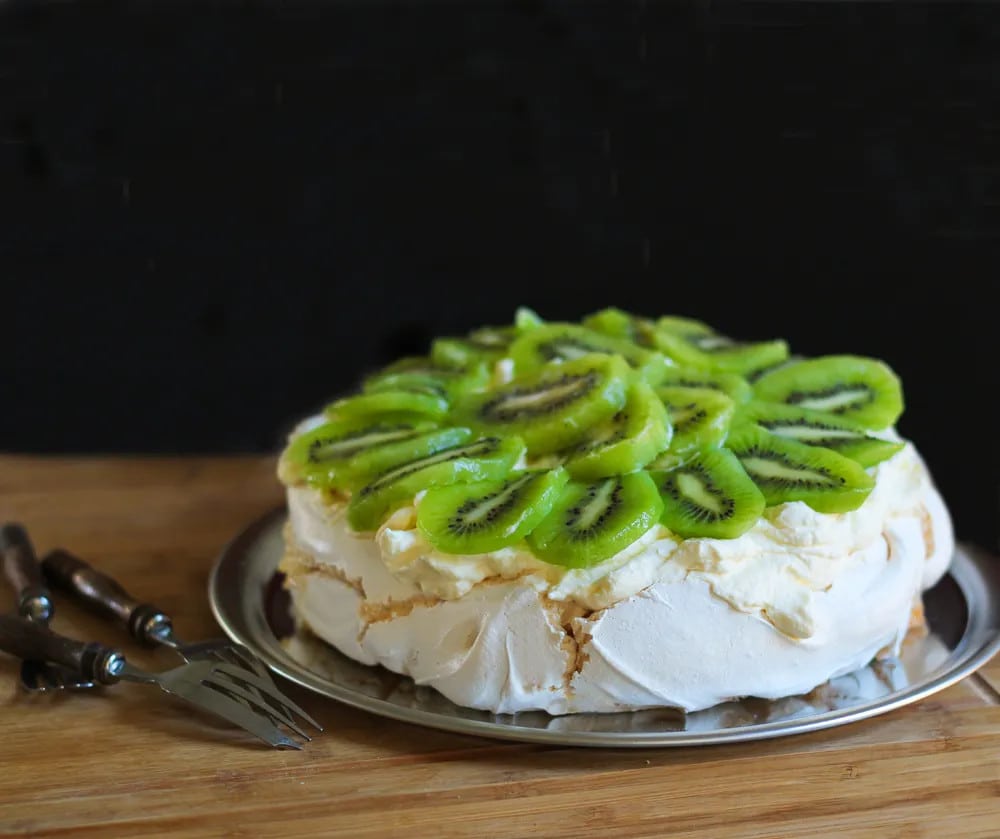
There’s sometimes a bit of confusion around what a pavlova is, with some people thinking a pavlova is just a bigger version of a meringue; it’s not. The ‘perfect’ pavlova should have a crunchy, but delicate, outer meringue shell and a soft and sizeable marshmallow interior. The contrast between the two is what makes this dessert so delightful.
I have included instructions for making both a smaller and a bigger pavlova, as I often find myself needing to adjust the recipe depending on how many I’m cooking for – I hope you find my instructions easy enough to follow. And, if you’re new to pavlova making, be gentle with yourself – it can take a bit of time to perfect it and you may need to make adjustments here and there.
Want to make the perfect Pavlova? Here’s some tips:
- Use scrupulously clean utensils – I wipe my bowl down first with vinegar to wipe away any fats or food debris.
- Use aged eggs at room temperature – I separate my whites and then keep in the fridge for 3 days before making the pavlova. I then take them out a wee while before making the pavlova to allow them to come to room temperature.
- Make sure you don’t get any hint of egg yolk in your egg white mixture, or else your whites won’t whip properly. To avoid this, separate your eggs one by one and transfer your separated whites to another dish before separating the next one. This way if you do break a yolk, it will only affect one egg white, rather than several of them.
- Try not to make a pavlova when there’s high humidity – this makes it hard to whip up the whites to their full volume and the pavlova may not store well.
- Make sure you whip long enough to dissolve the sugar, or else your pavlova will ‘weep’ while cooking.
- It’s easier to remove a pavlova from the baking sheet to your serving plate with a large round cake-sized spatula.
- People bake pavlovas in a multiple of ways – some at a low temperature (as I do), some at a higher temperature, and some at staggered temperatures. Experiment and see what works best for your oven.
- Pavlovas tend to crack and fall as they cool – this is absolutely normal and all adds to the charm. The whipped cream will cover most of it up anyway.
Enjoy the journey – it’s well worth the effort!
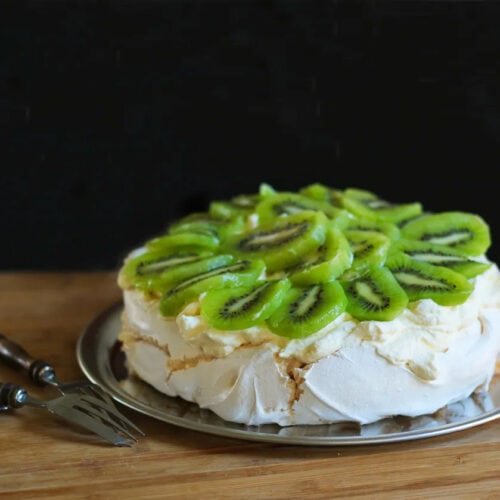
CLASSIC PAVLOVA
Equipment
Ingredients
- 4 egg whites for smaller pavlova or 6 egg whites for larger pavlova
- A pinch of salt
- 1 cup caster (superfine) sugar for smaller pavlova (or 1 1/2 cups caster sugar for larger pavlova)
- 2 tsp cornflour (cornstarch) for smaller pavlova (or 3 tsp cornflour for larger pavlova)
- 1 tsp white vinegar
- 1 tsp vanilla extract or paste (optional)
- About 2 cups whipped cream to serve
- Seasonal fruit to serve
Instructions
- Preheat the oven to 130°C (265°F). Place some baking paper on an oven tray and draw a 16cm (6 inch) circle in the middle of it (I use a bread plate and a marker) for the smaller pavlova (or an 18cm (7 inch) circle for the larger pavlova). Turn the baking paper over so the drawn circle is now underneath, but still visible. You’ll be using it as a guide later on.
- Place the egg whites in the bowl of your electric mixer with the pinch of salt and whisk the egg whites until they hold stiff peaks. A little at a time, add the sugar until the mixture is very stiff and glossy (this should take around 10 minutes all up). If you rub a little mixture between your fingers, you shouldn’t be able to detect any sugar granules in the mixture once finished.
- Sift in the cornflour and add the vinegar and vanilla (if using) and beat until combined (about a minute more).
- Spoon the mixture onto the baking paper in large dollops (using the circle as a guide). Slightly level the top so that it creates a good surface to add the cream later on. Bake for 1 hour for smaller pavlova (1 hour 15 minutes for larger pavlova).
- Turn the oven off and let the pavlova cool completely in the oven, oven door closed, for several hours, or overnight.
- Transfer the pavlova carefully to a serving plate (I use a large plate sized metal spatula).
- Whisk the cream to a soft peak stage and spread over the pavlova. Top with seasonal fruit and serve.



Hi there 🙂 This recipe looks fab! Thanks for sharing.
I have an electric fan forced oven, would you vary the temperature at all?
Thanks 🙂
Hi Noni. I’ve done a bit of research for you, as I personally wouldn’t have a clue about converting for fan forced ovens! What I discovered was a whole bunch of differing opinions, but here’s some general guidelines. Firstly, as fan forced ovens heat things up more quickly, you’re meant to reduce given temperatures by about 20 per cent. I found someone used Donna Hay’s recipe, using a fan-forced oven, and she used 130 degrees celcius (265 degrees F) to pre-heat the oven and then turned it down to 110 degrees celcius (230 degrees F). Finally, (and hilariously), I did find on Donna Hay’s website under FAQ, that in fact all her recipes are tested using fan-forced ovens (even though she never mentions it in her recipes!). So… the temperatures included in the recipe are in fact for a fan forced oven, which would mean that I should be using a higher temperature! However, having researched dozens of other pavlova recipes in the past, they all use similar temperatures to the ones I’ve used (for conventional ovens), so clearly the variance in temperature seems to be okay. Certainly, I find the pavlova works beautifully using these temperatures in a conventional oven. Phew! Hope that helps.
Wow. Thank you so much for getting back to me and for doing all of that research for me, I guess I probably could have done that myself, lol! I appreciate it! Have a very merry Christmas xo
No worries Noni. I love researching! Actually, if truth be known, I’ve been looking at pavlova recipes now for about… ooh… 3 hours! One can never research pavlova cookery enough! I guess it’s because there are so many variations and changeable factors involved (including the weather) that it becomes a never-ending quest for perfection! Okay, even I can see this is obsessing, so I’m going to stop… now!
Haha! I love your passion! Lol!
Would you know the smallest size of pav that will still work and not just turn into a meringue? The smallest I’ve made is four egg, but wonder if it would be possible to use just two whites. I could always just try it, but I’m not a fan of dry ol’ meringues and wouldn’t eat it if that is what resulted 🙂
Hi Peggy. I’ve never done it myself but I found some recipes online for a 2 egg pavlova. Try this one… https://www.washingtonpost.com/news/voraciously/wp/2019/04/17/with-just-2-egg-whites-and-some-sugar-you-can-make-a-showstopping-pavlova-for-dessert/