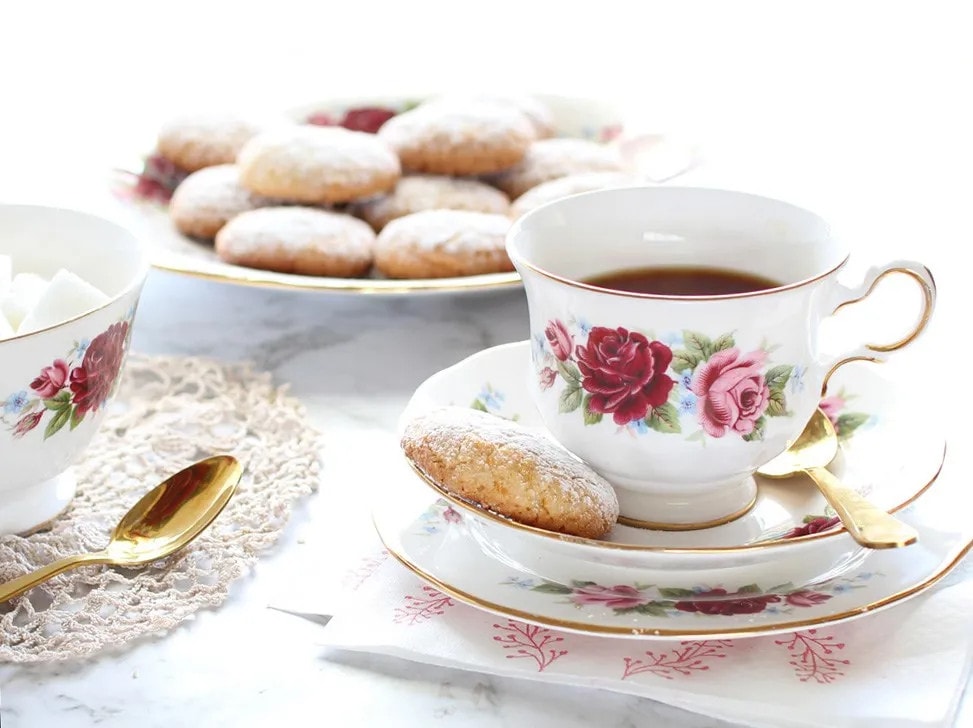
It’s funny how you are led to make certain recipes. Yesterday, I happened to sample an ‘orange biscuit’ at a quaint cafe located on our beautiful Kapiti Coast. My friend and I thought they were absolutely delicious – both delicately crunchy and satisfyingly chewy at the same time.
Alongside the distinct orange flavour, I detected the main ingredient was ground almonds. Before we’d even left the cafe, I was searching online and found this Orange & Almond Biscuit recipe from New Zealand’s own Chelsea Sugar website. We determined we’d make them as soon as possible to see whether it was a match.
Well, we both made them today and have come to the conclusion that they are indeed the delightful ‘orange biscuit’ we’d devoured yesterday. We tried them on our respective families and they went down an absolute treat. There was just one thing I’d change next time around – these were quite sweet and could be just brought back a peg or two. I suggest bringing it back from one cup of sugar to 2/3rds – my friend suggested a half cup. I’m not sure whether reducing the sugar content significantly would affect the texture of the biscuit or not, so will need to test it out.
I notice a few reviewers on the Chelsea site mentioned that a few drops of orange blossom water was a nice addition. As a fan of orange blossom water myself, it seems like a great idea and I’ve added it to the recipe as an optional extra.
If you’re after a gluten-free treat that is truly scrumptious and the perfect partner to a nice cup of tea, you can’t go past these. Enjoy!
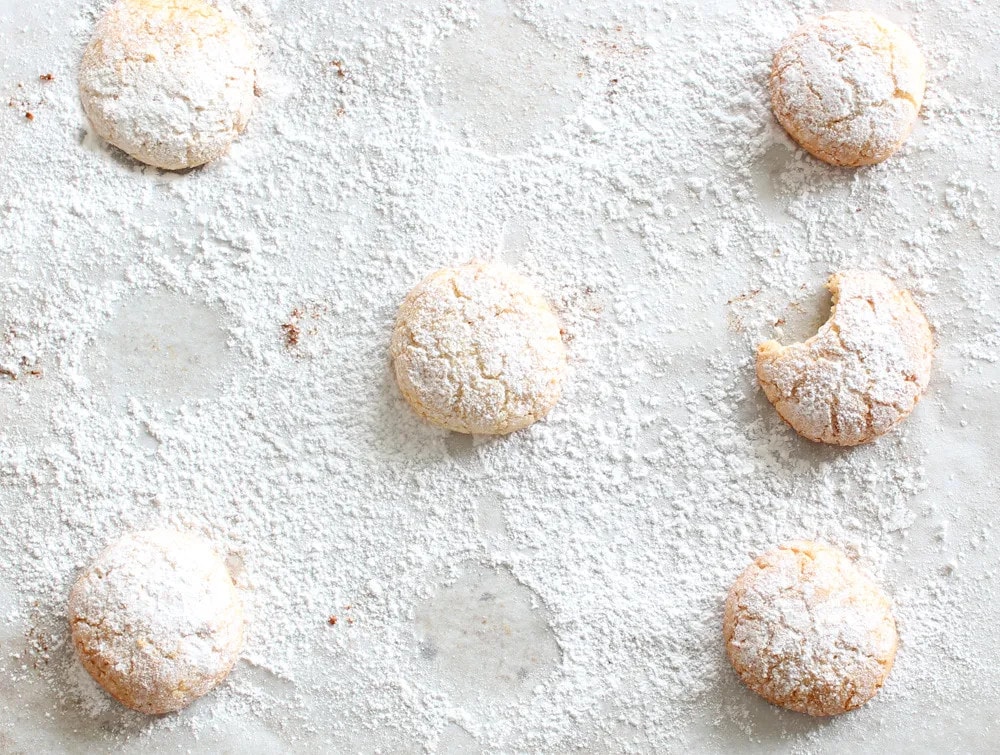

GLUTEN-FREE ORANGE & ALMOND BISCUITS
Ingredients
- 2 cups ground almonds (almond meal)
- 1 cup caster sugar (superfine sugar) – you may wish to reduce to 2/3rds cup
- Finely grated rind of one large orange (or 2 small ones)
- 2 egg whites, beaten to soft peaks
- 1 tbsp honey, warmed
- Optional: A few drops of orange blossom water
- Icing Sugar (confectioner's sugar) to dust
Instructions
- Preheat oven to 160°C. Line 2 baking trays with baking paper and dust with icing sugar.
- Add all ingredients into a large bowl and mix together with a large metal spoon – you will end up with a thick paste.
- Sieve a layer of icing sugar onto the work surface and roll small balls of the mixture (I weighed each at about 22 grams) in the icing sugar to coat well.
- Place each ball onto the baking paper, spaced well apart as they spread a little. Once you’ve filled the tray, press each ball just lightly with dry fingers (as the mixture is sticky, you might find it easier to dust your fingers with icing sugar before doing so).
- Bake for 15 — 18 minutes until they start to colour (the longer you leave them, the crunchier they will be) then cool on a wire rack.
- Once completely cooled, dust with extra icing sugar and store in an airtight container.

