Say ‘pie’ down here in Kiwi-land, and we automatically think meat pie. We’ve never really ‘done’ sweet pies to the same extent – no doubt, a hang-over from our British past. Nope… when summer delivers an abundance of fresh fruit, we’ve tended to use it in fresh fruit salads, trifles, on top of pavs, or simply served with custard and cream. If we cook fruit at all, it’s more likely to be in a crumble than a pie.
In my family, there’s a slight exception to the rule. With our Dutch heritage, apple pie (complete with spices and raisins) has always been a firm favourite. And, thanks to me, at least my family can say they’ve tried one or two interesting alternatives. But, by and large, you could definitely say we’re woefully ignorant of all the sweet pie possibilities out there! As such, I thought it was high time I challenged the collective taste-buds and venture into unknown culinary territory.
Right now, it’s that fleeting (sometimes almost non-existent) window of time when cherries hit the markets. I always look longingly at them, but think twice about buying them. Perhaps it’s not surprising given how prohibitively expensive they are here in New Zealand. While we do grow them here, we’re a small country and it’s a small market. If we have a bad season, production goes down and prices go up. This lot (1 kilogram/2 pounds) cost me NZD$16 – that’s around USD$10. And that was on ‘special’.
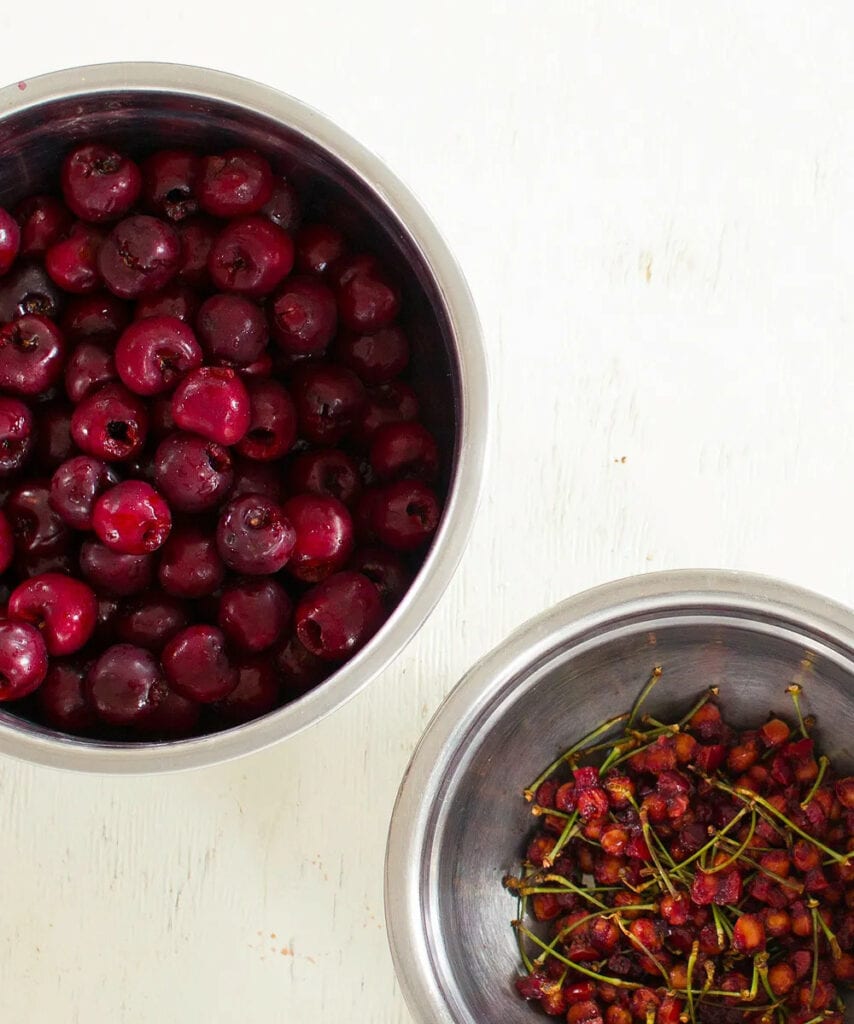
At that cost, you can bet your bottom dollar that if I do buy them, I think VERY carefully about how I’m going to use them. Last year I piled them into a Cherry Clafoutis – an absolutely divine French baked custard, and used them in some decadent Choc-Cherry Tarts. This year I thought I’d tackle that most American of pies – Cherry Pie. And hot diggity dog, am I glad I did!
Of course I needed a recipe that was going to do my expensive cache of cherries justice. So, while the cherries I bought were of the sweet variety, I used this very well received sour cherry pie recipe from Lori Longbotham on Epicurious.com. I adapted it (thanks to her suggestions) to balance the sweetness of the cherries and, in response to several of the reviewer comments, made a few other changes here and there. I also substituted spelt flour for the standard flour – something I do a lot of these days in order to keep my modern wheat-gluten intolerant family happy and healthy.
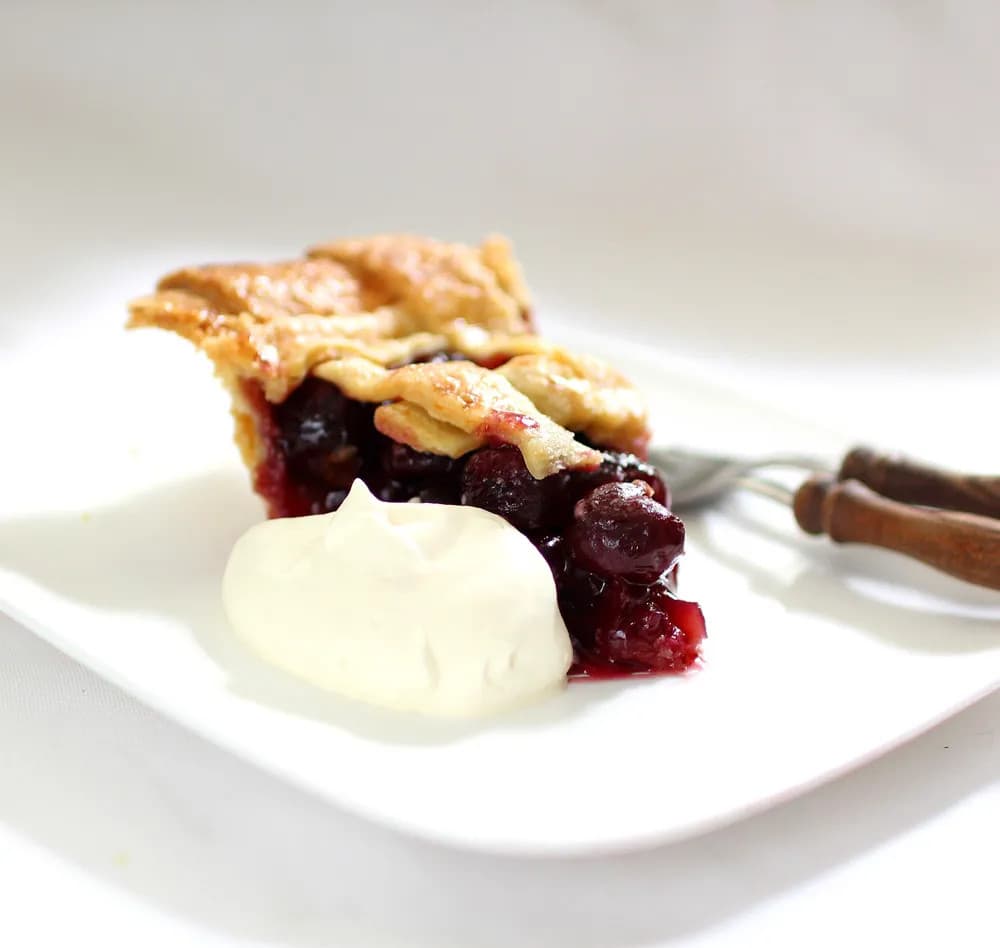
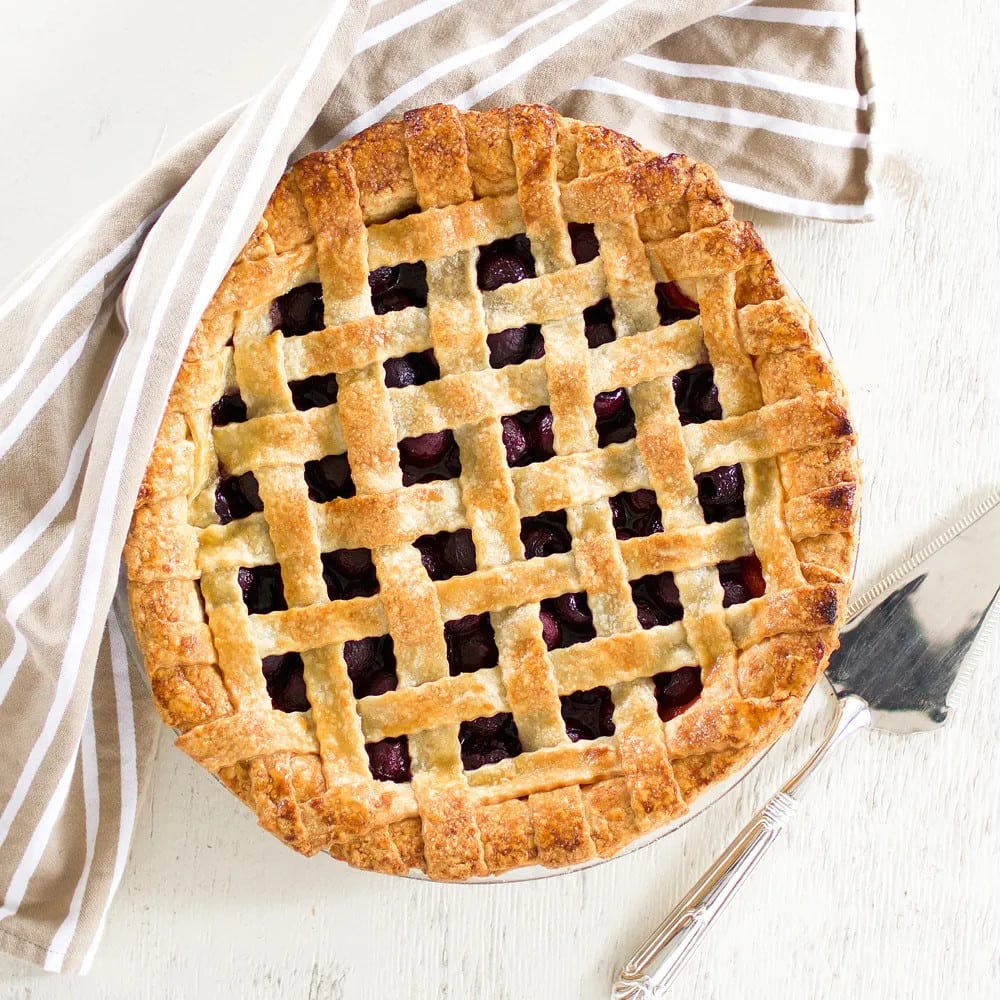
The result? A perfectly wonderful pie with a luscious, flavoursome cherry filling and an extra flaky, tender crust. The crust couldn’t be improved upon really – it was the perfect companion to the fruit – not too savoury; not too sweet. The filling, while uber delicious, was perhaps just a little on the ‘loose’ side and didn’t hold together terribly well when I sliced it. Several reviewers of the original recipe suggested using an extra tablespoon of cornflour which, in hindsight, might have been a good idea. Not that anyone noticed, or cared… every last vestige of pie was inhaled. Well worth the cost, as it turns out.
CHERRY PIE
Ingredients
For the crust:
- 2 1/2 cups unbleached all purpose flour (I used white spelt flour)
- 1 tbsp sugar
- 3/4 tsp salt
- 1 cup unsalted butter (or 2 sticks) chilled, cut into 1/2-inch cubes
- 5 tbsp or more ice water
For the filling:
- 3/4 cup sugar or to taste (plus one extra tablespoon for sprinkling)
- 3 tbsp* cornstarch or cornflour
- 1/4 tsp salt
- 1 lbs whole unpitted sour cherries or dark sweet cherries
- 1 tsp lemon juice ,if using sour cherries or 3 tablespoons fresh lemon juice (if using dark sweet cherries)
- 1/2 tsp vanilla extract
- 1/4 tsp almond essence
- 2 tbsp unsalted butter , cut into 1/2-inch cubes
- 1 tbsp milk or lightly beaten egg
Instructions
For crust:
- Place flour, sugar, and salt in a food processor and pulse to combine.
- Add butter and pulse until small pea-size clumps form. Add 5 tablespoons ice water and pulse just until dough holds together when small pieces are pressed between fingertips, adding more water by teaspoonfuls if dough is dry.
- Gather dough together and divide into 2 similar sized pieces. Form each piece into ball, then flatten into disk and wrap in plastic. Refrigerate at least 30 minutes**.
For filling:
- Ahead of time, pit the cherries.
- Position rack in lower third of oven (I also placed a pizza stone on the rack to ensure the base cooked quickly) and preheat to 220°C (425°F).
- Whisk sugar, cornstarch, and salt in medium bowl to blend. Stir in cherries, lemon juice, vanilla and almond essence; set aside.
- Take the dough disks from the fridge, let them soften a little, then roll out one on floured surface to 12-inch round. Transfer to 9-inch (23cm) glass or ceramic pie dish. Trim the dough around the edge of the dish, then put in the fridge to chill.
- Roll out the second dough disc to 12-inch round. Using large knife or pastry wheel with fluted edge, cut strips from dough round (I cut out 14). Lay them on a parchment lined tray or plate and put back in fridge to chill.
- Take out the pie dish (lined with dough) from the fridge and spoon the filling and juices into it. Dot with the cubed butter. Brush a little of the milk or beaten egg around the edge of the dough (this will help the lattice strips adhere).
- Take the dough strips out of the fridge and arrange over top of the fruit, forming a lattice.*** Where the strips meet the edges of the plate, press gently down to seal. Brush lattice crust with milk or beaten egg and sprinkle with remaining 1 tablespoon sugar. If you have time, put pie into fridge to chill for 15 minutes before baking.
- Place pie on rimmed baking sheet and bake 15 minutes. Reduce oven temperature to 190°C (375°F). Bake pie until filling is bubbling (this is important to ensure the cornflour thickens the sauce) and crust is golden brown, covering edges with foil collar if browning too quickly, about 1 hour longer.
- Transfer pie to rack and cool completely. It’s important you let the pie sit for 3-4 hours so that the juices thicken and the flavours amalgamate.
- Cut into wedges and serve with vanilla ice cream or softly whipped cream.



Can you explain why you use spelt flour which is a form of wheat and contains gluten?
Hi Fiona. Rather than try explaining it in my own words, here’s a really good explanation from Eco Mall.com http://www.ecomall.com/greenshopping/benefitsofspelt.htm
Thanks Susan. After reading the article I presume that you have far less of a problem with wheat or gluten than I had thought from your previous posts when you have used non gluten flours. I’m happy for you that you can substitute spelt in your recipes, unfortunately I cannot. I am not celiac but have Crohns disease and have found that I cannot tolerate any gluten, whether from any wheat, barley or rye etc. I love some of your recipes and am going to try converting them to flours that are suitable for me. I also love to use almond flour when possible. Fiona
Hi again Fiona. Yes, well it’s been quite a journey for my family and me. Initially I avoided any type of wheat when I realised I couldn’t tolerate standard flour products and used non-gluten flour blends instead. Then, a few months back we tried spelt flour and found that we could eat it without any problems. Basically, these days I tend to substitute spelt for anything like pastry and breads, and gluten-free blends for cakes (though there’s no reason not to use spelt there either). If spelt hadn’t have worked for me, I would for the most part have continued to use gluten-free blends in my cooking and baking. I wish you all the best for your own journey and the great thing is that there are loads of resources out there now for people like yourself. Good luck!
I must say, that pie looks quite perfect!
Thanks! Appreciate the compliment!